Introduction
Making your own dog toys at home can be fun and helpful. You can use many household items to build toys for your dog. These toys can keep your dog busy and happy. You do not need to buy expensive toys to give your dog something special to play with.
This article will show you how to create dog toys with things you already have around your home. You will learn easy and clear ways to make these toys. By the end, you will have new ideas to keep your dog active and entertained.
Choosing Safe Household Items for Dog Toys
What Materials to Avoid
Not every household item that seems harmless is actually safe for your dog. Many materials can cause choking, blockages, or poisoning. Avoid toys made from small parts that could break off and be swallowed, like buttons or beads. Sharp edges, especially from broken plastic or metal, are risky. Also, stay away from anything treated with chemicals or paints, as those can be toxic if ingested.
Steer clear of materials like string or yarn that can wrap around your dog’s teeth or digestive tract. Even some fabrics, like denim or tightly woven materials, may splinter or shred dangerously. And plastics that aren’t sturdy might crack into sharp bits, which could injure your dog’s mouth.
Safe and Durable Materials
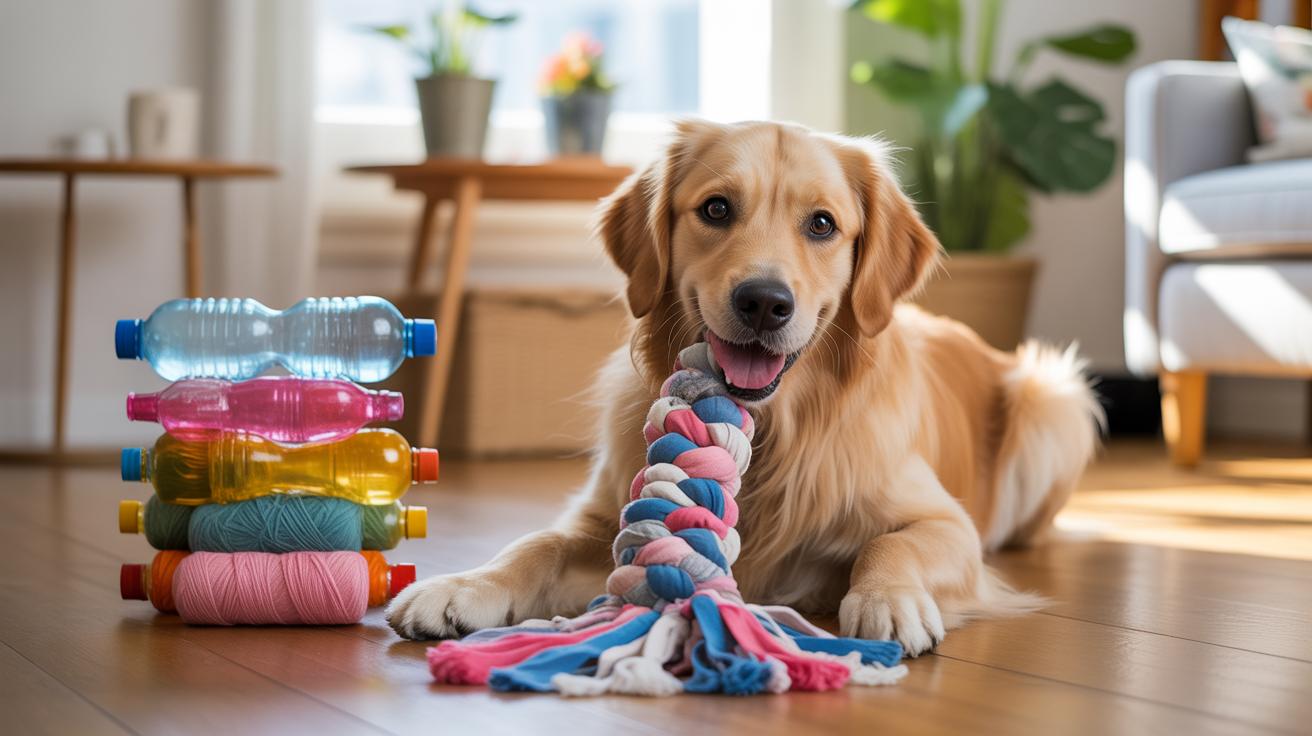
On the safer side, some common household items stand up well for DIY dog toys. Old cotton t-shirts or towels can get braided into fun tug toys. They’re soft, washable, and dogs seem to enjoy chewing on them. Plastic bottles, when emptied and with the cap and ring removed, can become crinkly toys that catch a dog’s curiosity. Just watch that your pet doesn’t shred them into bite-sized shards.
Other options include tennis balls—though don’t use worn-out ones that might get torn apart too easily—and sturdy rubber bands, only if closely supervised. You might find that thick sock material, tied off at the ends, works well too. Think about what your dog chews on naturally and choose materials that mimic that texture but without harmful additives. It’s a balance between durability and safety, with a bit of trial and error along the way.
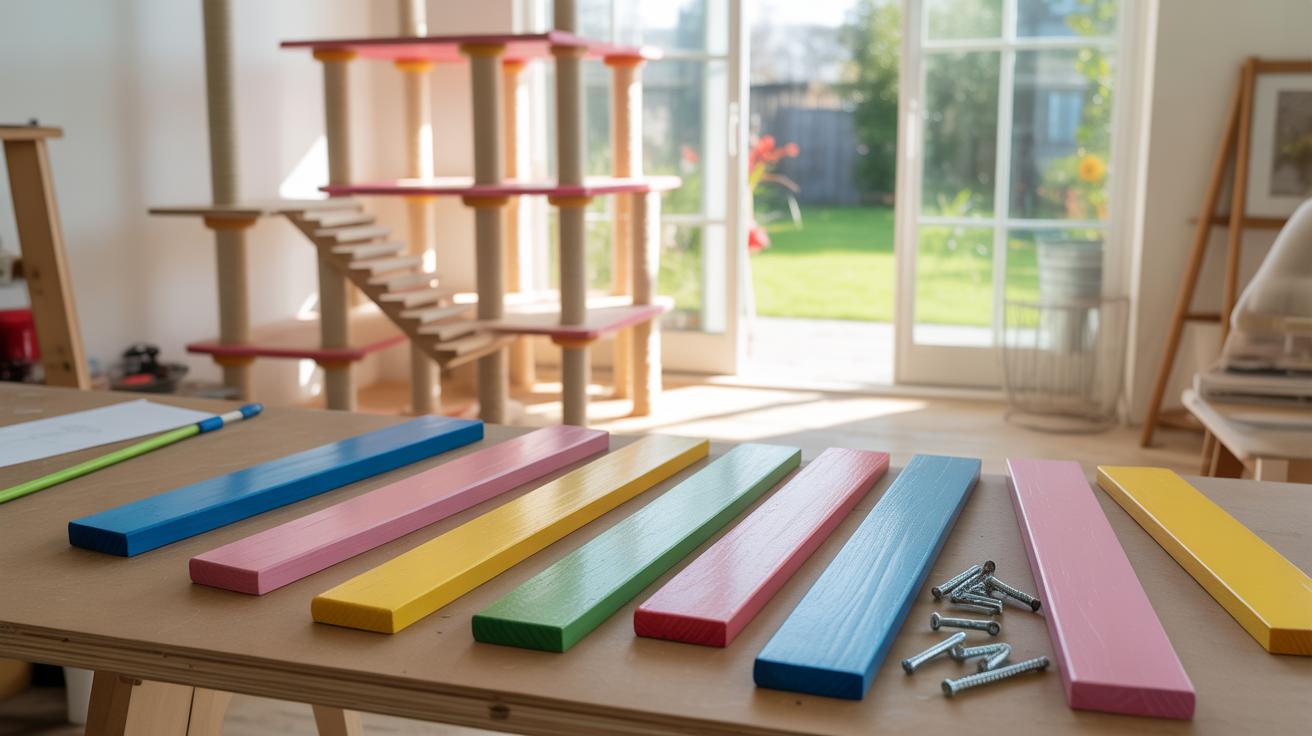
Tools and Supplies Needed for Diy Dog Toys
Making dog toys at home doesn’t require a fancy toolkit. Most of the time, you can get by with basic craft tools—and maybe a few extras if you want to get a bit creative.
Basic Craft Tools
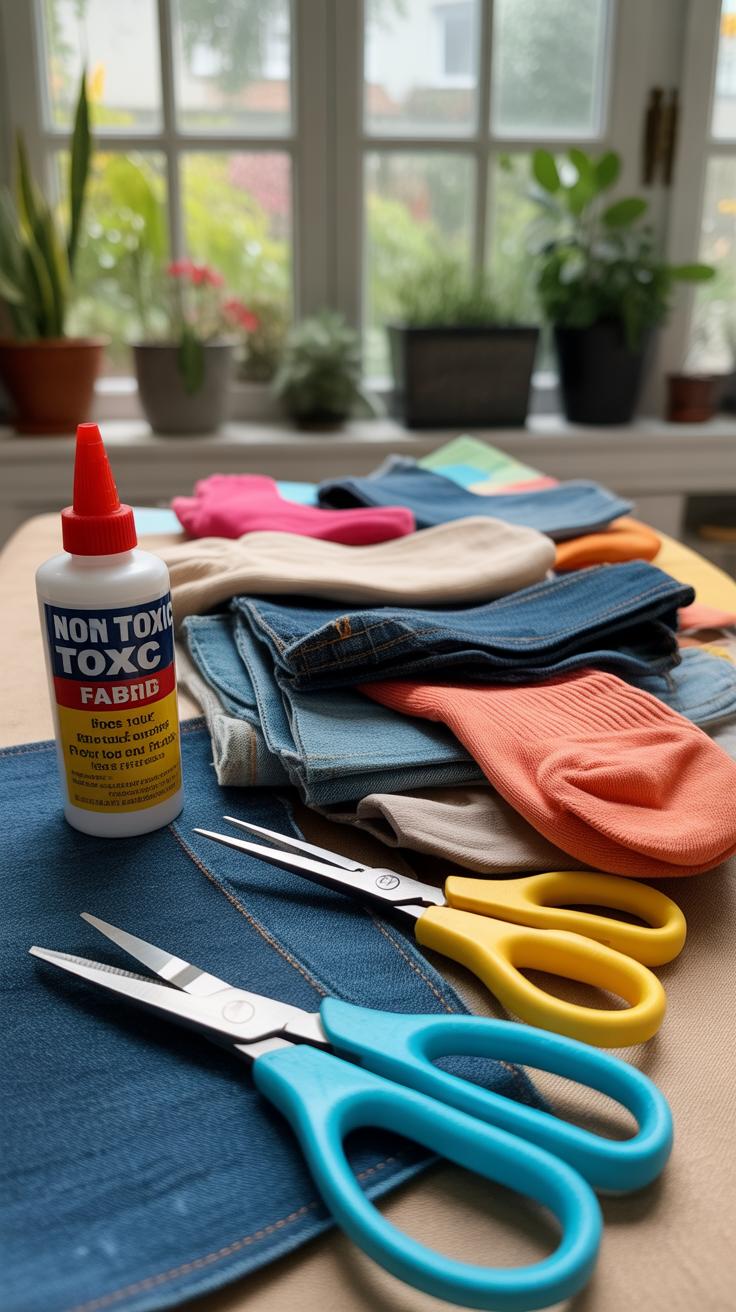
You’ll want scissors that cut cleanly, especially for fabrics or softer materials—dull scissors can just fray things, which isn’t great since loose threads might become a choking hazard. Glue is handy, but pick one that’s non-toxic and dries quickly; hot glue guns work well, but you have to be cautious about burns, particularly if kids are involved.
Other useful tools include:
- Needle and thread, for simple stitching or repairs.
- A ruler or measuring tape, to keep toy sizes consistent.
- A marker or pen, if you want to mark fabric or materials before cutting.
Using these tools safely is key. Scissors and needles should be stored carefully to avoid accidents. When cutting, try to work on a flat, stable surface so you don’t slip—and never leave small parts like thread or pins where your dog can find them.
Optional Extras for More Complex Toys
If you’re aiming to make toys that are a bit more engaging or realistic, consider adding some extras. Squeakers, for example, are great for grabbing your dog’s attention. You can salvage these from old toys—but make sure they’re firmly encased so your dog can’t swallow them.
Rope is another option—it adds texture and can make for tug toys or chewables. Using natural fibers like cotton is a better idea since synthetic ropes might fray into harmful bits. Sometimes, things like dental sticks or treats can be embedded inside toys for mental stimulation, though that takes more precision and patience.
All these extras can turn a simple project into something your dog will truly enjoy, but they also mean you need to keep an eye on durability and safety a little more closely. It’s a bit of a balancing act between fun and risk, I think.
Making a TShirt Tug Toy
Preparing Your Materials
Start by gathering a few old t-shirts—ones that have seen better days but aren’t completely worn out. Cotton works best because it’s soft yet strong enough to handle some pulling. Avoid thin or overly stretched fabrics; they might tear too easily.
Lay the shirts flat and cut them into long strips about 1 to 2 inches wide. You’ll want at least three strips of similar length, around 18 to 24 inches. Picking colors that contrast can make it easier to follow the braiding process. It’s a bit fiddly at first, but cutting neat, even strips helps the final toy hold together better.
If the edges are ragged, don’t worry—cotton won’t fray much. Just try to keep the strips consistent in width. Sometimes I trimmed a bit too much on one strip and the braid turned lopsided, but it still did the job. So, perfection isn’t necessary.
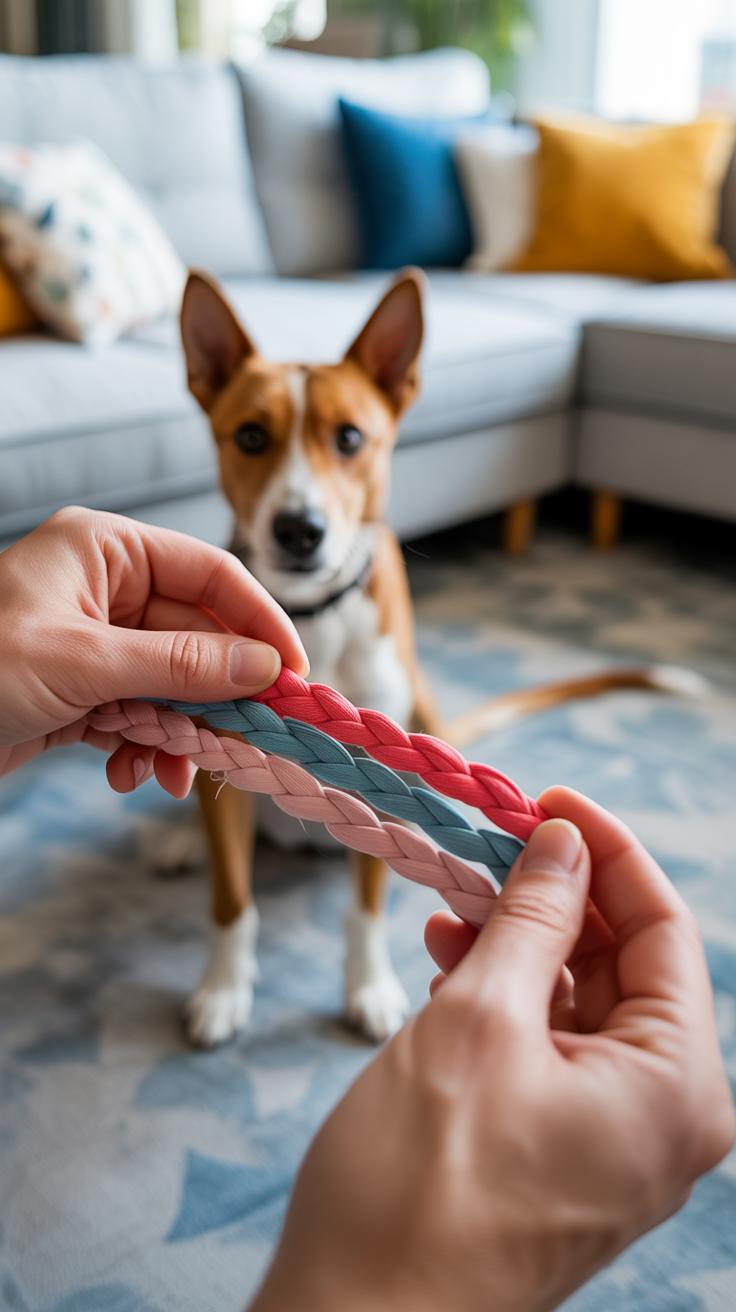
Braiding and Finishing the Toy
Once your strips are ready, knot them tightly at one end. This keeps everything in place while you braid. Divide the strips into three sections and start braiding like you would hair—crossing the outer sections over the middle one alternately. Pull the braid tight as you go, but don’t overstretch the fabric.
Keep going until you’re about an inch from the end of your strips, then knot the other end firmly. You can double-knot for extra security. Some people add a dab of fabric glue to the knots, but I’ve found the knots hold well enough on their own.
This tug toy is great because it gives your dog something soft to pull on, which is gentle on their teeth. It’s also a good outlet for their energy and can help with bonding when you play together. Plus, since it’s washable, you can keep it fresh without hassle.
Creating a Treat Puzzle with Plastic Bottles
Preparing the Bottle
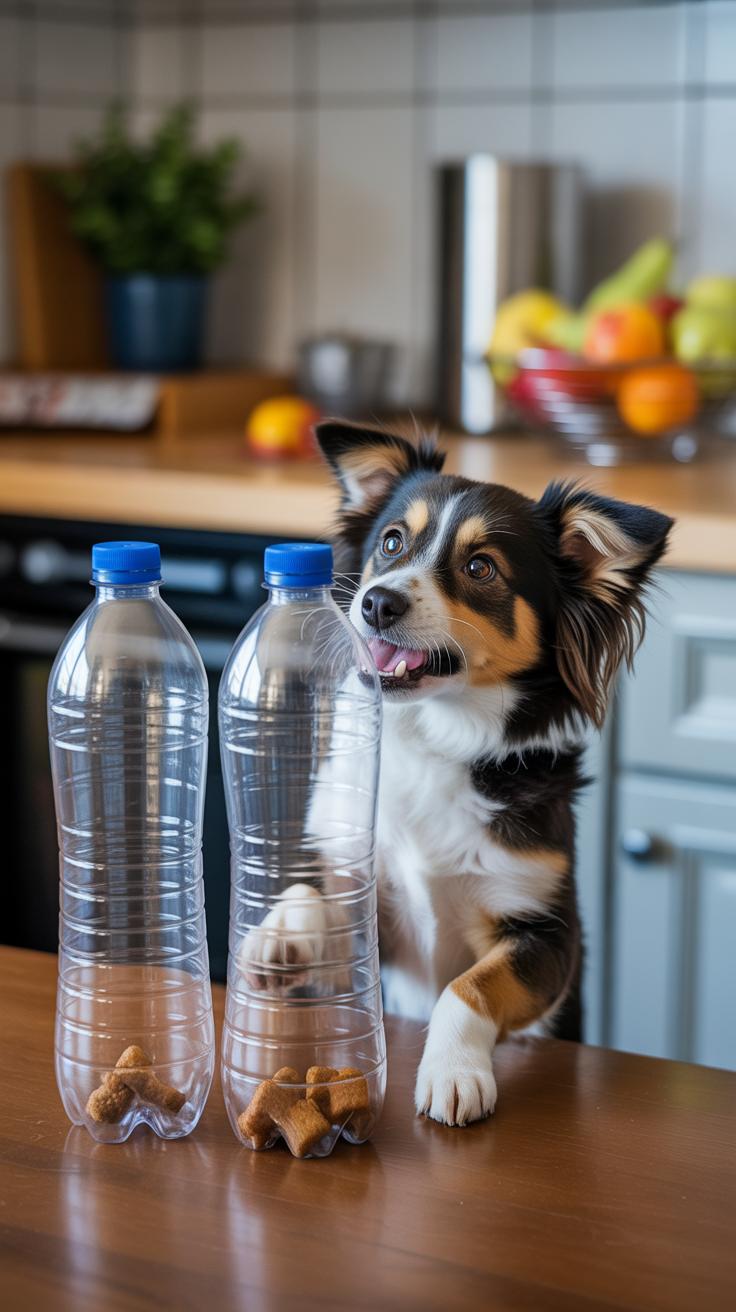
Take an empty plastic bottle—something like a soda or water bottle works well. First, make sure it’s completely clean inside. Give it a good rinse to remove any lingering liquid or odor. You don’t want your dog sniffing around something sticky or smelly. Then, carefully cut a few small holes or slits around the bottle. They should be big enough for treats to come out but not so large that everything spills quickly.
Be cautious with the edges you cut; plastic can be sharp. Smoothing with sandpaper or covering with tape helps avoid scratches on your dog’s mouth. You might wonder if this step is necessary, but I’ve found that making it safe prevents any unexpected chewing injuries.
Filling and Using the Puzzle
Drop some small treats or kibble inside. The idea is for your dog to nudge, roll, or paw at the bottle to get the goodies out. Each time the bottle moves, a treat might slip through one of the holes. It’s a gentle challenge that keeps their mind engaged without overwhelming them.
Your dog will probably figure out quickly that the bottle holds snacks, but how they interact might surprise you. Some push, others toss it in the air. If your dog seems frustrated, adjusting hole size can help. Too small, and it’s tricky. Too big, and treats fall too easily—boring.
Watching them puzzle over this simple toy makes it clear that even a basic plastic bottle can provide hours of mental stimulation. Plus, it’s a neat way to recycle, right?
Crafting a Sock and Ball Fetch Toy
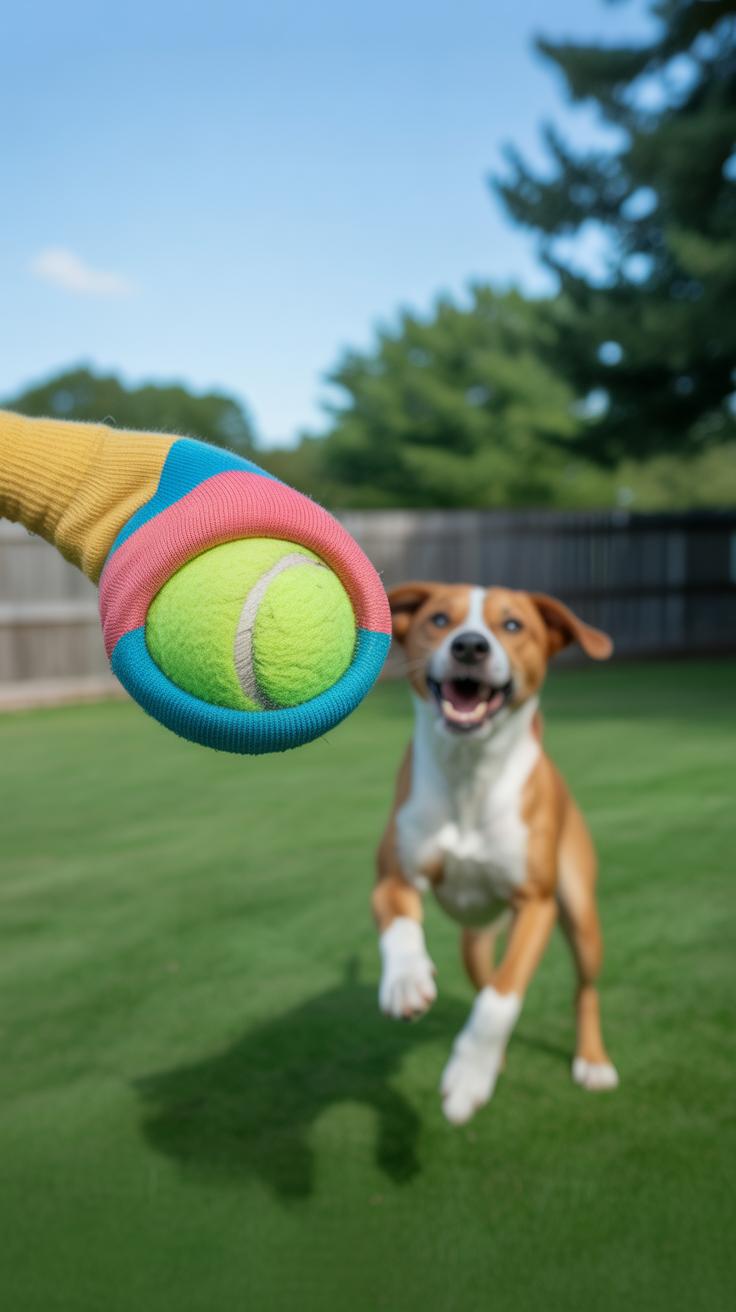
A fetch toy made from a sock and a ball can quickly become your dog’s favorite. It’s simple but effective—combining a familiar texture with the bounce and shape dogs love to chase. This kind of toy stimulates their natural instincts to retrieve, run, and grip, making playtime both physical and mentally satisfying.
Choosing the Right Ball
Not every ball fits well inside a sock, and size matters. Tennis balls work well for medium to large dogs, but you might want to avoid ones with a strong chemical smell, which some tennis balls have. For smaller dogs, softer rubber balls or even lightweight plastic balls that aren’t too hard can be better. The ball should slide easily into the sock but not slip out too quickly during play.
Assembly Steps
Start by dropping the ball inside the sock, pushing it down toward the toe area. Then, twist or gather the sock material above the ball to keep it snug. You can tie a knot just above the ball or use a tight rubber band—whatever feels secure without risking choking hazards. The goal is a toy that holds together through a few rounds of fetch but isn’t so rigid that the dog can’t grip it comfortably.
Once assembled, test it yourself. Toss and tug it around. Does it bounce and move in a way your dog will find interesting? With just a sock and a ball, you can keep playtime fresh and fun, often better than store-bought toys that don’t hold your dog’s attention long.
Recycling Old Jeans into Durable Dog Toys
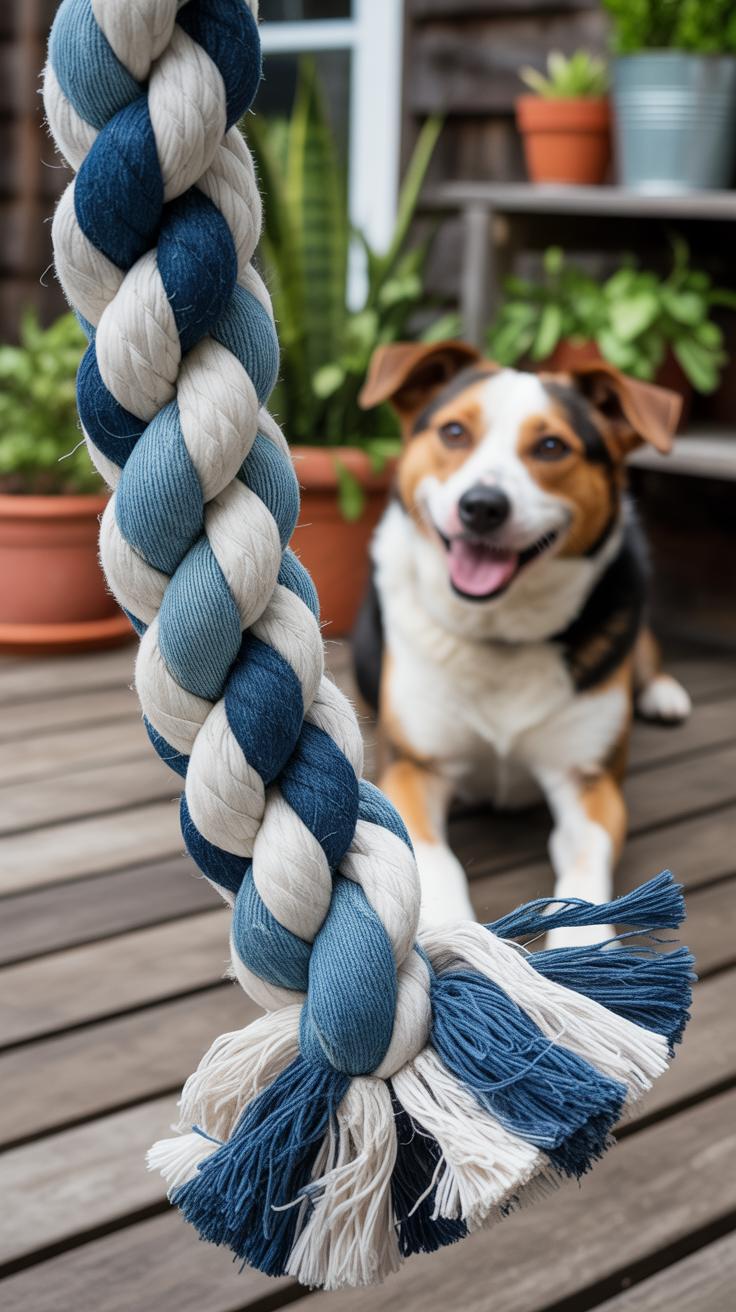
Cutting and Preparing Denim
Old jeans are surprisingly sturdy, making them perfect for strong dog toys. Before you start, you’ll want to pick a pair that’s worn but still thick enough to handle some chewing and tugging. Denim can be tough to cut, so a sharp pair of scissors is a must. You might want to iron the fabric first—it’s easier to cut when it’s flat and smooth, though it’s not essential.
Cut strips about two inches wide or wider, depending on your dog’s size. Strips should be long enough for braiding or knotting, at least 12 to 18 inches. If your scissors struggle, you could try small, deliberate snips instead of long cuts—makes the task less frustrating. Also, avoid any parts with rivets or heavy stitching, as those can hurt your dog or damage your tools.
Making a Denim Tug or Chew Toy
Start by taking three or more denim strips and knot them tightly at one end. This secures everything for braiding. A simple three-strand braid works well; it’s enough to hold together under playful tugs. For some interesting texture, you can mix strips from different jean shades or thicknesses.
Once braided, tie another knot at the opposite end. You can leave the ends loose to give some extra grip or trim them cleanly—it’s your call. For smaller dogs, a simple braid is just right; bigger dogs might prefer a thicker braid with more strips, or even doubling up the braids for extra bite resistance.
When you give this to your dog, observe how they handle it. Some dogs go straight for chewing, others love tugging. Denim stands up reasonably well in both cases, but nothing lasts forever, right? You might want to swap these out every now and then.
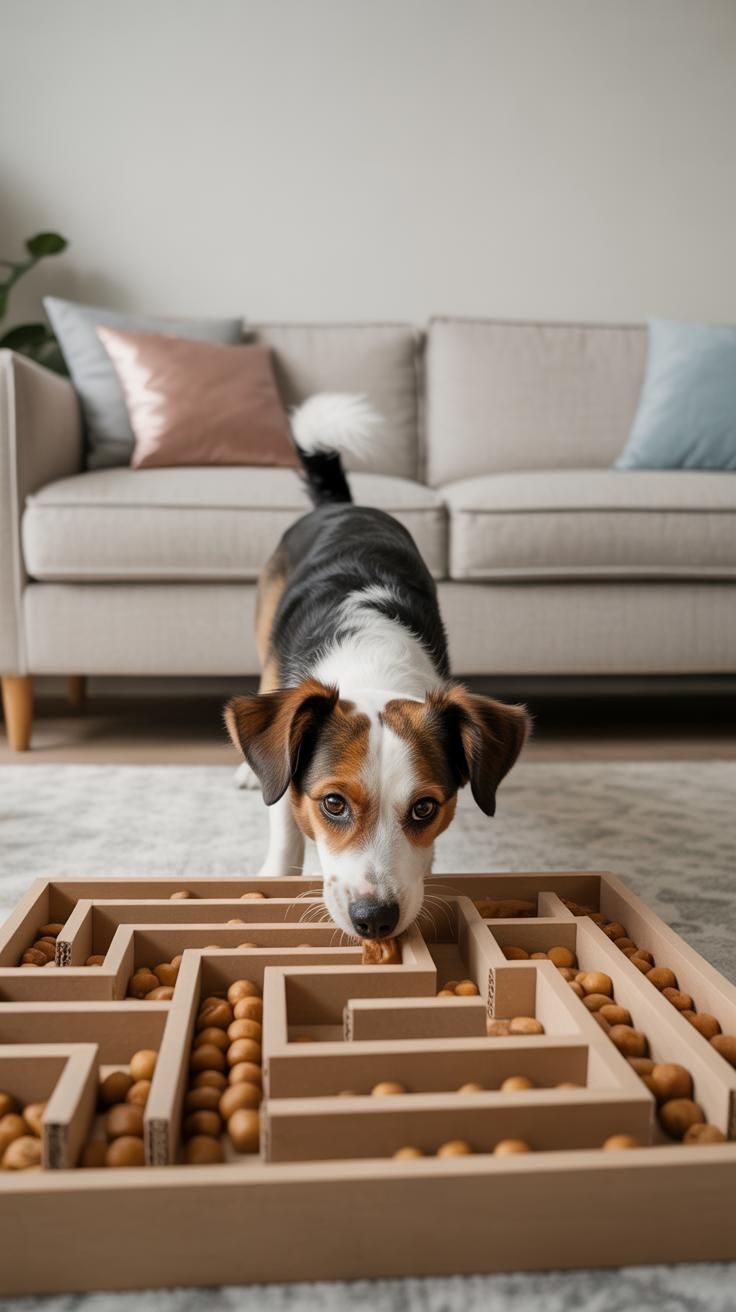
Using Cardboard for Interlocking Puzzle Toys
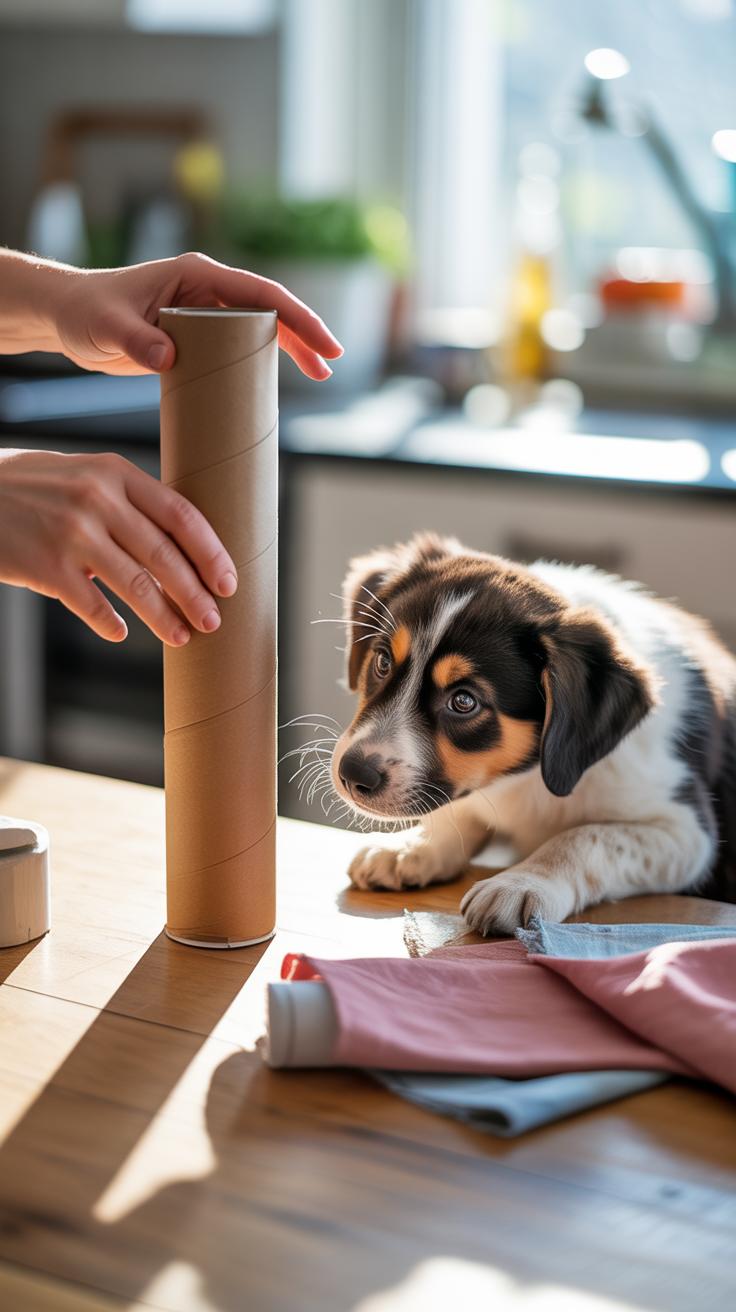
Selecting and Cutting Cardboard
Finding the right cardboard is trickier than you might expect. Not all boxes are equal—some are too flimsy, others too thick and hard to cut. I usually look for medium-thickness pieces from shipping boxes; they hold their shape without being heavy. Old appliance boxes work well, especially if you can flatten them out carefully. Try to avoid very worn or soggy cardboard—it won’t last long, and dogs might get frustrated.
Cutting shapes takes a bit of trial and error. Simple geometric forms like squares, rectangles, and triangles are good starting points. You want pieces that dogs can nudge or flip reasonably easily. I suggest using a utility knife or a box cutter. Just be cautious, especially if you’re doing this around pets. Cutting along drawn guidelines helps keep pieces consistent, but don’t stress perfect cuts—it’s okay if some edges are a bit rough.
Building the Puzzle
Once you have your cardboard shapes, the real fun begins. The idea is to arrange pieces so dogs can move or lift them to find treats hidden underneath. Think of it as a mini challenge—enough to keep your dog’s mind busy but not so complex that it gets frustrating.
Start by layering flat pieces on the floor or a tray. Place a treat under one piece and loosely arrange others around it. You might want to interlock a few shapes by overlapping edges or creating little “covers” that dogs have to nudge aside. Some dogs are persistent, others gentle, so observe how your dog tackles the puzzle and adjust pieces accordingly.
Don’t hesitate to switch things up too. Sometimes, adding irregular gaps or letting pieces rest at slight angles makes the game more interesting. But remember, if it’s too hard, your dog might lose interest, which defeats the purpose.
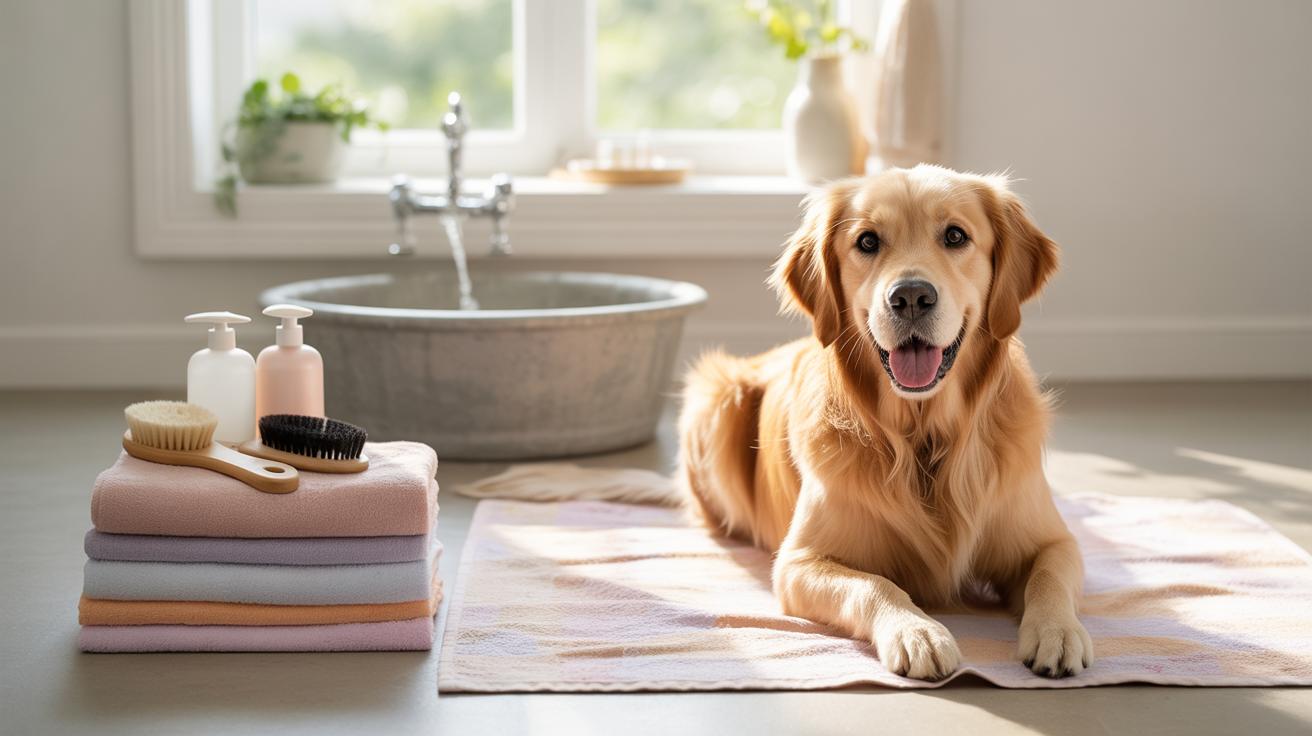
Cleaning and Maintaining Diy Dog Toys
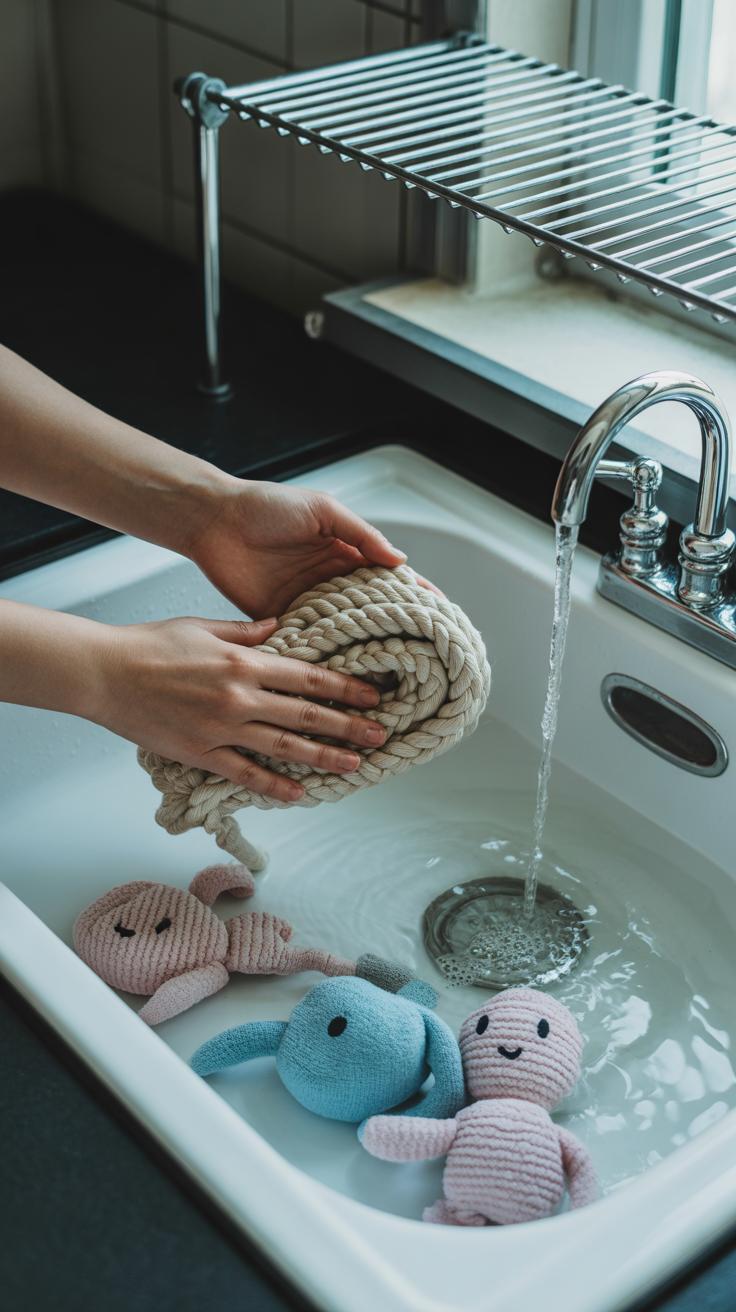
Regular Cleaning Tips
Keeping your homemade dog toys clean can feel like a bit of a chore, but it really pays off. Most household-made toys—like those made from fabric scraps, old T-shirts, or soft ropes—can be washed easily. Generally, tossing them in the washing machine on a gentle cycle works well, especially with mild detergent. If you’re worried about delicate materials, hand-washing in warm, soapy water does the trick too.
For harder items like cardboard puzzle pieces, a quick wipe down with a damp cloth usually suffices. But don’t let those get soggy—cardboard doesn’t hold up well when wet. In that case, dry cleaning with a soft brush or vacuuming out crumbs can help extend their life. And, of course, always check for bits of dirt or saliva buildup—those can harbor germs. Even if you don’t clean toys after every single play, giving them a quick once-over weekly keeps things safer and fresher.
When to Replace Homemade Toys
Knowing when a homemade toy has seen better days isn’t always obvious. You might not want to rush into tossing them, but you also don’t want to wait until parts break off and become choking hazards. Look for frayed edges, holes, or stuffing starting to poke through. If your dog’s gotten hold of loose threads or tiny bits of cardboard, it’s definitely time to swap it out.
Sometimes, you’ll notice your dog loses interest partly because a toy isn’t as fun or safe anymore. Plus, when toys start smelling odd or look really worn, that means bacteria could be settling in. It’s okay to be a bit cautious here—if you question whether it’s safe, probably better to make a new one. After all, fresh toys can spark your dog’s interest and keep playtime safe and lively.
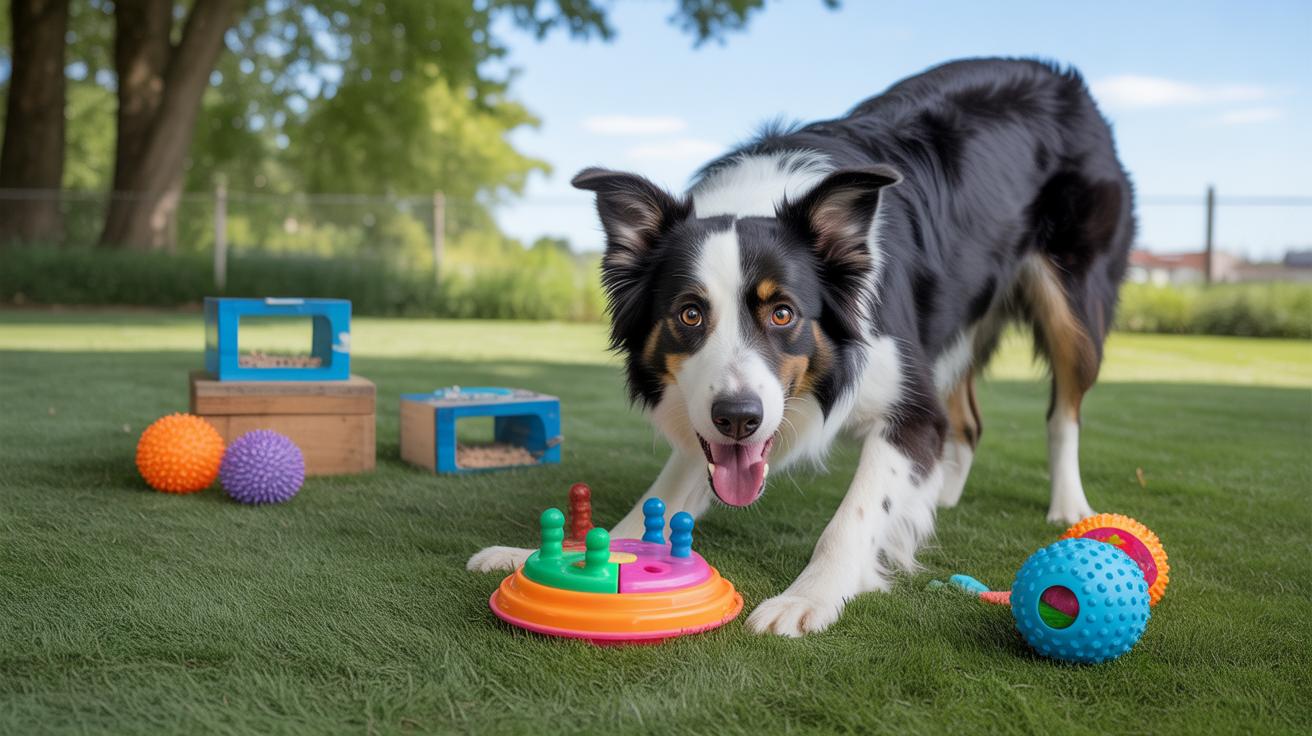
Encouraging Your Dog to Use Diy Toys
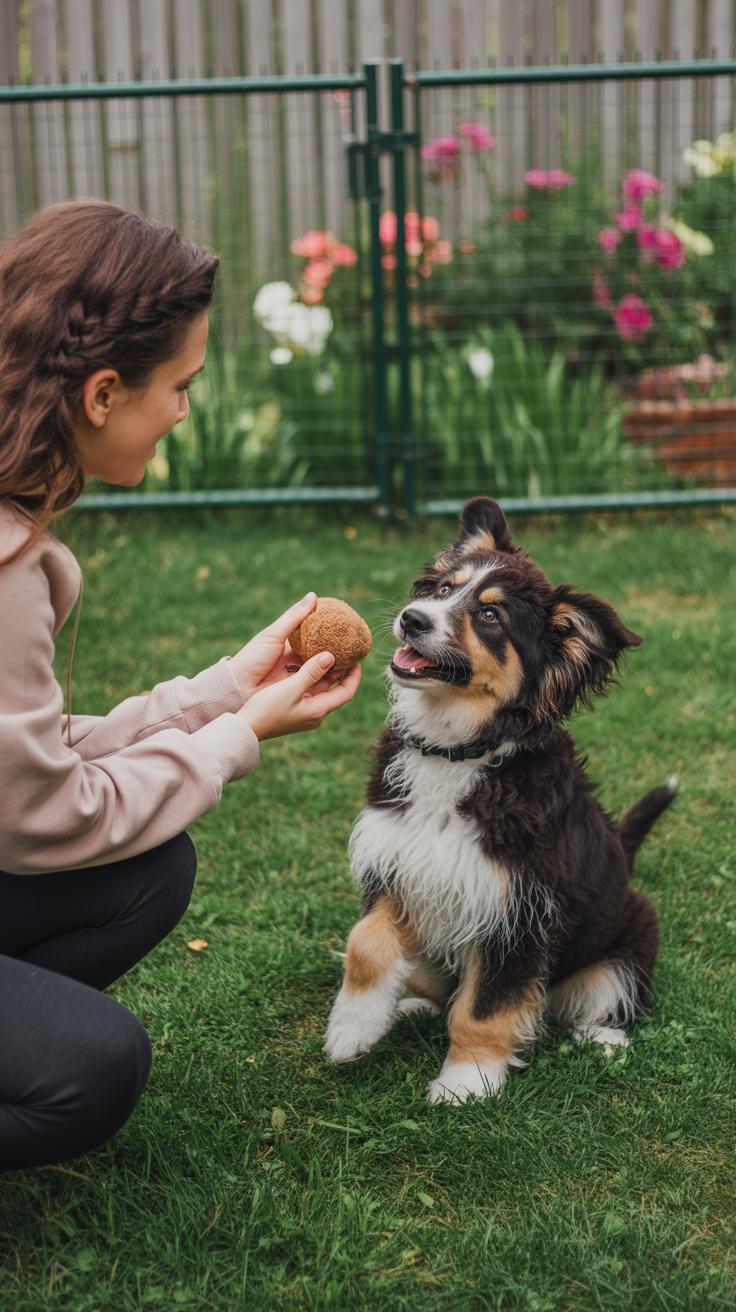
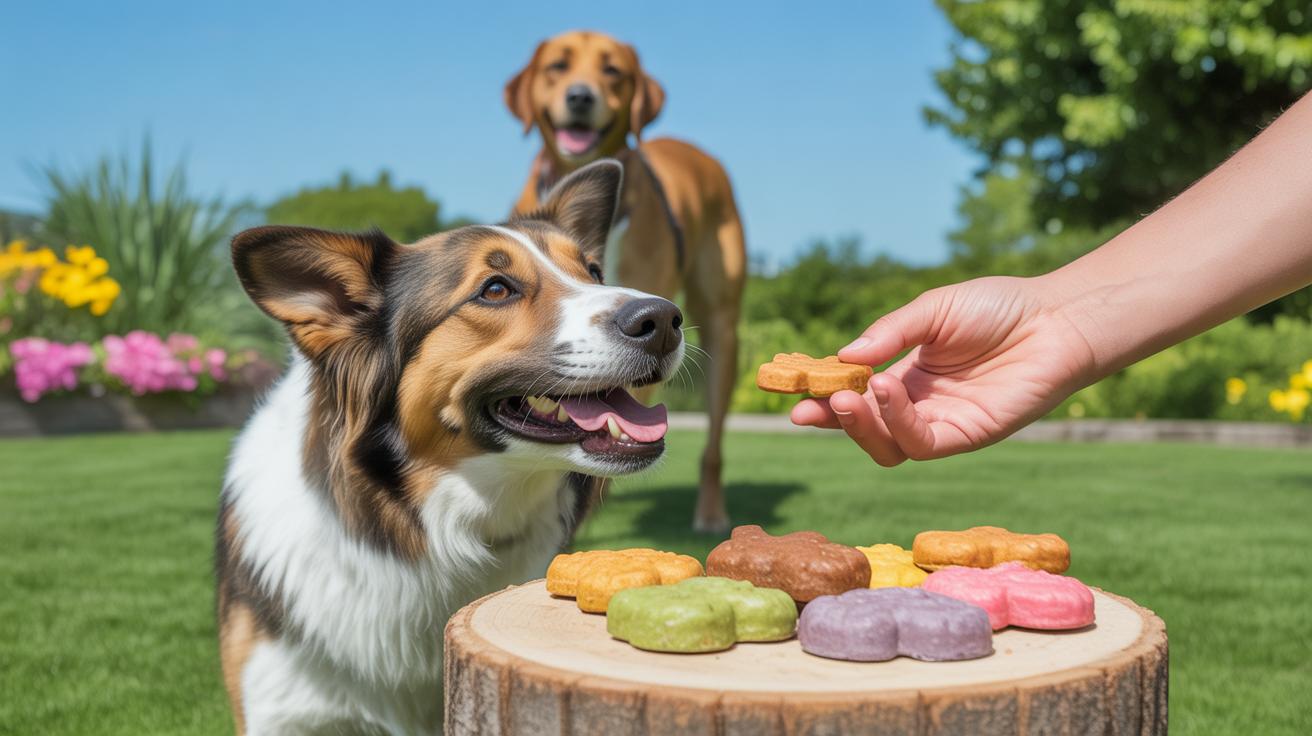
Introducing a new toy to your dog can be a bit of a challenge, especially if it’s a homemade one they’ve never seen before. You might want to start slow. Let your dog sniff and explore the toy at their own pace without forcing it. Sometimes, simply leaving the toy near where they rest or eat can spark curiosity. You could even try placing a small treat inside or on the toy—often an easy, practical way to grab their attention.
Once your dog shows even a little interest, try engaging with them directly using the new toy. Play simple games like gentle tugging or rolling the toy across the floor. You might notice they respond better if you make sounds while playing or if you move the toy in a way that mimics prey movement. Each dog reacts differently, so watching their cues is key.
Keeping playtime lively also helps. Switch between toys, mix short bursts of play with calm breaks, and change the setting occasionally. Sometimes, what works outside in the yard might not work indoors. And don’t forget, your enthusiasm matters. If you seem excited, they’re more likely to join in. It’s a little quirky, but showing them the toy is fun could be half the battle won.
Conclusions
Homemade dog toys can be safe, fun, and budget-friendly. Using household materials, you can keep your dog busy and healthy. These toys help your dog use energy and think while playing.
Trying out different designs can be exciting for both you and your dog. You will build a stronger bond and keep your pet happy. Start today and see how creative you and your dog can be with simple household items.