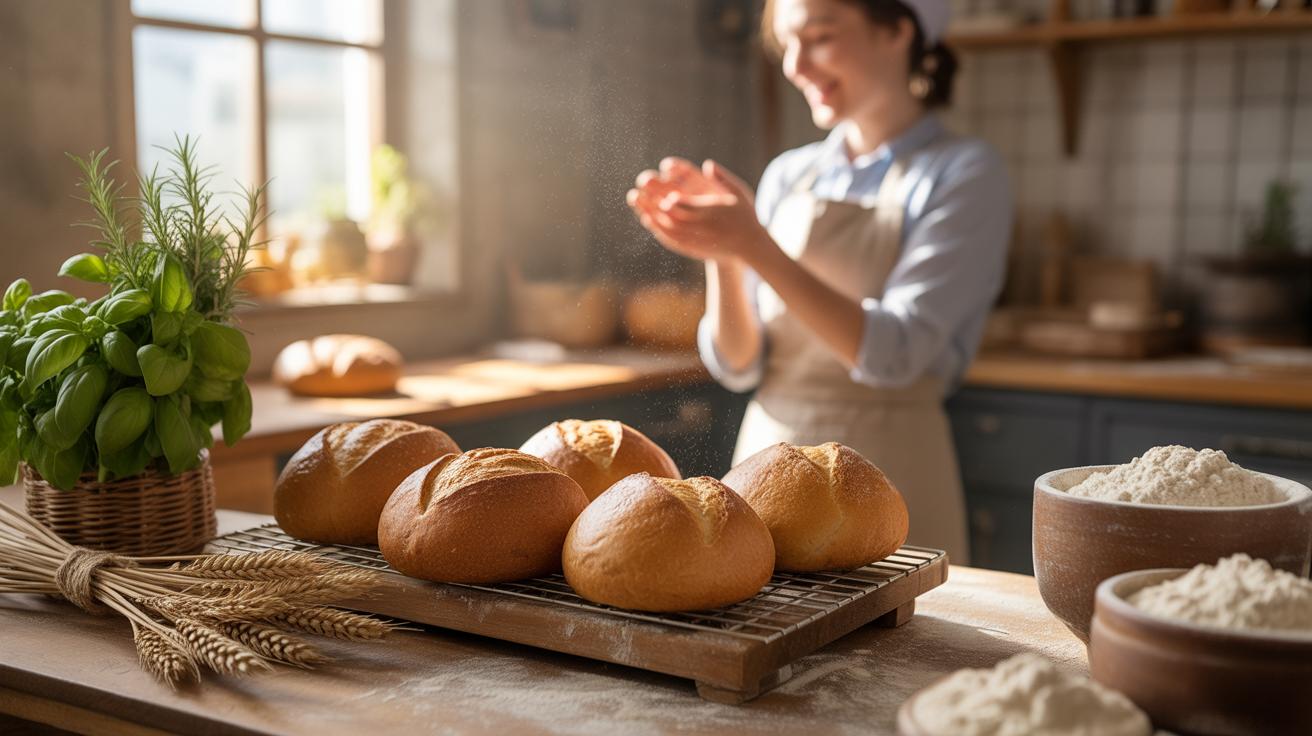
Introduction
Easy Dog Treat Recipes For Quick Homemade Snacks can make caring for your dog simpler and more rewarding. These recipes help you prepare healthy and tasty treats right at home. You’ll know exactly what’s in your dog’s snacks, which is great for health and safety.
This article covers simple recipes, ingredient choices, and directions for preparing homemade dog treats. Whether you want to save money or provide personalized snacks, these tips and recipes will help you offer your dog better treats quickly.
What Makes A Good Dog Treat
When thinking about what makes a dog treat good, a few things come to mind: nutrition, taste, and safety. You want treats that offer more than just empty calories. A good treat should provide some nutritional value, like a bit of protein or healthy fats, because treats often supplement your dog’s diet. Dogs can be picky—taste matters. If your dog doesn’t like the treat, it’s useless, right? It might take some trial and error to find what your dog enjoys.
Ingredient safety is crucial. You might be surprised how many common human foods can be harmful to dogs. Some ingredients should never be in any dog treat, homemade or store-bought. You want to avoid anything that could cause toxicity or digestive problems. A treat isn’t just junk food—it should support your dog’s well-being.
Key Nutrients Dogs Need In Treats
Dogs need protein to maintain muscle and keep energy up—even small doses in treats help. Fats play a role in shiny coats and brain function. Vitamins and minerals, like vitamin E or zinc, contribute to immunity and overall health. When treats include these, they do more than just satisfy hunger; they boost your dog’s nutrition.
Think about treats as mini-meals. A chicken-based biscuit might add protein, while pumpkin treats could add fiber and vitamins. It depends on what your dog needs or lacks in their regular diet. Sometimes homemade snacks can fill small gaps.
Ingredients To Avoid In Dog Treats
Certain ingredients always raise red flags: chocolate, grapes, raisins, onions, garlic—they can cause serious health issues. Even small amounts might be dangerous. Chocolate has compounds that stress the heart and nervous system. Grapes and raisins can lead to kidney failure, which is frightening. Onion and garlic hurt red blood cells, sometimes fatally.
Then there’s salt and sugar. Excessive salt can raise blood pressure or lead to dehydration. Sugar isn’t toxic but can cause weight gain and dental problems. Artificial sweeteners, especially xylitol, can be deadly, so keep an eye out for that in recipes or labels.
Reading ingredient lists is vital before making or buying treats. You want to avoid anything processed or with suspicious additives. Sometimes, the simplest ingredients—plain meats, pumpkin, oats—are the safest bets. Have you ever noticed your dog reacts negatively after a treat? That’s probably a sign to reconsider the ingredients.
Gathering Basic Ingredients At Home
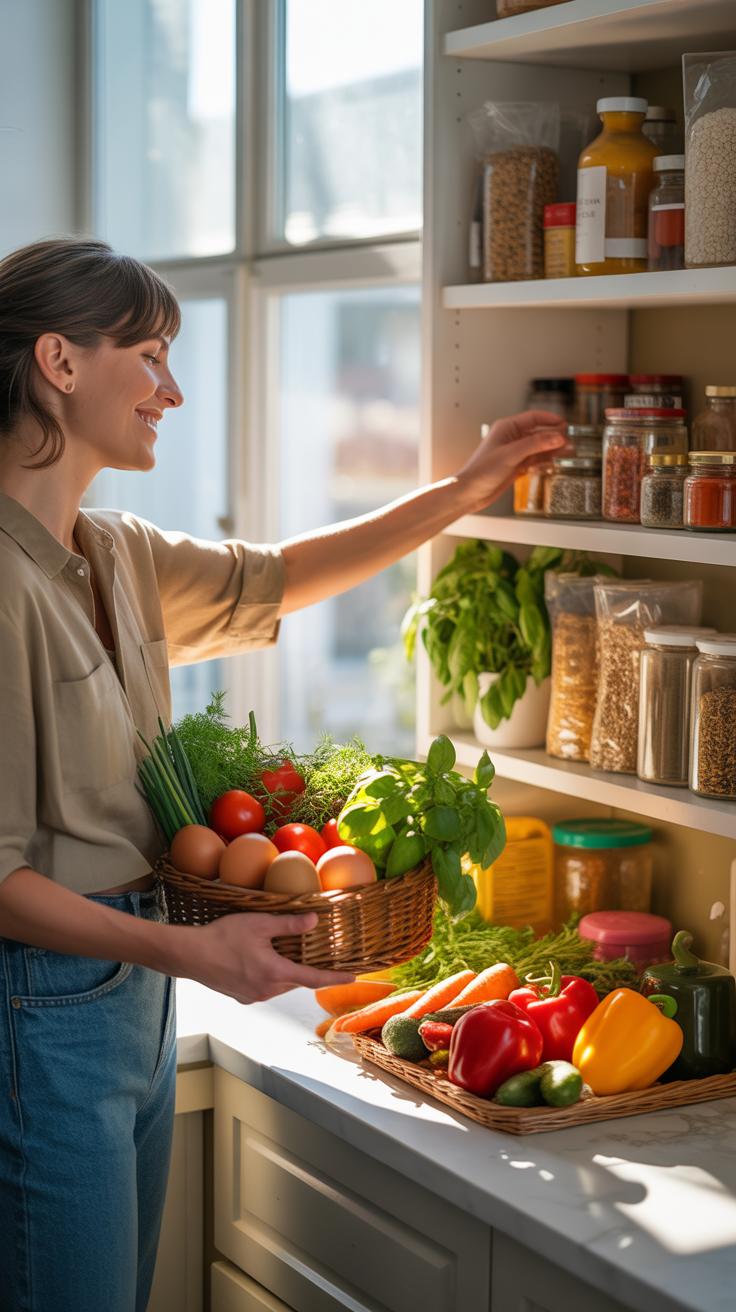
When it comes to making dog treats yourself, having a solid list of common ingredients is quite useful. You might be surprised how many safe options are already in your kitchen or local store. For meats, lean options like chicken breast, turkey, or even canned salmon work well. They add protein without too much fat, which dogs generally do better with.
Flours come next. Whole wheat flour is a popular choice, but if your dog has sensitivities, oat flour or rice flour can be gentler alternatives. Sometimes, just plain old all-purpose flour does the trick, though whole grain tends to have more nutrients.
Vegetables are another easy add-in. Carrots, pumpkin, and sweet potatoes often find their way into homemade recipes. They’re not just filler; they bring fiber and vitamins that many commercial treats lack. You can use them fresh, cooked, or even canned pumpkin (make sure it’s plain, without added spices).
Here’s a simple checklist you could keep handy:
- Meats: chicken, turkey, salmon
- Flours: whole wheat, oat, rice
- Vegetables: carrot, pumpkin, sweet potato
- Eggs (for binding)
- Peanut butter (unsalted and unsweetened)
- Apples (without seeds)
- Plain yogurt (in small amounts)
You might wonder if it’s a hassle to gather these, but most are common enough that it’s just about pulling them together. Some experimenting might be needed to find what your dog prefers — every dog’s a little different, after all.
Affordable And Healthy Ingredient Choices
Not every wholesome ingredient has to be pricey or hard to find. For instance, chicken thighs or drumsticks are usually affordable cuts and can be cooked then shredded for treats. Bulk oats are inexpensive and can be ground into flour if you don’t want to buy specialty flours. Canned pumpkin is often cheap and stocked year-round, making it a reliable option.
Carrots can be bought in bulk, sometimes cheaper if you pick whole roots rather than baby carrots. Sweet potatoes keep well in the pantry for several weeks, so they don’t force you to rush your recipes. Eggs are almost always a pantry staple for egg-binding recipes.
Using peanut butter should be done sparingly but it’s often a great ingredient to make treats more enticing. Just check for brands free from xylitol and excess salt. Ingredients like these reduce costs by doubling as treats or snacks for you, too — which might be why I sometimes end up snacking on carrots meant for the dog.
Tools To Prepare Dog Treats Easily
When you’re ready to make treats, the right tools help. You don’t need anything fancy; just a few basics work fine. Mixing bowls, preferably several sizes, keep your dry and wet ingredients separate until you combine them. A sturdy wooden spoon or spatula helps you mix thick doughs, and a rolling pin can flatten the dough evenly.
Baking trays lined with parchment paper stop treats from sticking and simplify cleanup. Cutters don’t have to be specific dog bone shapes — even simple cookie cutters or a knife to cut squares will do. If you’re getting a bit more ambitious, a silicone mat can help with nonstick, reusable surfaces.
One thing that surprised me was how much a timer matters. Overbaking turns treats too hard, and underbaking leaves them a bit soft. A basic kitchen timer or using the timer on your phone keeps it sane, especially if you’re juggling other things.
Finally, a cooling rack lets treats dry out properly after baking. I found that just leaving them on the tray makes them a little soggy on the bottom — not ideal for doggy snacks meant to last.
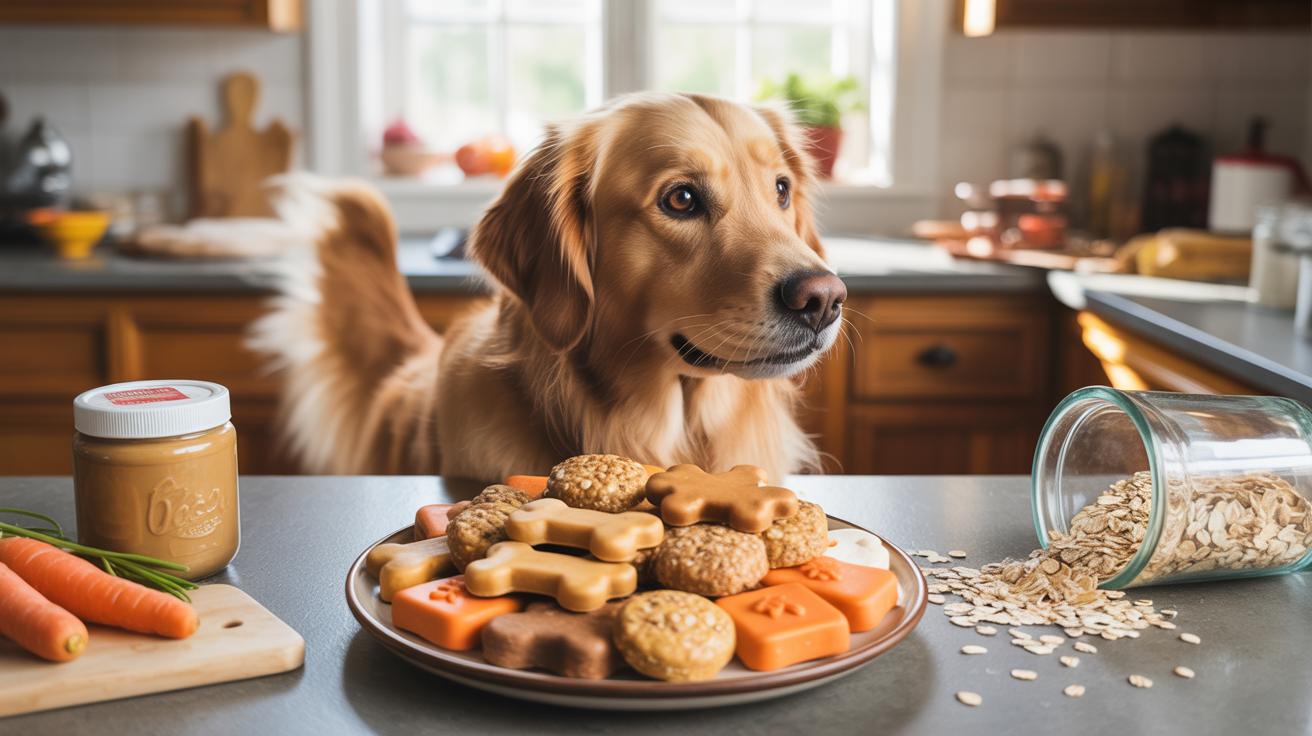
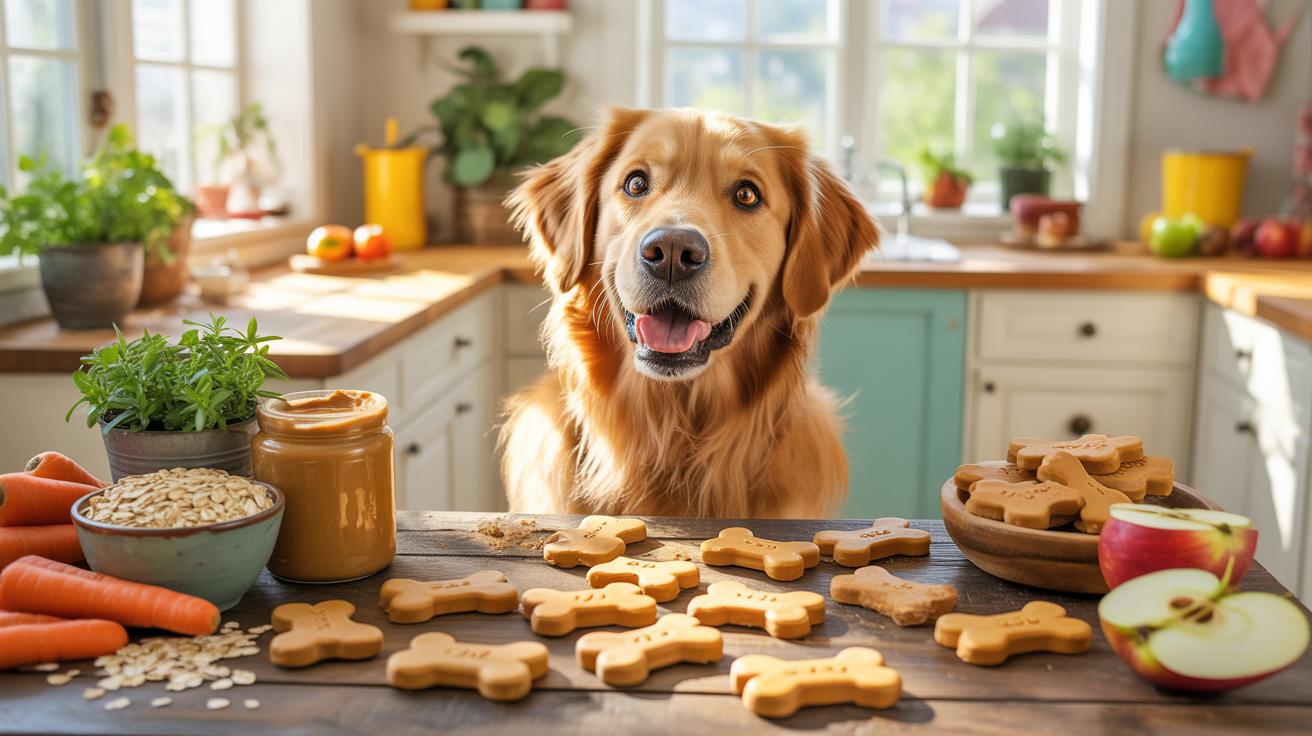
Quick Recipes For Homemade Dog Treats
Making dog treats at home doesn’t have to be complicated or time-consuming. In fact, with just a few ingredients and simple steps, you can whip up snacks your dog will enjoy. These recipes focus on everyday items you might already have, plus they don’t require fancy kitchen skills or equipment.
Let’s start with a peanut butter and oat treat that feels a bit like a quick bake but tastes rewarding. Peanut butter is a favorite for many dogs, and oats add a wholesome touch.
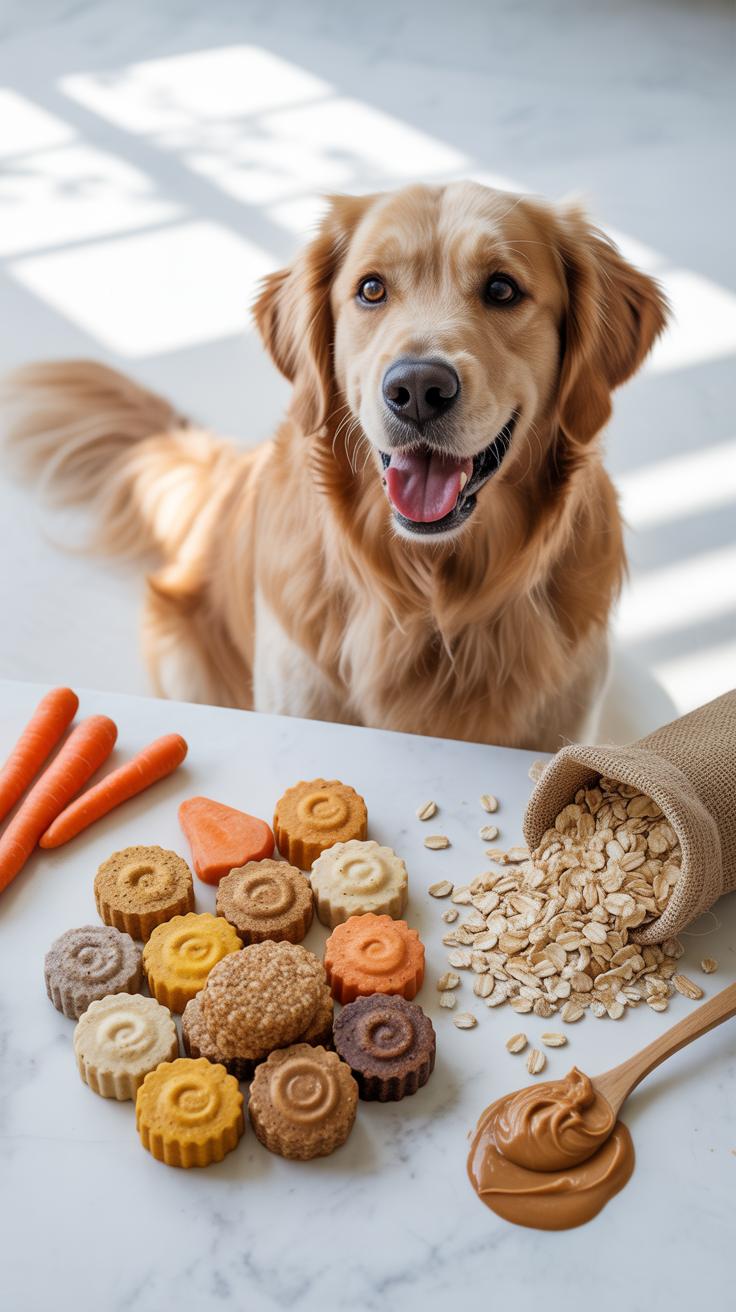
Peanut Butter And Oat Snacks Recipe
You’ll need only three ingredients:
- 1 cup rolled oats
- ½ cup peanut butter (make sure it has no xylitol or added sugar)
- ½ cup water
First, preheat your oven to 350°F (175°C). Next, mix the oats and peanut butter in a bowl until somewhat combined. Slowly add water, stirring until you get a slightly sticky dough. It won’t be too wet, which helps the treats keep their shape. Spoon small dollops onto a baking sheet lined with parchment. Flatten them a bit with the back of a spoon. Bake for about 15 minutes or until golden brown around the edges. Once cooled, store in an airtight container. Your dog might find these treats pretty irresistible, and they’re so simple you might wonder why you never tried before.
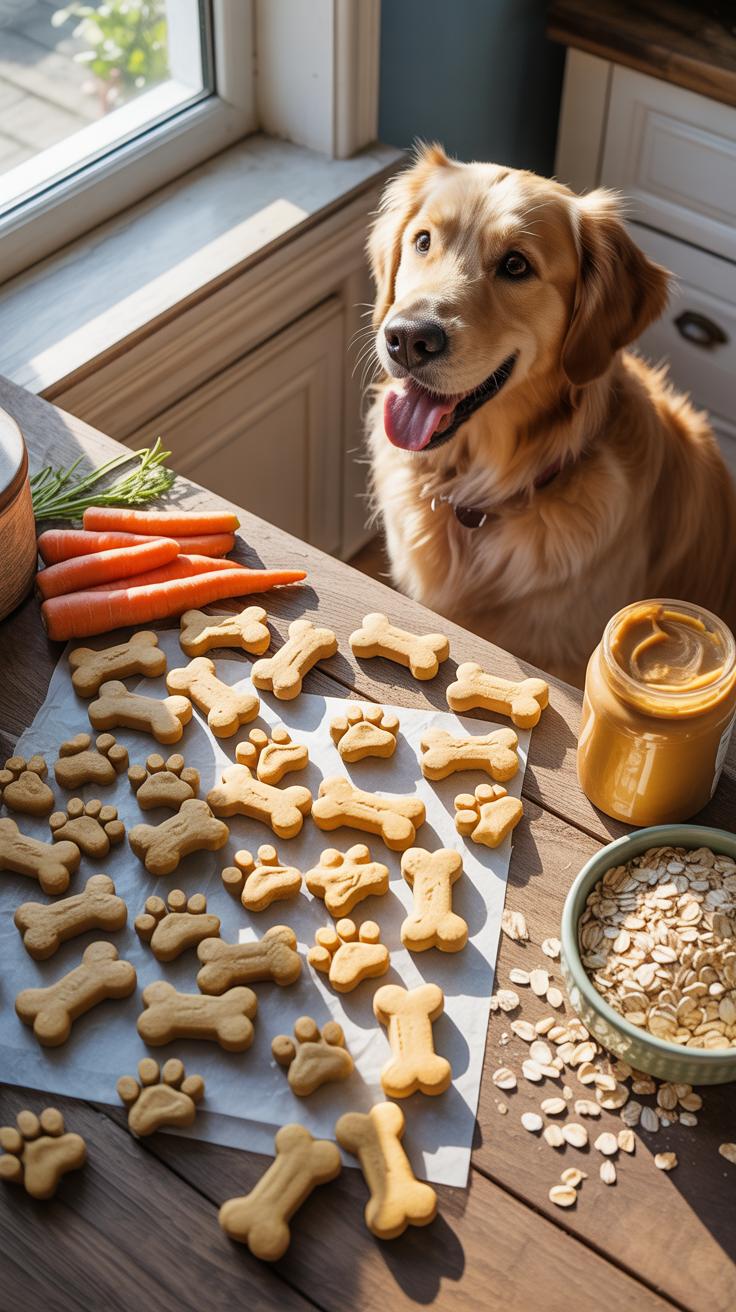
Chicken And Carrot Bites Recipe
For something with more protein, chicken and carrot bites make a nice switch. They’re straightforward, too.
You need:
- 1 cup cooked chicken, shredded
- ½ cup finely grated carrots
- 1 egg
- ½ cup whole wheat flour
Start by preheating your oven to 375°F (190°C). In a bowl, combine chicken, carrots, and the egg. Mix well, then gradually add the flour until the mixture forms a dough that’s not too sticky. Shape small balls and place them on a baking sheet. Lightly flatten each ball. Bake for 20 minutes or until firm. Let them cool completely before offering to your dog. These bites bring a good protein hit and a bit of sweetness from the carrot, which some dogs seem to enjoy more than you’d expect.
Both recipes take little effort but can make your dog’s snack time feel special. Sometimes it’s the simplest things that work best, don’t you think?
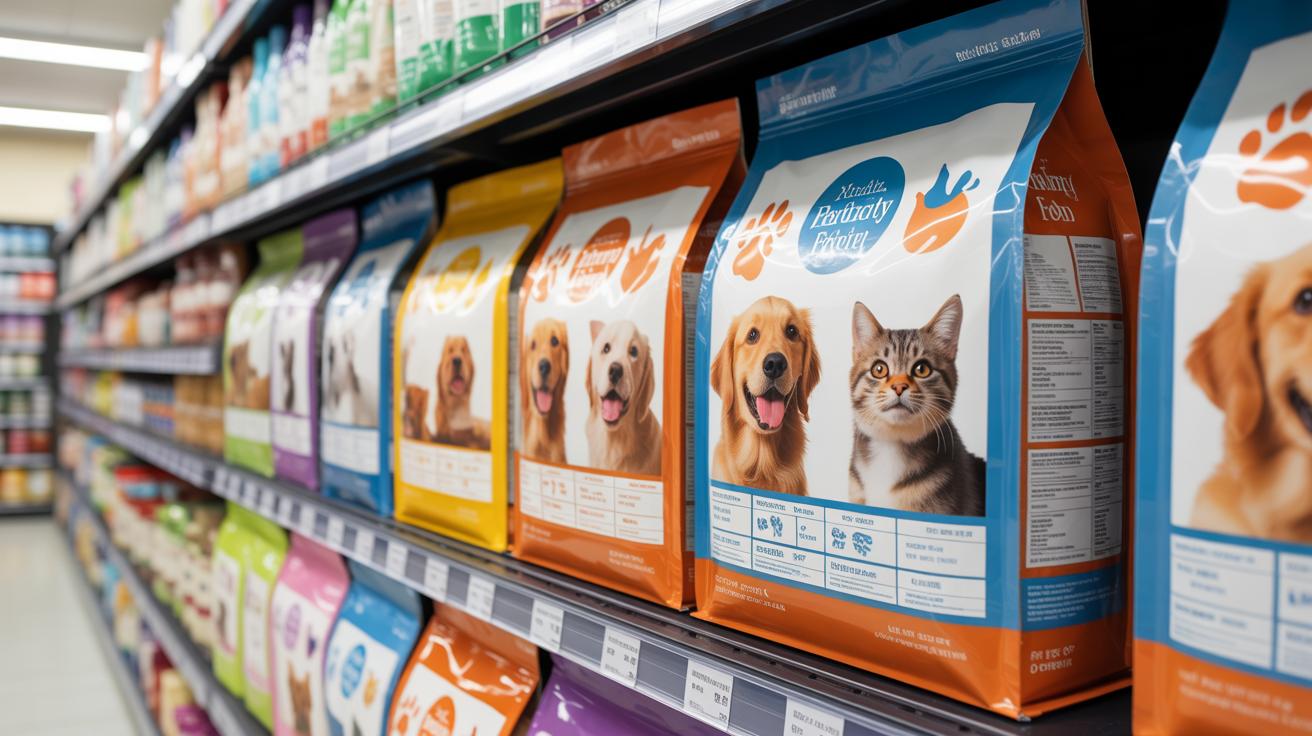
Why Choose Homemade Over Store Bought

Making your dog’s treats at home means you know exactly what goes into them. That’s a big deal when you think about the long list of ingredients on many commercial snacks, often filled with preservatives and artificial flavors that you barely recognize. When you mix up a batch yourself, you pick each ingredient carefully—and that can really change the way your dog reacts to the treat, for better or worse.
Another point that some people overlook is how customizable homemade treats can be. If your dog has allergies or sensitivities, store-bought options might not even be safe or suitable. But in your kitchen? You can swap out ingredients easily—no guesswork needed. Maybe your dog does well with pumpkin but not with wheat. Or you want to sneak in some fish oil for extra omega-3s. You’re in control, really.
Cost comes into the picture too. Premium commercial treats, especially those branded as “natural” or “organic,” can get pricey fast. Baking your own treats often cuts the cost dramatically. Sure, you have to buy the ingredients upfront, but many basics—like oats, peanut butter, and sweet potato—last a long time and make many batches.
- You can tailor flavors and textures without paying extra.
- Simple ingredients from your pantry are usually cheaper over time.
- Homemade treats avoid waste—you’ll only make what you need.
Still, there’s something to be said for convenience. Commercial treats are grab-and-go, no question. Baking takes time and planning, and not everyone wants that daily commitment. It’s a bit of a trade-off, really, between convenience, cost, and what you can control.
What’s your dog really getting when you buy a snack off the shelf? Are you confident about every ingredient? Sometimes, those questions make the homemade route worth trying—even if just for a few batches. You might find it’s easier, healthier, and a bit more satisfying than expected.
Step By Step Treat Preparation Process
Choosing the right ingredients is your first move. Fresh, simple components like pumpkin, peanut butter (without xylitol), oats, and whole wheat flour often work well. It might seem like a lot at first, but keep it basic to start. You can add extras later once you’re comfortable.
Mixing calls for some attention. Combine the dry ingredients first, then slowly add wet ones. This helps avoid clumps. You want a dough that’s firm but not crumbly. If it’s too sticky, sprinkle in a bit more flour, little by little. Don’t rush this, feel the dough’s texture—does it hold shape? That’s key.
Shaping is surprisingly easy. Use cookie cutters for fun shapes or just roll into small balls. If your dog prefers crunchier treats, flatten the dough a bit thinner. You might want to keep a small bowl of water nearby to dip your fingers in; this stops the dough from sticking to your hands too much.
When it comes to baking, set your oven between 325°F and 350°F. Baking time will depend on thickness but usually ranges from 20 to 30 minutes. For drier treats, you might bake longer at a slightly lower temperature, keeping an eye on them to avoid burning. Let them cool completely before sharing with your furry friend. Sometimes, I leave them out overnight just to firm up.
Treats For Dogs With Dietary Restrictions
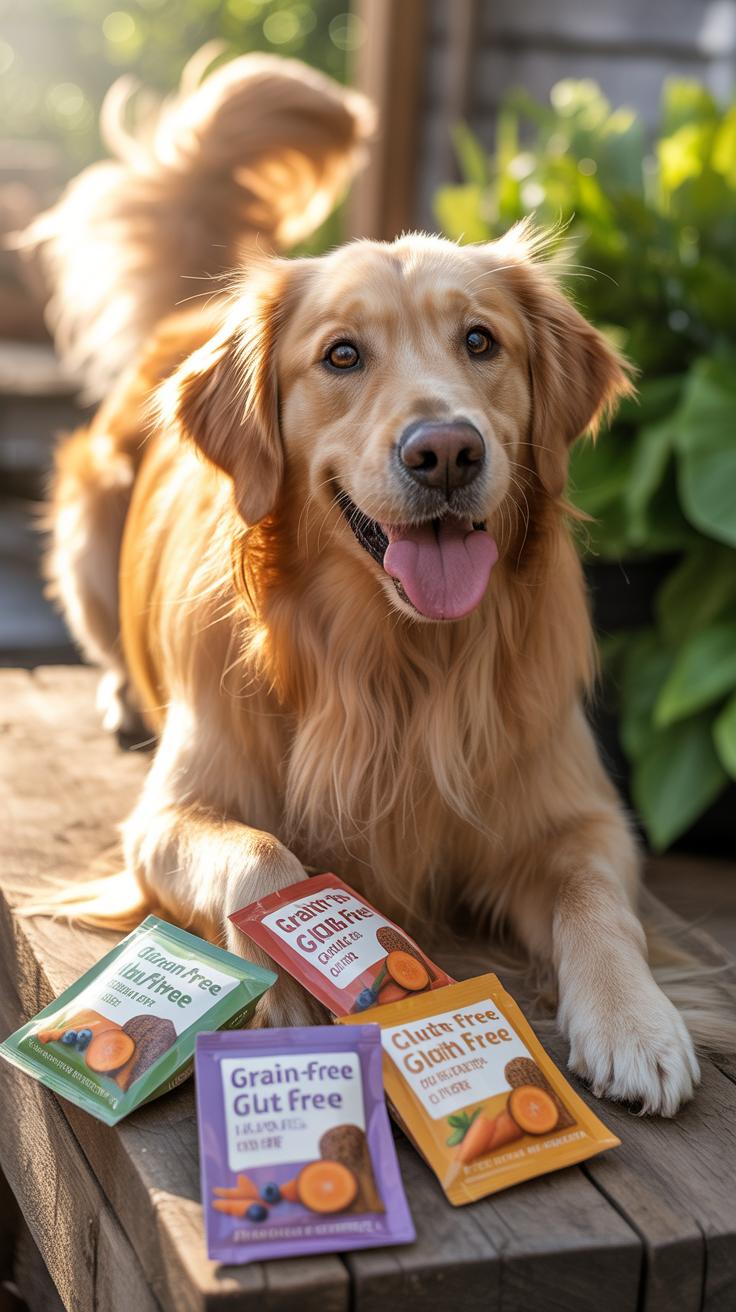
When your dog has dietary restrictions, making treats can feel tricky. Maybe your dog struggles with gluten intolerance or needs to keep fat intake low for weight reasons. Finding snacks that fit those needs need not be complicated, though. You can still whip up something tasty without stressing over unusual ingredients.
Gluten Free Homemade Dog Treat Ideas
Gluten intolerance in dogs isn’t super common, but it’s real enough that some pups need gluten-free snacks. If you want to try, think about using ingredients like:
- Oat flour (make sure it’s certified gluten-free)
- Brown rice flour
- Sweet potato or pumpkin puree
- Ground flaxseed or chia seeds as binding agents
An easy treat would be to mix pumpkin puree with oat flour and a beaten egg, roll out small shapes, and bake until firm. Keep watch on your dog’s reaction—sometimes even gluten-free labeled ingredients cause issues for sensitive pups.
Low Fat Snacks For Overweight Dogs
If your dog needs to shed a few pounds, treats shouldn’t add unnecessary fat. Lean proteins like shredded chicken or turkey breast work well. Vegetables such as green beans or carrots can be baked into crunchy bites. Try combining:
- Mashed sweet potatoes
- Egg whites instead of whole eggs
- Pureed zucchini or pumpkin
A simple recipe could be mixing zucchini puree with oat flour and egg whites, baking thin biscuits for a low-fat snack that feels special but won’t pack on calories. It’s a balancing act, really. You want treats to be enjoyable for your dog but mindful of their health needs. It might take some trial and error to find what works best.
How To Store Homemade Dog Treats
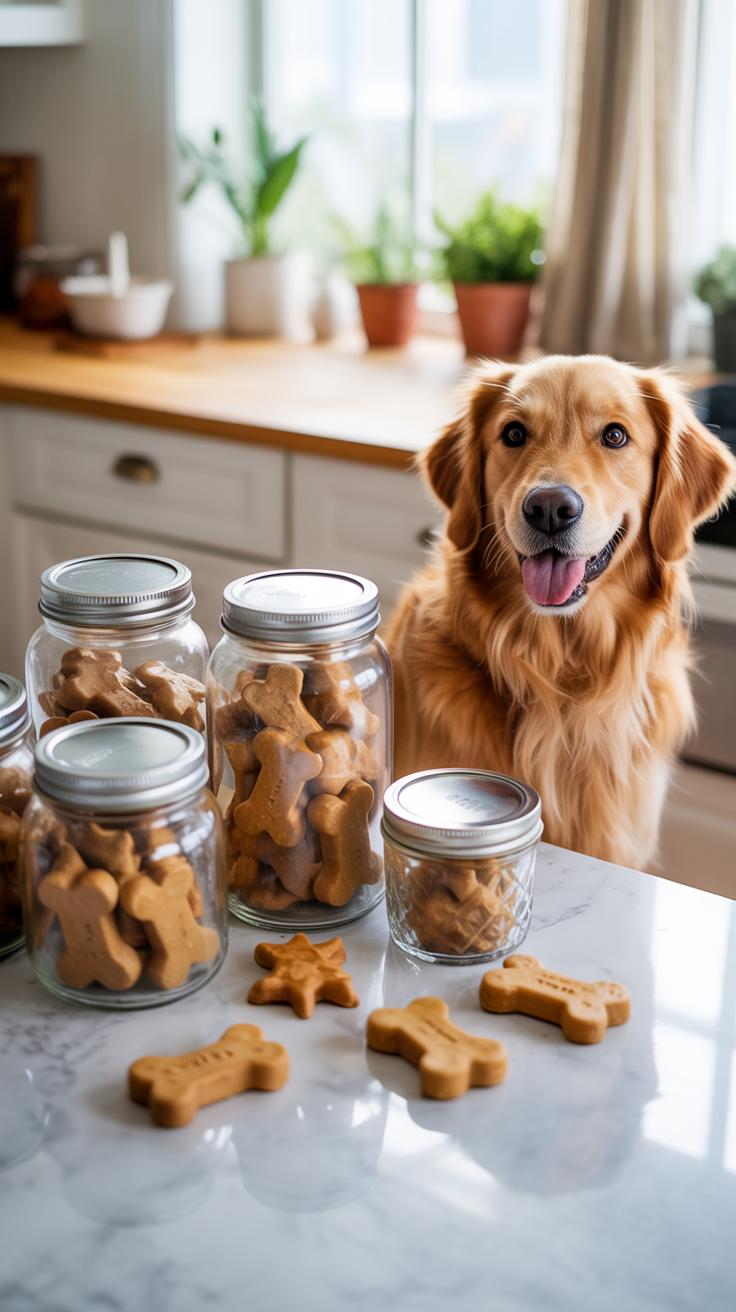
Containers That Keep Treats Fresh
Choosing the right container can really make a difference in how long your dog’s treats stay fresh. Air-tight containers are usually the best bet. Glass jars with rubber seals or high-quality plastic containers with snap-tight lids work well. You want something that keeps out moisture and air, which are the main culprits that make treats go stale. Wrapping treats in parchment paper before storing them inside a container can add a little extra protection, especially if you plan to keep them for a week or so.
Some people swear by resealable freezer bags, but those can sometimes allow small amounts of air inside. For longer storage, vacuum-sealed bags do a better job, although they require special equipment, which not everyone has on hand. Using what you already have is fine, but just check your treats from time to time—if they start smelling off or feel soft, it might be time to toss them.
Shelf Life Of Different Treat Types
Baked treats generally last a week or two at room temperature, assuming they’re stored properly. If you want them to last longer, refrigeration can stretch that to about three weeks. But some baked treats with lots of moisture might spoil faster, so keep an eye on those.
Dried treats—like dehydrated jerky or fruit—tend to hold up better. They can last several weeks at room temperature as long as they stay dry. I once left some dried sweet potato treats out for a month, and they were still fine. But make sure your drying process is thorough; any leftover moisture invites mold.
Freezing is your best option for long-term storage. Most treats keep well in the freezer for up to three months. Just thaw a small batch at a time to avoid refreezing, which can ruin texture and freshness. It’s not a perfect solution, but it does buy you time, especially if you like to make large batches ahead.
Common Mistakes To Avoid When Making Treats
Using Unsafe Ingredients By Accident
It’s easy to think a food that’s safe for us is also fine for dogs, but that’s not always true. Things like onions, garlic, grapes, and chocolate pop up in kitchens all the time, and some homemade treat recipes accidentally include them or their derivatives. You might think a pinch of onion powder won’t hurt, but it can be harmful.
Before using any ingredient, double-check its safety for dogs. I sometimes find myself Googling “is X safe for dogs” even with common spices. If a recipe isn’t clear about ingredient safety, trust your doubt and leave it out. It’s better to be safe than sorry — dogs can’t tell us if something feels off.
Overbaking Or Underbaking Treats Causes
Baking time and temperature matter more than you’d expect. Overbaking makes treats too hard, which can pose a choking hazard or strain your dog’s teeth. Underbaking, on the other hand, risks soft, doughy treats that might harbor bacteria or cause an upset stomach.
One time, I pulled out a batch a little too soon, hoping for soft treats, but they ended up sticky and crumbly — not ideal at all. The trick is to test a small batch first, watch them closely, and follow the recipe’s suggested temperature, but stay ready to adjust. Some ovens run hotter or cooler, so your experience might vary.
Check treats by touch: they should feel firm but not rock solid. A little trial and error is okay — that’s part of learning to make your dog’s favorite snacks just right.
Ways To Make Treat Time More Enjoyable

Using homemade treats does more than just satisfy your dog’s taste buds—it can actually make training and playtime more meaningful. When you offer treats you’ve made yourself, you might notice your dog is more interested and engaged. That simple act, the scent and texture of something fresh, seems to catch their attention better than store-bought snacks. Plus, there’s this little connection that forms when you create something for them, almost like sharing a quiet moment together. It makes the treat feel more special.
Try turning treat time into interactive games. Hide small treats around the room for a quick sniff-and-find challenge. Or play “which hand” by hiding a treat in one hand and letting your dog guess. These little activities don’t just reward your dog—they keep their mind sharp and help you bond. Maybe start with simple games, then see what your dog enjoys most. It can be a fun mix of training and play.
You could also experiment with using treats as rewards for calm behavior, not just tricks or commands. Offering a bite after your dog waits patiently or relaxes can bring positive vibes to everyday moments. It changes treat time from pure reward into a way to interact, communicate, and learn together. And, perhaps, that’s what makes homemade treats worth the extra effort.
Conclusions
Making dog treats at home is a practical way to control ingredients and cater to your pet’s taste and health needs. The recipes shared use common, safe ingredients that can be easily found in your kitchen. Treat your dog with care by preparing snacks that avoid harmful additives and fillers.
Try different recipes, watch how your dog reacts, and adjust ingredients to suit their preferences. Homemade dog treats offer a fresh and personal alternative to store-bought snacks and can strengthen the bond with your pet through thoughtful preparation.