Introduction
Making your own dog treats at home can be easy and fun. With just three simple ingredients, you can create healthy and delicious treats that your dog will enjoy. This approach saves money, avoids artificial additives, and allows you to control what your dog eats.
In this article, you will learn about the best ingredients for dog treats, how to combine them, and easy recipes to try. We will also cover tips on keeping treats safe, how often to give them, and how these homemade snacks can fit into your dog’s diet. Let’s get started on making tasty treats with only three ingredients!
Choosing the Right Ingredients
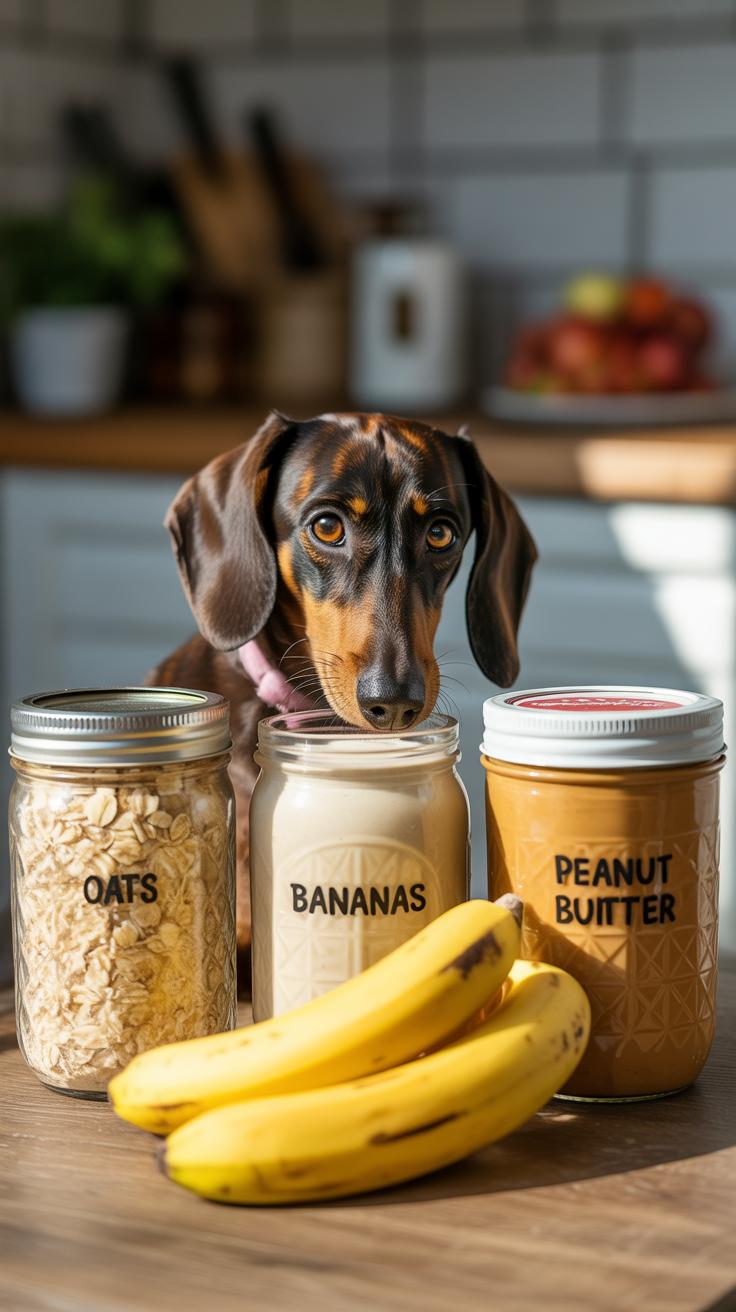
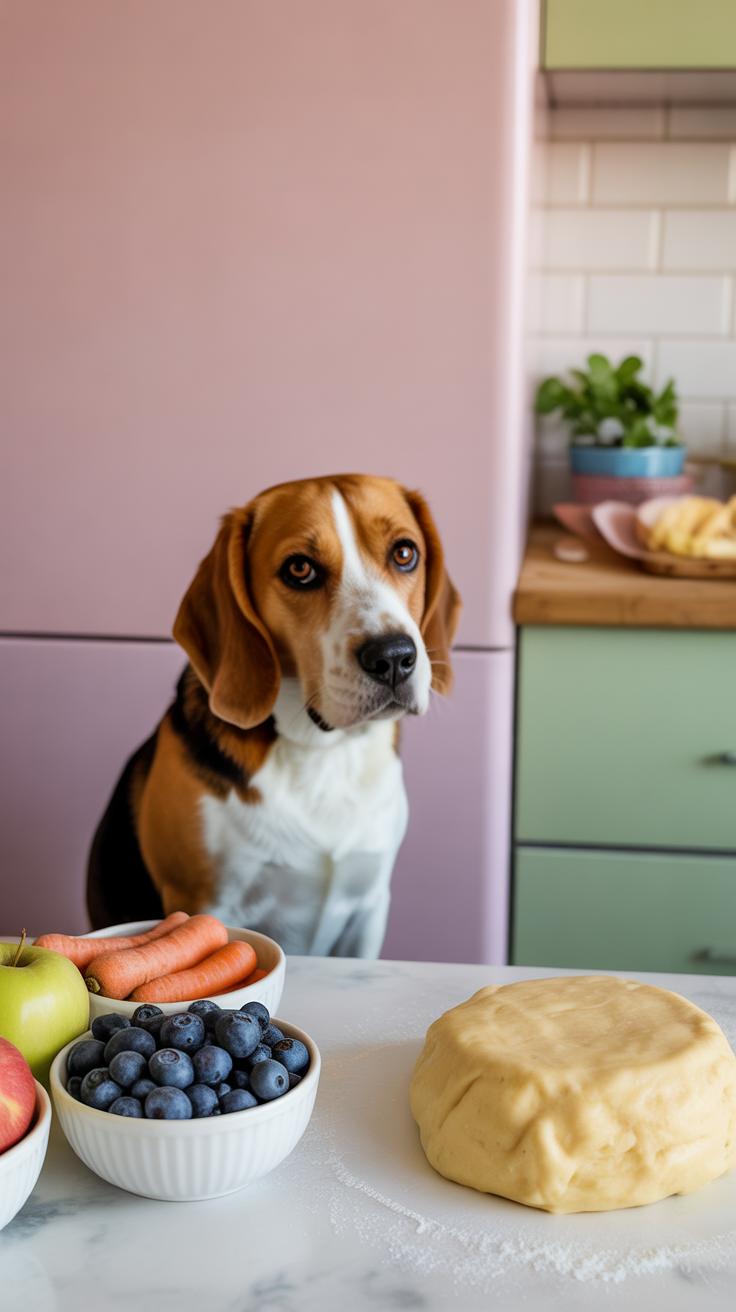
Picking ingredients for your dog treats can feel a bit tricky, especially when you want to keep things simple with just three items. But it’s really about focusing on dog-friendly, wholesome foods that are easy to find and gentle on their tummies. I tend to lean toward ingredients like plain cooked chicken, sweet potatoes, or apples because they’re common but safe choices. Fruits such as blueberries or bananas work well too, but always in moderation and peeled or sliced carefully.
When it comes to grains, oats are a favorite — they’re easy to digest and widely available. Brown rice is another good option if your dog handles it okay. The key is to avoid added sugars or salts, which can creep in surprisingly fast. You know, it’s not always obvious which packaged ingredients might have those extras, so sticking to fresh, whole foods helps keep things on the safe side.
Honestly, I’ve found that simple combinations like pumpkin with peanut butter and oats often hit the sweet spot—dogs seem to love the taste, and these ingredients pack some nutritional punch too. Just beware of using anything too exotic or rich, as some dogs can develop sensitivities over time without you realizing it.
Understanding Dog Nutrition Basics
Dogs need a balance of nutrients—proteins, fats, carbs, vitamins, and minerals—to stay healthy. It’s tempting to treat them like little people and reach for fancy mix-ins, but sometimes the classics are best. Take oats: they provide fiber and slow-release energy, which is great for steady digestion. Pumpkin, too, is wonderful for digestive health, offering fiber and helping regulate bowel movements.
Peanut butter, on the other hand, is a source of healthy fats and protein, though fatty it may be, so moderation is key. I remember my dog going wild for peanut butter treats, but if I overdid it, she’d get tummy troubles. So, it’s something you want to use carefully rather than liberally.
Proteins like chicken or beef are essential because dogs are primarily carnivores. Using lean meats in treats gives them amino acids they need for muscles and repair. You might wonder, are grains even necessary? They’re not essential but can provide valuable fiber and energy; plus, most dogs enjoy the taste and texture that grains add.
Avoiding Harmful Ingredients
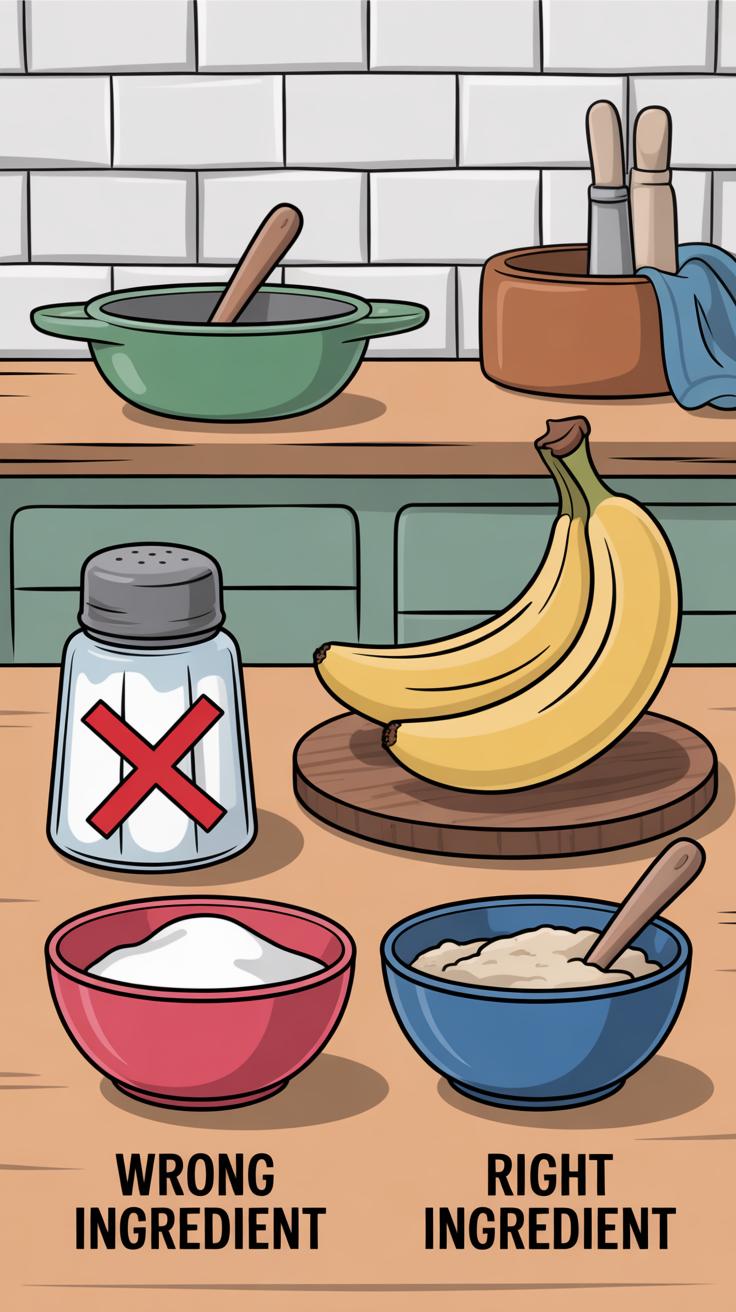
Some ingredients just don’t belong in dog treats. For example, grapes and raisins—small amounts can cause kidney failure in dogs. Chocolate is another no-go; it contains theobromine, toxic to dogs even in tiny doses. Onions and garlic might seem harmless, but they can damage red blood cells.
Sweeteners like xylitol, often found in sugar-free products, are extremely dangerous. Even a little can cause fatal drops in blood sugar. So, steer clear of any processed ingredients or human treats that list artificial sweeteners.
Dairy can be tricky. Some dogs handle small amounts of plain yogurt okay, but milk or cheese might cause stomach upset. And while nuts like macadamias are toxic, plain peanuts (in peanut butter) are usually fine. I’ve learned the hard way that what’s “safe” for one dog might not be for another, so it’s wise to watch your pet closely when trying new treats.
Equipment and Preparation Tips
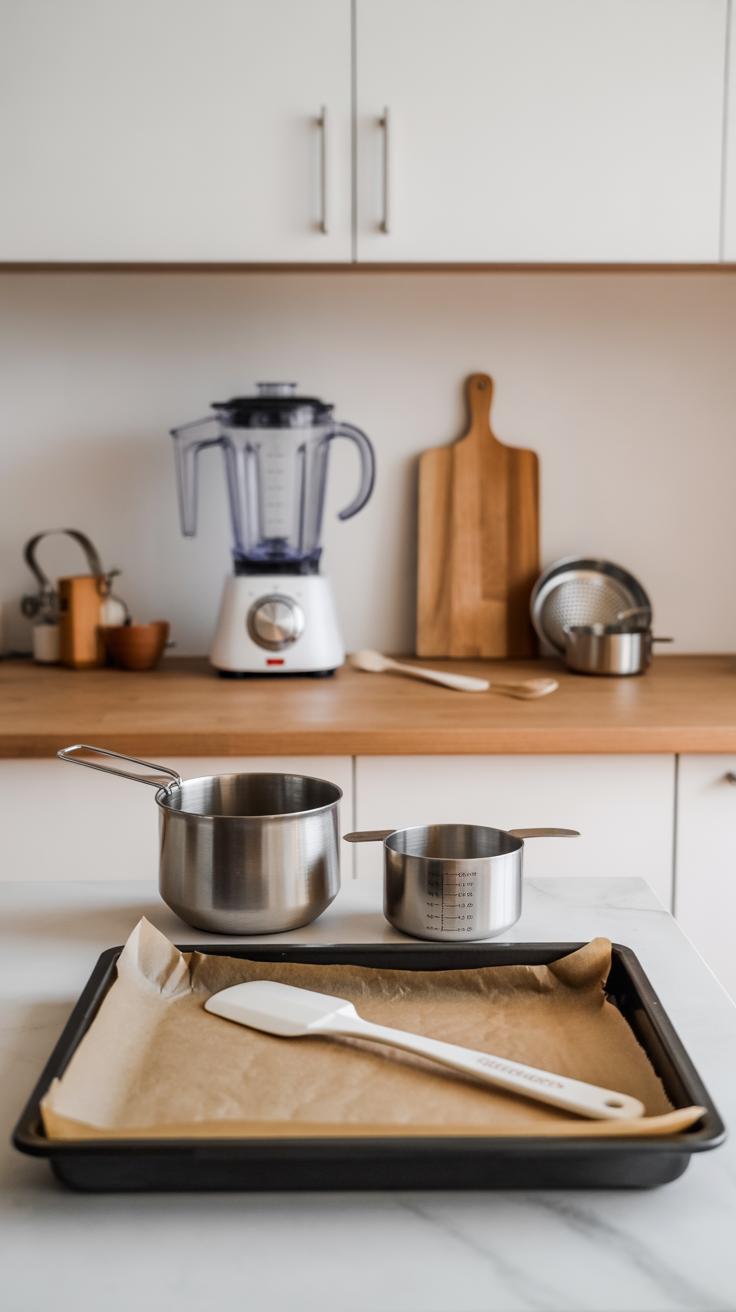
Essential Kitchen Tools for Treat Making
When making dog treats at home, you don’t need a fancy kitchen setup. Just a few basic tools can make the process smoother. Mixing bowls are a must—one or two, preferably in different sizes, help keep things organized. Measuring cups and spoons matter too, especially since a little too much of one ingredient can change the treat’s texture. A baking sheet is your go-to for cooking the treats evenly, and lining it with parchment paper can save you from lots of scrubbing later.
A spatula or wooden spoon is handy for mixing, though sometimes your hands work better—especially with dough. If you have a rolling pin, great, but you can improvise with a bottle. Don’t overlook a cooling rack; it helps treats dry out properly, preventing sogginess. The goal is to keep it simple—nothing too complicated, but enough to avoid frustration and wasted ingredients.
Preparing Ingredients Safely
Getting your ingredients ready means more than just grabbing them out of the fridge. Washing fruits and veggies, even if you’ll peel them, helps remove dirt and pesticides. It’s tempting to skip this step, but I’ve seen stray dirt get baked into treats before, and it’s not pleasant. Peeling is mostly about removing skins that dogs might not digest well, like apple skins or tough carrot parts.
Some ingredients need cooking—like sweet potatoes or pumpkin—before mixing. Raw can work for things like bananas, but a quick steam or bake softens tougher veggies and makes digestion easier for your dog. Also, chopping ingredients into small, manageable bits speeds up cooking and ensures treats bake evenly. Preparing things carefully isn’t just about safety; it really impacts the final texture and taste in unexpected ways.
Basic Dog Treat Recipes to Start
If you want to try making dog treats at home, it’s helpful to begin with super simple recipes—three ingredients only. This keeps things easy and lets you experiment with different flavors and textures without getting overwhelmed. You might be surprised how much variety you can create with just a few pantry staples.
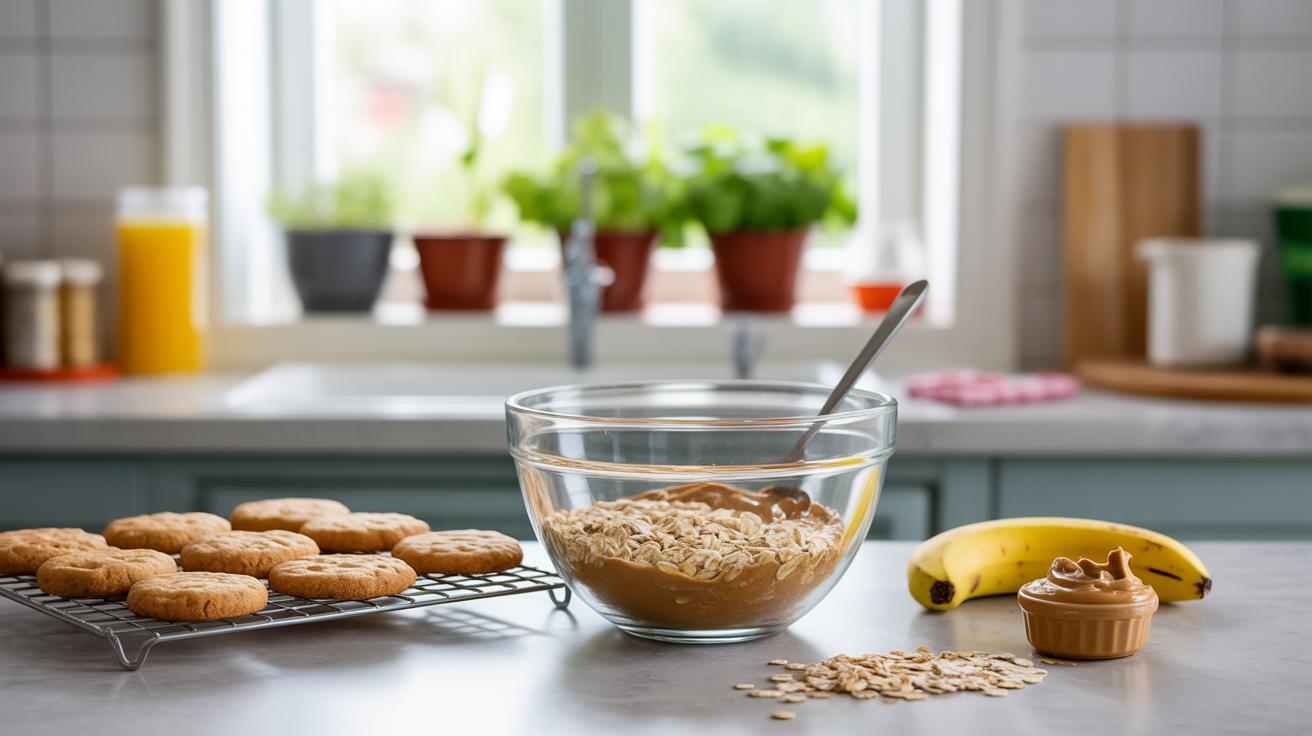
Peanut Butter and Oat Treats

This one’s a classic and well-loved by many dogs. Mix together:
- 1 cup of oats (rolled oats work fine)
- 1/2 cup of natural peanut butter (make sure it doesn’t have xylitol)
- Either 1 egg or 1 ripe banana mashed—both work as binders
Start by combining the oats and peanut butter. Then, add the egg or banana gradually to bring it all together. The dough should be sticky but manageable. Roll small balls or flatten with a fork for a simple shape. Bake at about 350°F for 10 to 15 minutes. The texture ends up chewy but with a little firmness. Personally, I find using banana gives a sweeter taste, while egg keeps it more neutral. Your dog might prefer one over the other—it’s worth trying both if you can.
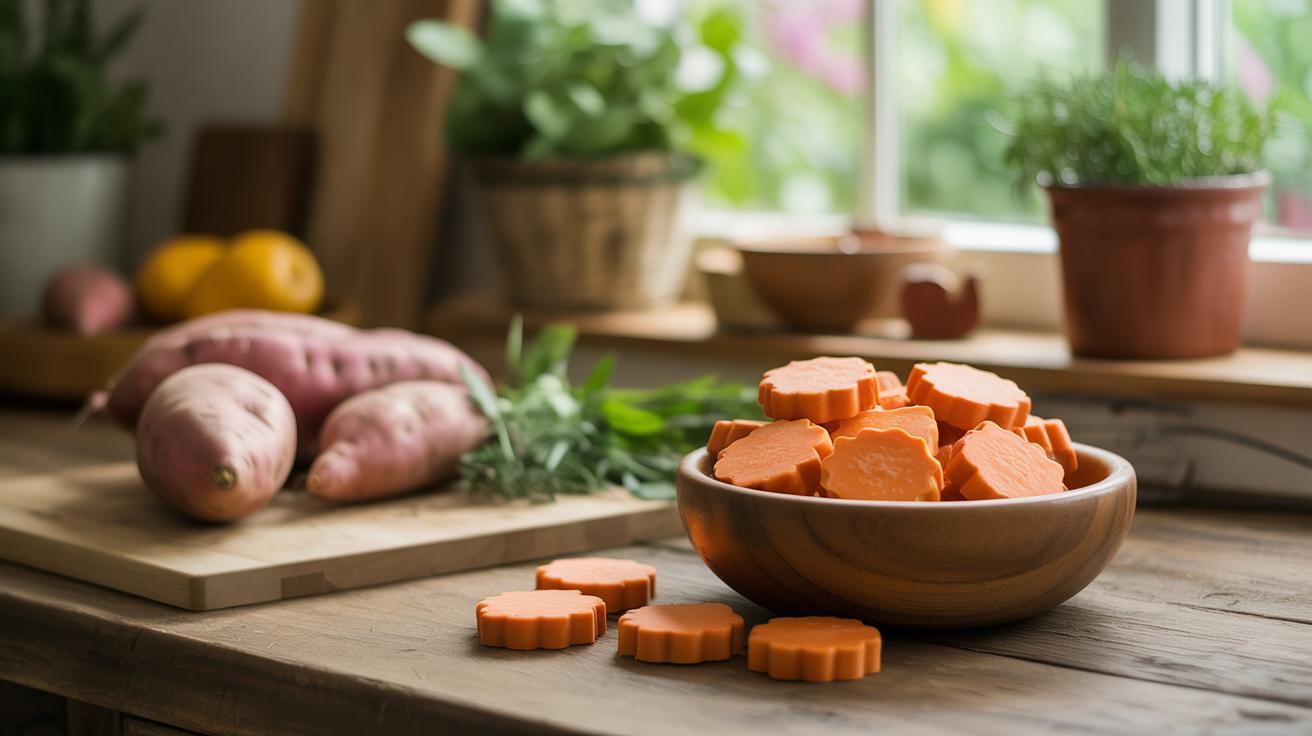
Pumpkin and Rice Bites
Here’s a recipe that adds a bit of softness to the mix. Use:
- 1 cup pureed pumpkin (plain pumpkin, not pie filling)
- 1 cup cooked rice (white or brown, but well cooled)
- 1 egg to bind everything
Stir the pumpkin and rice together first, then crack in the egg and mix well. The batter feels more moist and sticky compared to the peanut butter treats. You can spoon these out onto a baking sheet or shape into small patties. Bake around 350°F for 20 minutes or so. These bites tend to be softer and easier to chew—good if your dog isn’t into crunchy things, or maybe older dogs. I tried this once for my dog when she was teething, and she liked these more than the peanut butter ones—more subtle flavor, less oily.
Both recipes only need a quick bake and basic cooling before offering them. You might wonder, though, which texture your dog prefers? Crunchy or soft? Sometimes dogs surprise you, so it’s fine to mix it up and see what gets the tail wagging faster.
Customizing Recipes for Your Dog

When making DIY dog treats, adjusting recipes to fit your dog’s unique tastes and needs is key. Maybe your pup prefers softer bites over crunchy ones, or perhaps they shy away from certain flavors. It’s okay to experiment a bit—try swapping an ingredient like pumpkin for sweet potato to change texture and sweetness. Or switch plain oats for rice flour if your dog prefers something lighter. You might notice your dog responds better to these tweaks, or maybe not. It’s a bit trial and error, really.
Dogs with allergies or special diets require some thought. For example, if your dog reacts to grains, you could replace wheat flour with chickpea or coconut flour. Or if dairy is an issue, omit cheese-based treats and rely on meat or veggies. Even simple swaps, like using applesauce instead of mashed banana, can make a difference. The tricky part—sometimes these alternatives change the treat’s firmness or taste, which could be hit or miss with your dog.
Think about your dog’s health too. Low-fat ingredients work better for dogs with pancreatitis, while higher-protein options may suit active dogs. You don’t have to follow recipes exactly. Adjusting them with your dog in mind can be rewarding, even if it takes a few attempts. After all, the goal is making something your dog will happily chew—and feel good about eating.
Storing and Serving Homemade Treats
Best Storage Practices

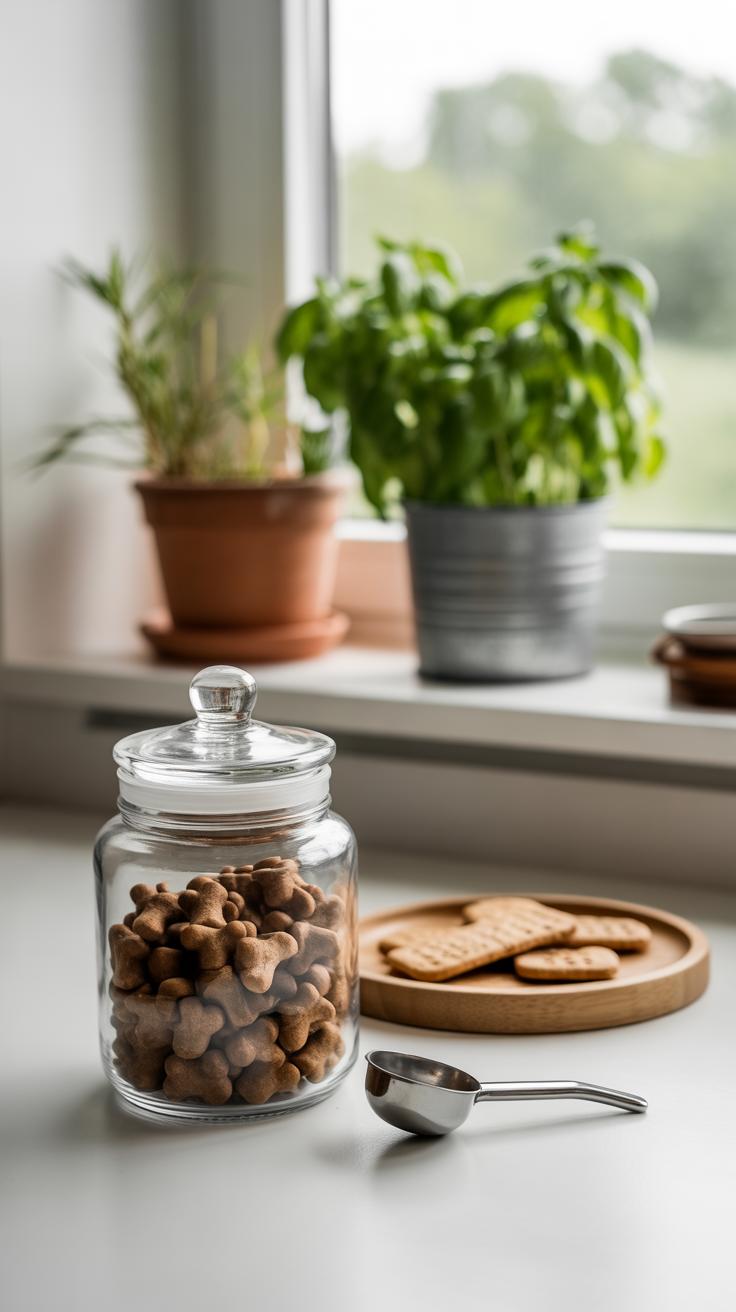
Once you’ve made your dog treats, keeping them fresh can be a bit tricky. You don’t want your effort to go to waste, right? One reliable way is to use airtight containers—these help keep moisture and air out, which slows down spoilage. Plastic tubs or glass jars with tight lids work great. Sometimes I switch between these depending on how many treats I have left.
If you want to store treats for longer periods, refrigeration is an option. It’s especially useful for recipes with perishable ingredients like yogurt or pumpkin. Just remember to bring them to room temperature before giving them to your dog, since cold treats can sometimes be a shock for their sensitive teeth.
Freezing treats is also worth thinking about. It’s perfect when you make a big batch and want to avoid waste. Freeze them in small portions or on parchment paper, then bag them once solid. That way, you can take out just what you need without any fuss. I’ve done this a few times, and honestly, it makes life easier.
Serving Portions and Frequency
Now, about how many treats and how often you should serve them—this varies, but general guidelines help. Dogs do have calorie needs, and treats should stay part of the fun, not fill their tummy. I try to keep treats under 10% of my dog’s daily calorie intake. Usually, that means just a few small bites spread through the day.
Think about your dog’s size and health too. A small pup needs fewer treats than a larger dog, naturally. And even if treats are healthy, too many can lead to weight issues or upset stomachs. Sometimes I wonder if I’m giving my dog too much, especially when those puppy eyes are hard to resist.

Spacing treats out is helpful. Giving a couple after training sessions or during walks keeps the rewards meaningful without overdoing it. You can also use treats as meal toppers in tiny amounts. Just watch how your dog reacts and adjust accordingly. Everyone’s different, so it’s a bit trial and error.
Benefits of Making Treats at Home
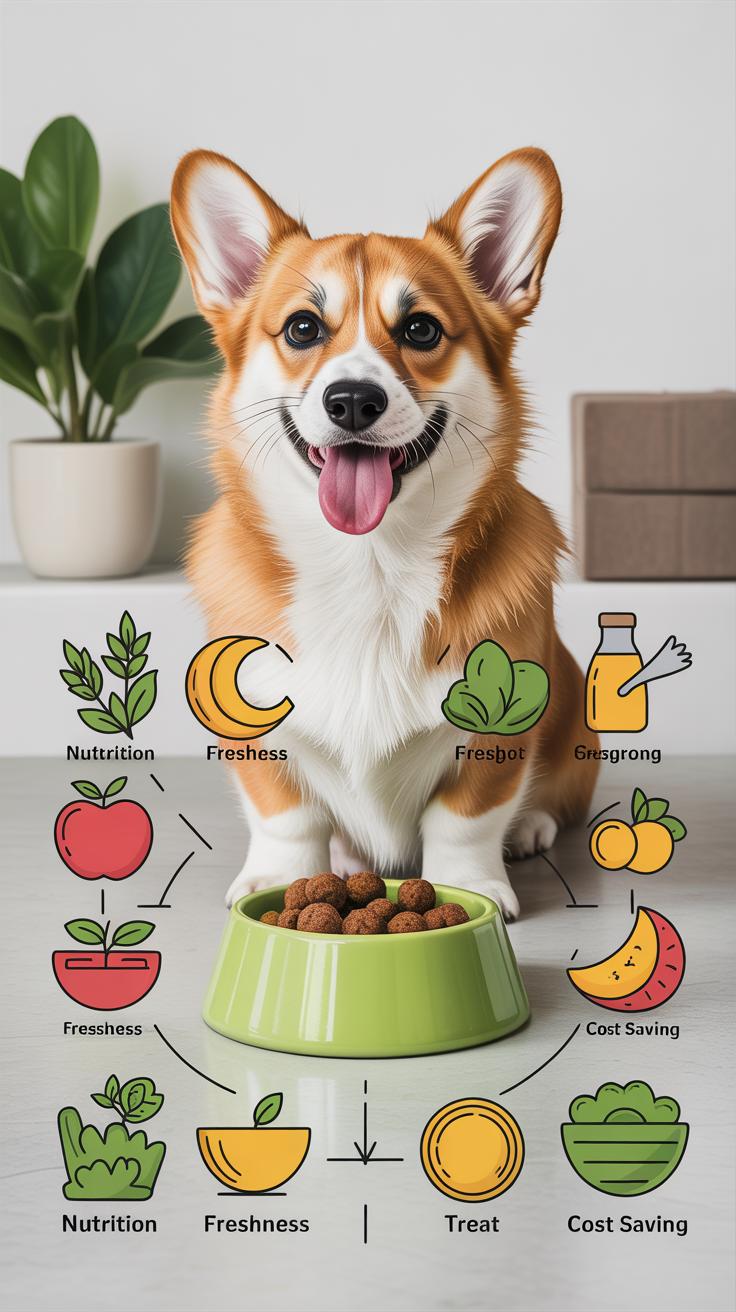
Making dog treats at home can really change the way you approach your pet’s diet. When you bake your own, you have full control over every ingredient. This means no mysterious chemicals or preservatives sneaking into your dog’s snack, which might be in commercial treats. It’s not just about avoiding additives, though. You also get to decide the nutrition – maybe less sugar, more protein, or just simpler foods your dog tolerates better.
There’s something satisfying about knowing exactly what your dog is eating. Plus, homemade treats give you a chance to tailor recipes to your dog’s specific needs or preferences. Have a picky eater? You can test out different flavors easily, without spending a fortune on trial-and-error in stores.
On the practical side, making treats at home can save you some money. It might seem like a hassle at first, but once you get a routine going, a few basic ingredients often last long and cost less than buying ready-made snacks. You might already have all you need in your pantry, which makes whipping up treats quicker than a trip to the pet store, especially when you’re in a rush.
Still, some days baking treats feels like extra work and it might be tempting to buy instead. But honestly, even when you’re busy, having a small batch ready in the fridge or freezer means you never run out during those unexpected training sessions or rewarding moments. So, perhaps it’s worth thinking about if you want a bit more control and savings, even if it’s just an occasional project rather than a daily habit.
Common Mistakes to Avoid
Using Unsafe Ingredients
One of the biggest mistakes when making dog treats at home is not checking ingredients carefully. Some items we use daily can be harmful to dogs—think garlic, onions, chocolate, or even certain nuts. These sneaky ingredients may hide in spice blends or flavored extracts you might add without thinking twice.
When you grab something from the store, like peanut butter or yogurt, it’s a good idea to scan the label closely. Look out for sweeteners such as xylitol, which is toxic to dogs even in small amounts. Some preservatives or artificial additives might upset your pup’s digestion or trigger allergies. I once assumed a “natural” peanut butter was safe but later realized it contained xylitol—luckily, I caught it before sharing.
To avoid these errors, stick to single-ingredient products or brands known for pet-friendly options. When in doubt, google or ask your vet—better safe than sorry, right?
Overfeeding Treats
It’s tempting to spoil your dog with lots of treats, especially when they’re homemade and smell so good. But too many treats can lead to weight gain, digestive issues, or even behavioral problems. Dogs might start ignoring their regular meals if they expect frequent snacking instead.
Watch for signs like a bloated belly, sluggishness, or constant begging that doesn’t stop. These can suggest treats have become too central to your dog’s diet. I’ve noticed my dog sometimes holds back during meal time after too many treats earlier in the day—it’s a tricky balance to find.
Treats should make up no more than 10% of your dog’s daily calorie intake. So consider splitting treats into smaller pieces or spacing them out more. That way, your pup stays healthy, and your treats remain a special surprise, not a main course.
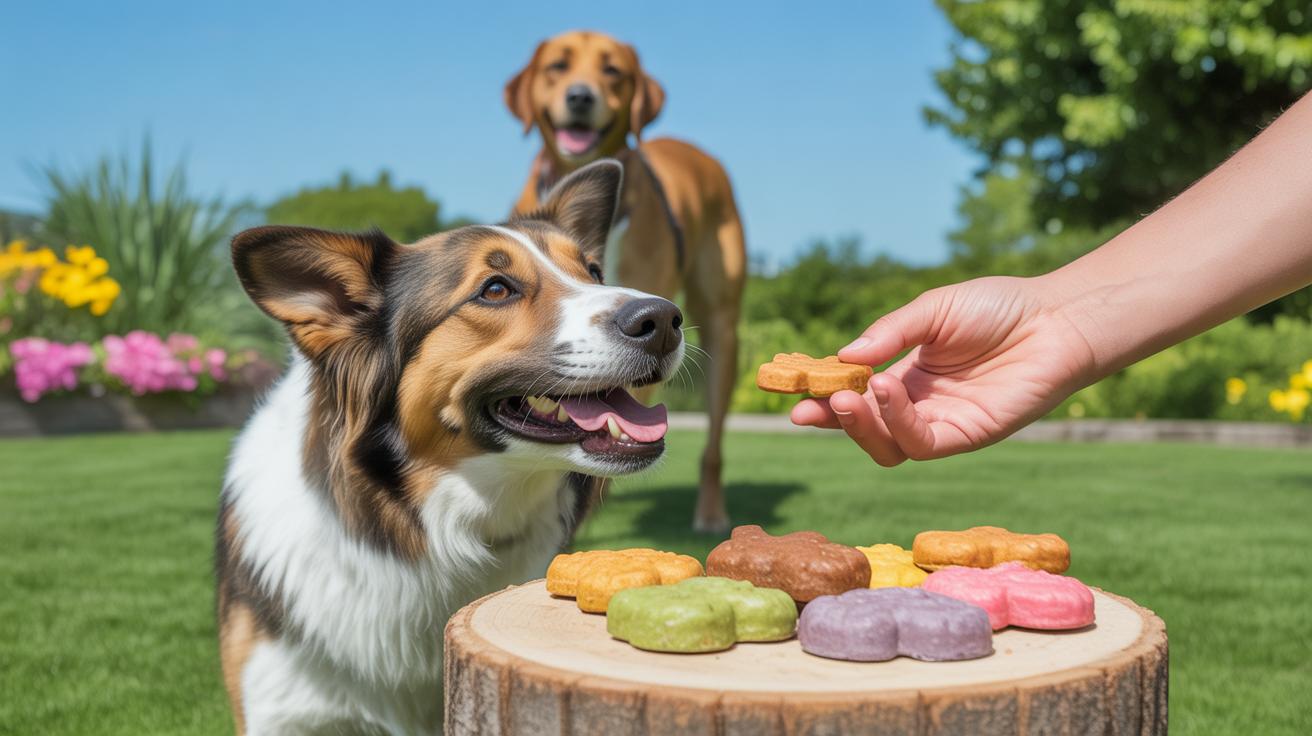
Innovative Ideas for Treat Shapes and Decorations
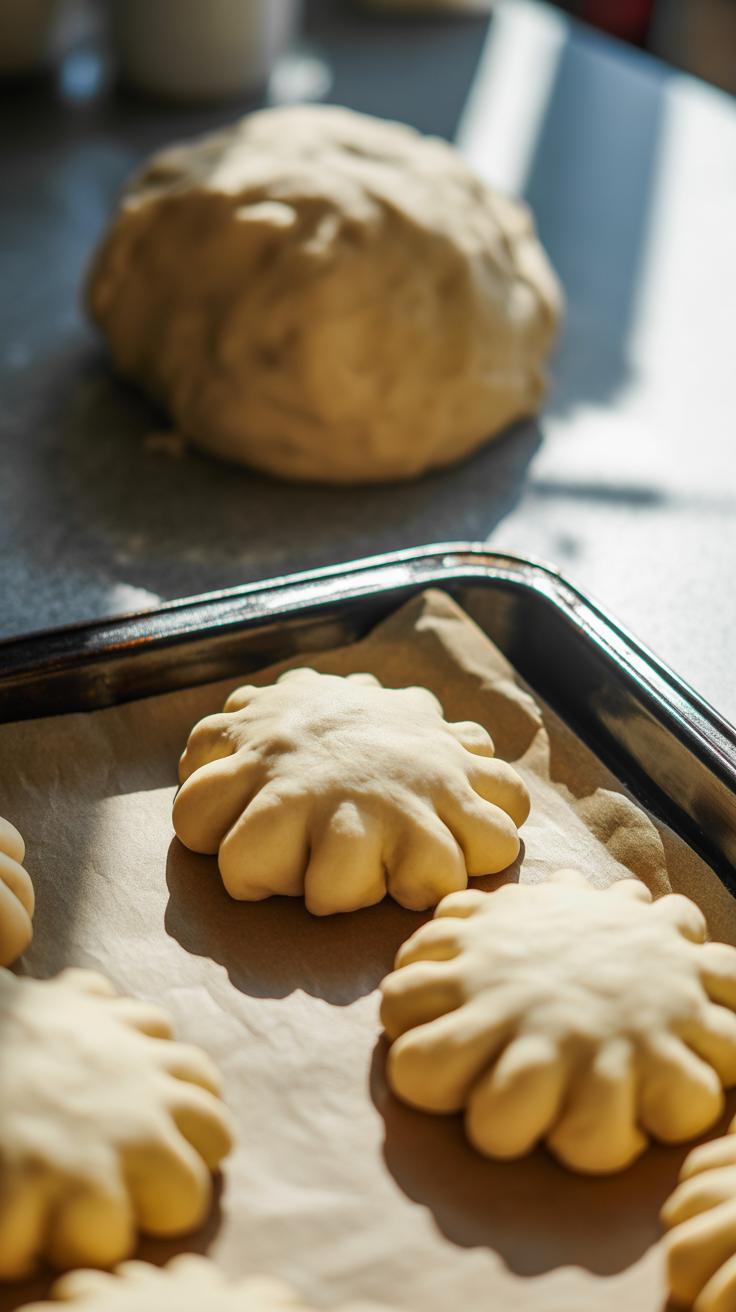
When it comes to shaping your dog treats, you don’t need fancy equipment. Simple cookie cutters in basic shapes like bones, paws, or hearts can quickly turn plain dough into something more fun. Sometimes, just cutting small squares or rolling the dough into balls by hand works just as well—especially if you don’t want to fuss too much.
It’s interesting how a little change in shape can make treats more inviting—not just for your dog, but maybe for you, too. I’ve caught myself pausing to admire a little paw-shaped biscuit before tossing it to my pup. Molds designed for chocolates or even ice cubes can give treats neat edges, though you’ll want to make sure the ingredients don’t stick too much.
Adding decorations to treats can be a nice touch but keep it simple and safe. I like sprinkling chopped fresh parsley or a tiny bit of turmeric for color. Both are generally safe for dogs and add a bit of visual contrast. Sometimes I try a light brush of pumpkin puree on top, which looks nice and can make the treat more appealing odor-wise. Just make sure any additions don’t overwhelm the original flavor, and avoid anything processed or sugary.
Have you ever thought about using natural food colorants like beet powder or spirulina? They can add subtle hues without harmful chemicals, turning an ordinary treat into something quite eye-catching. That said, not every dog reacts the same way to herbs or spices. You might want to test small amounts first or skip decorations if your dog is sensitive.
In the end, shaping and decorating treats doesn’t have to be complicated. Sometimes, the simplest ideas work best, and your dog probably cares more about taste than looks anyway. Still, a little extra effort can turn treat-making into a creative activity — one that you might find surprisingly enjoyable.
Incorporating Treats into Training
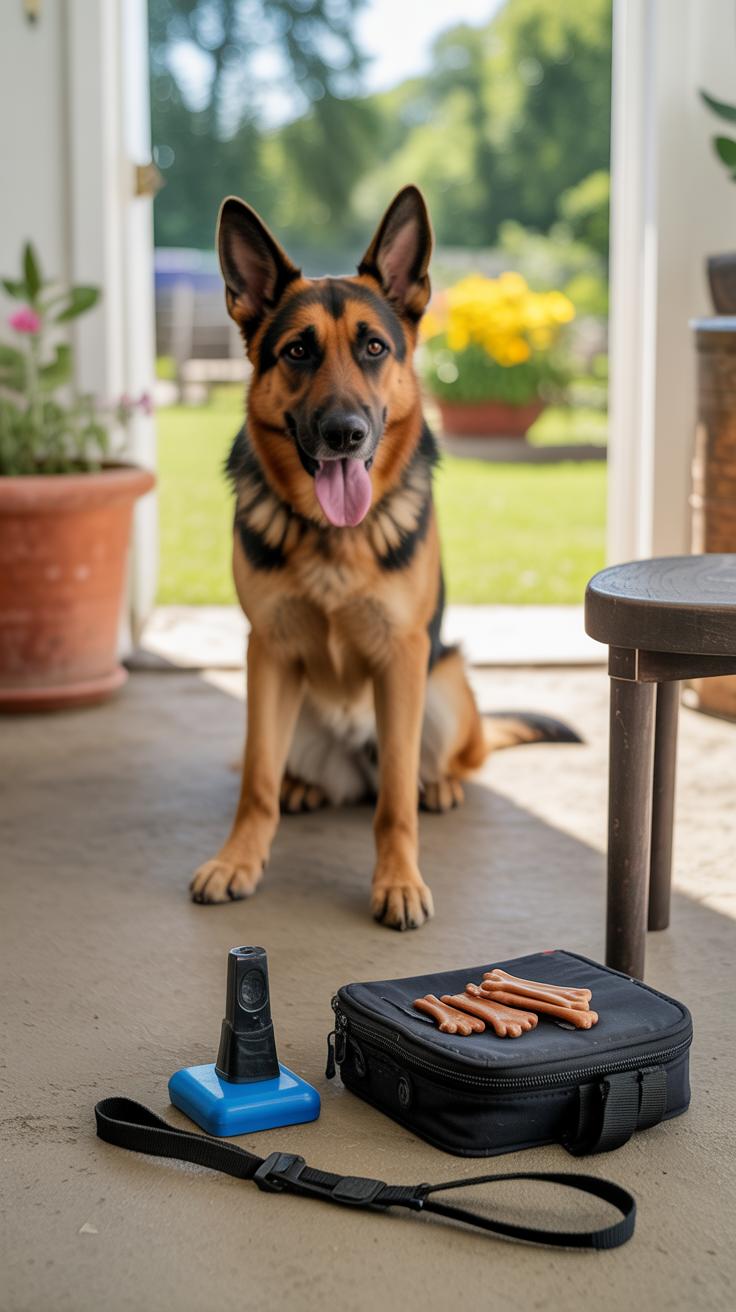
Choosing Treats for Training
When it comes to training your dog, the treat you pick matters more than you might think. Good training treats need to be small, tasty, and easy to eat quickly — otherwise, your dog might lose focus. That’s why simple recipes with just a few ingredients often work best; they’re soft or chewy without being messy or overly rich. Plus, you can control what goes in, so no fillers or artificial stuff that might distract your pup or upset their stomach.
I’ve found that plain chicken bites or pumpkin-based treats do the trick. They smell nice enough to hold your dog’s attention but aren’t so overpowering that they cause a feeding frenzy every time. Simple, wholesome treats can keep your dog motivated without turning them into a food-hunting machine.
Timing and Reward Methods
Timing the treat delivery is almost as important as the treat itself. Try to give treats immediately after your dog completes the desired behavior — within a second or two — so they connect the reward to their action. If you wait too long, even a minute, the link can get lost, and your efforts may feel pointless.
Also, keep treat sessions short and sweet. Frequent but small rewards help maintain interest without overfeeding. Sometimes, I switch to praise or a quick play session after a few treats to balance things out. It’s a bit of trial and error, really. You’ll notice your dog’s mood shift and can adjust on the fly. The best approach changes depending on the dog and even the day.
Have you ever noticed how some dogs only respond when the treat is extra special? That raises the question: should you save your very best treats for the toughest commands? Probably yes, but maybe not too rigidly. It’s a subtle dance to find what motivates your dog most consistently.
Conclusions
Making your own dog treats with three ingredients is a smart way to offer your dog something tasty and healthy. You have full control over what goes into the snacks, helping avoid harmful additives. Plus, simple recipes make the process quick and enjoyable.
Remember to choose ingredients that benefit your dog’s nutrition and follow safe preparation methods. Treats made this way can support your dog’s health and happiness. Start experimenting with easy recipes today and see how your dog loves these homemade treats.