Introduction
Dog cakes offer a fun and tasty way to celebrate your dog’s special moments like birthdays or adoption days. These cakes are made with simple ingredients that are safe and healthy for your furry friend. Making a dog cake at home not only saves money but also lets you control what goes into your pet’s treats.
In this article, you will discover easy dog cake ideas using simple ingredients. We will guide you through recipes, important tips on ingredient choices, and ways to decorate dog cakes safely. By the end, you will have everything you need to bake a delicious cake that your dog will enjoy.
Why Make Dog Cakes Instead of StoreBought Treats
Health Benefits of Homemade Cakes
When you bake a cake for your dog, you control every ingredient that goes into it. That means no preservatives, artificial colors, or strange chemicals that often pop up in commercial treats. Many store-bought options include things that might upset your dog’s stomach or even cause long-term health issues, like fillers and sugars dogs really don’t need.
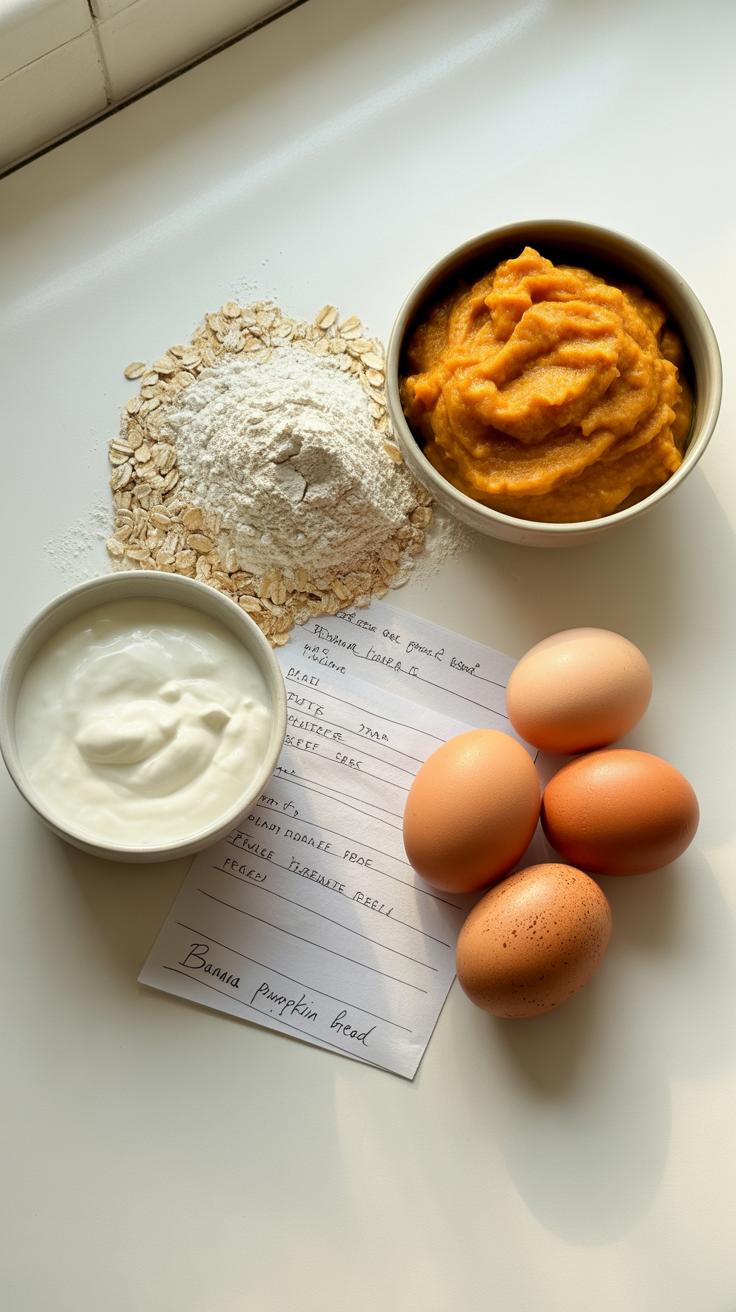
With homemade cakes, you can adjust recipes to suit your dog’s unique dietary needs—whether it’s allergies, sensitivities, or just a preference for something lighter or richer. I remember making a banana and pumpkin cake for my dog because he couldn’t tolerate wheat. He liked it a lot more than the usual biscuits.
So, making your own cakes can be good for your dog’s health in ways that store treats just can’t guarantee. You might even find it reassuring not to guess what’s inside.
Saving Money and Customizing Flavors
Baking dog cakes at home usually turns out cheaper than buying fancy store treats. Think about it—you can buy ordinary ingredients in small amounts and make several cakes or treats. You’re not paying premiums just for packaging or branding.
Plus, you can tailor the flavors exactly to what your dog enjoys. Does your pup prefer peanut butter over sweet potato? Or maybe they’re more into apple and cinnamon? You decide, and you make small batches until you get it right.
It can be fun, too. Watching your dog’s tail wag after trying a new flavor combination might even inspire you to experiment more. And since you’re not locked into what’s on shelves, there’s more variety for your dog, without breaking the bank.
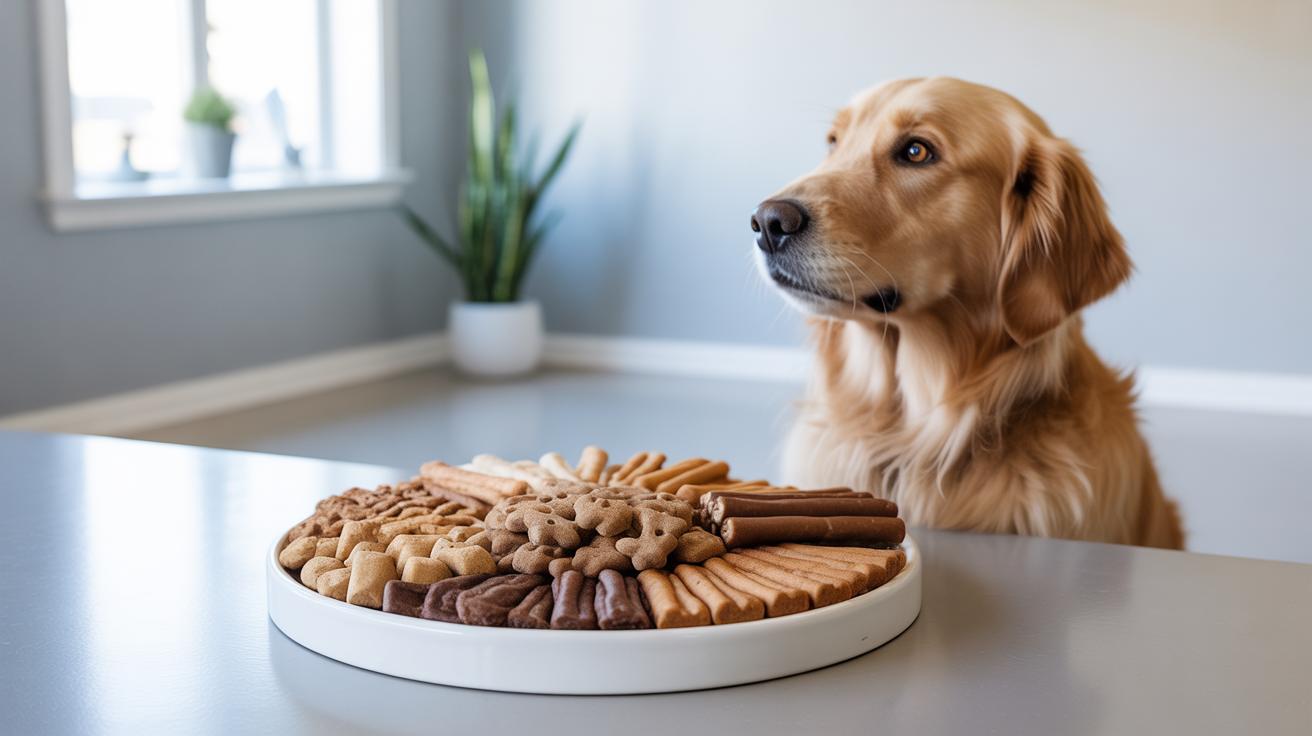
Choosing Safe Ingredients for Dog Cakes
Picking the right ingredients for your dog’s cake is, well, a bit trickier than baking for yourself. Dogs can’t eat everything we enjoy, and some foods are flat-out dangerous for them. So, it’s good to know which ingredients are okay and which ones to avoid to keep your pup happy and healthy.
Dog-Friendly Ingredients You Can Use
Some foods dogs really seem to enjoy and are safe include peanut butter, but make sure it’s free of xylitol, which is toxic to dogs. Pumpkin is another great choice—not just tasty but also good for digestion. Oats work well too; they’re gentle on the stomach and help add bulk. Apples, minus the seeds, offer a nice crunch and some natural sweetness. You might be surprised, but plain yogurt can be a nice moistener too. These all make simple, wholesome additions to a dog cake without worrying about harmful effects.
Ingredients to Steer Clear Of
Now, there are ingredients you absolutely want to leave out. Chocolate—no question—it’s poisonous to dogs. Grapes and raisins are another no-go, even in tiny amounts. What about sugar? It’s best to avoid added sugars or artificial sweeteners; they’re not good for dogs and can cause upset tummies or worse. Onions and garlic, often found in many recipes, are also toxic and should never be included. You might think some fruits like cherries are fine, but those pits contain cyanide and should be avoided.
Sometimes, it’s tempting to use human treats or extras, but it really pays off to stick to dog-safe ingredients. The extra care means fewer worries and a happy tail-wagger at the end!
Basic Equipment and Tools Needed
Simple Baking Tools for Beginners
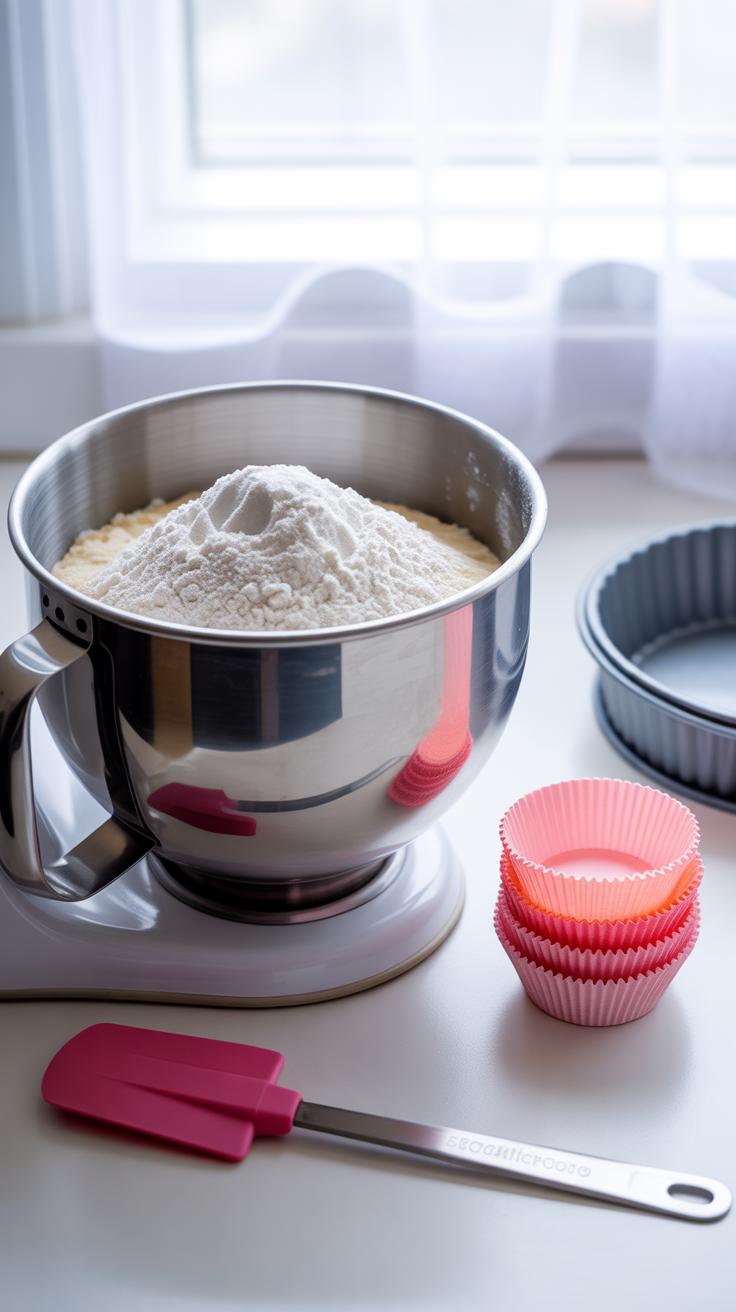
Making dog cakes at home doesn’t call for anything fancy. You really can keep it simple and still bake something tasty your dog will love. At the very least, you’ll want a few essentials: mixing bowls to combine your ingredients, measuring cups and spoons for accuracy, and a baking pan. A standard loaf pan or small round tins work fine—no need to hunt for special shapes, unless you want to.
Sometimes, I’ve used just one bowl and a wooden spoon without any trouble, especially with batter that’s not too sticky. Keeping cleanup easy helps when you bake for your dog on a whim. You don’t need mixers or expensive appliances unless you find yourself making dog cakes regularly.
Optional Decorating Tools
If you want to add a bit of flair to your dog cake, a piping bag can come in handy. You don’t need the professional kind; simple plastic ones or even a zip-top bag with a corner cut off can work just fine. They make spreading yogurt or peanut butter-based frostings neater and more fun.
Sometimes, I’ve experimented with silicone molds to shape the cakes or create little treats on the side. It’s not necessary, but if you’re aiming for a themed cake or something cute for photos, these make decorating easier. But if you prefer, decorating can stay as simple as a dusting of crushed biscuits or bits of fruit on top.
Really, the tools you choose boil down to what your comfort level is and what your dog would appreciate. Ever thought about how much time to spend on decoration versus just getting a tasty cake? Sometimes less is definitely more.
Easy Dog Cake Recipes for Beginners
Single-Layer Vanilla and Peanut Butter Cake
This one is straightforward and usually a hit. Start by combining:
- 1 cup whole wheat flour (or oat flour if your dog is sensitive)
- 1/2 teaspoon baking powder
- 1/4 cup peanut butter (make sure it’s xylitol-free)
- 1/2 cup plain yogurt or unsweetened applesauce
- 1 egg
- 1/4 cup water or broth
- 1 teaspoon vanilla extract (optional, but it adds nice flavor)
Mix the dry ingredients first, then add the wet ones slowly until you get a thick but stirrable batter. Pour it into a small greased cake pan or muffin tin. Bake at 350°F (175°C) for about 20-25 minutes, or until a toothpick comes out clean. Cool completely before giving it to your pup—that texture is a lot nicer once it’s not hot.
When I tried this, my dog seemed confused at first, like “Is this really for me?” But the peanut butter scent sealed the deal. It’s simple, and you can dress it up later—more on that in the decorating chapter.
Pumpkin and Oat Cake for Sensitive Stomachs

This one is gentler and often better for pups with digestion issues. Here’s what you’ll need:
- 1 cup cooked pumpkin (plain pumpkin, not pie filling)
- 1 cup oat flour or ground oats
- 1 egg
- 1/4 cup water or broth
- Optional: 1 tablespoon flaxseed or chia seeds for texture
Start by mixing pumpkin and egg thoroughly. Add water gradually, then fold in oat flour. The batter will be thick but soft enough to spread. Pour into a small pan lined with parchment paper or a lightly greased one. Bake at 350°F (175°C) for around 25 minutes.
What’s nice here is the pumpkin soothes the stomach, and oats add fiber without being harsh. I found this recipe especially good after a doggy day with questionable snacks. It might not look fancy right out of the oven, but your dog probably won’t care much about that.
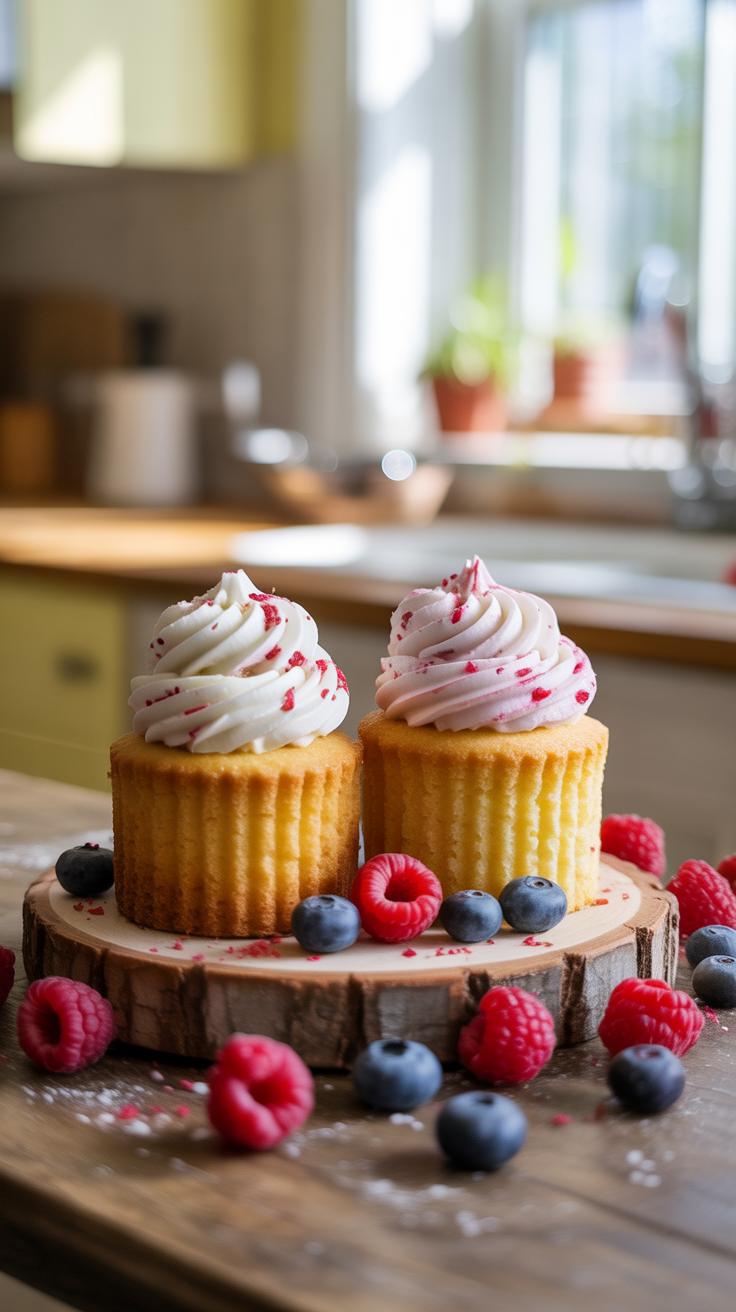
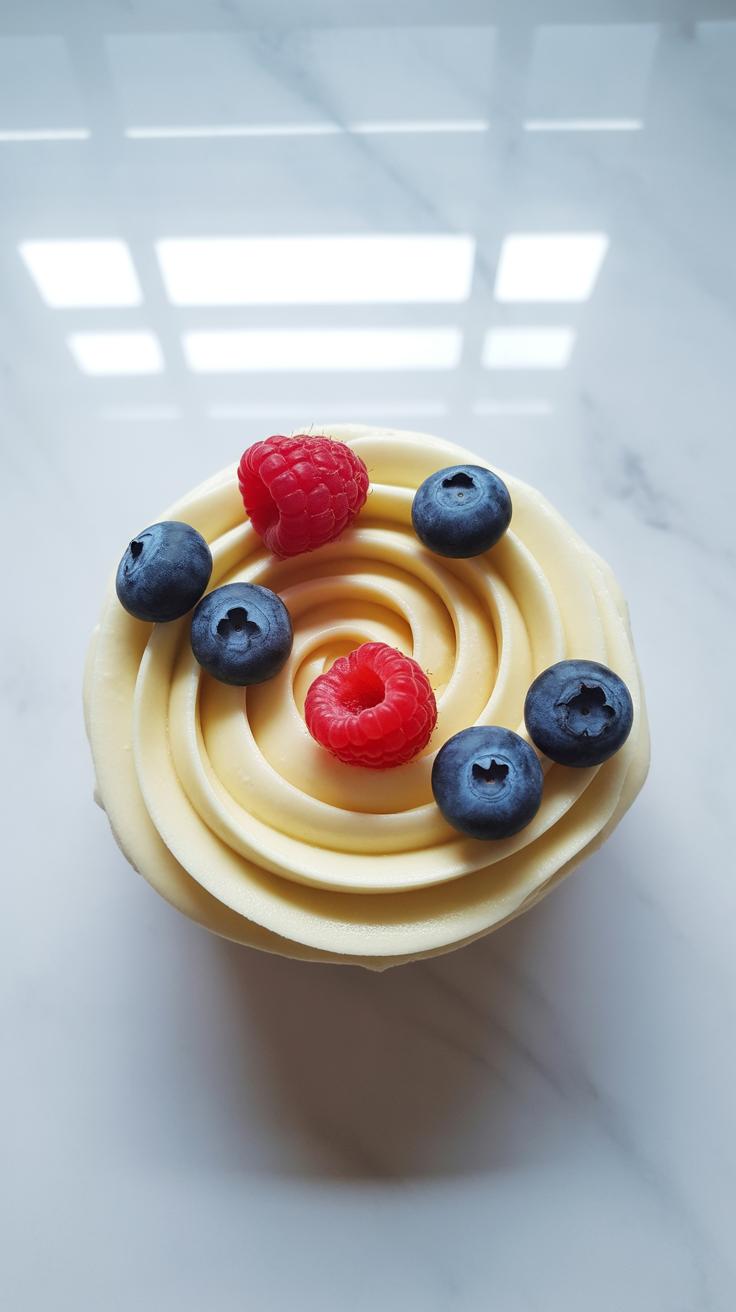
Decorating Your Dog Cake Safely
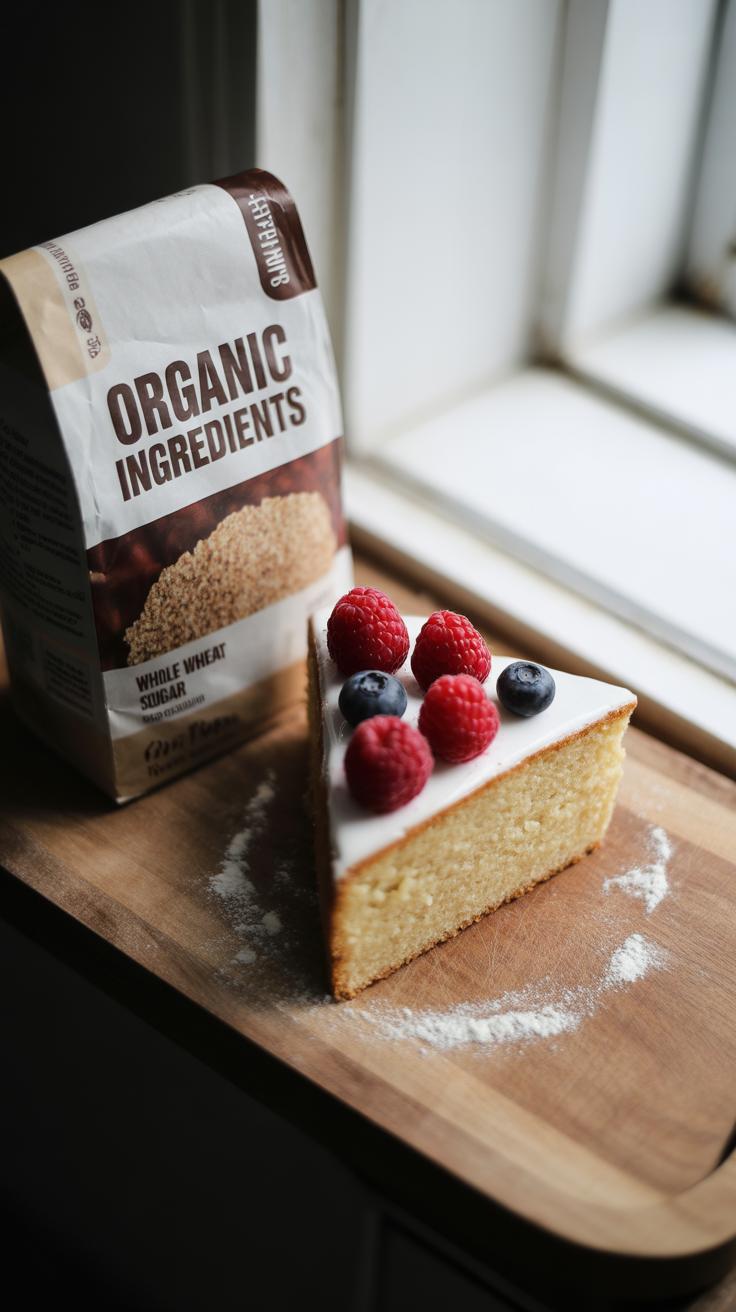
Decorating dog cakes can be fun, but safety always comes first. You want your cake to look inviting without adding anything that might upset your dog’s tummy. It’s easy to get carried away with colorful sprinkles or sweet glazes, but most human decorations are off-limits for pups. Instead, focus on simple, dog-friendly ingredients that enhance flavor and texture.
Using yogurt or peanut butter as frosting is a great place to start. Both are generally safe for dogs if you choose plain yogurt without xylitol or added sugars. Peanut butter should be free of sweeteners and salt. Making a quick frosting is easy: just mix yogurt or peanut butter with a bit of water or pumpkin puree to get a spreadable consistency. Apply it gently to the cake’s surface for a tasty, lick-worthy finish.
Adding small treat toppers works well, too. Choose dog biscuits or tiny pieces of fresh fruit like blueberries or apple slices, but steer clear of anything toxic like grapes or anything with pits. These little extras add color and variation your dog might actually notice—not just for your benefit. Have you noticed your dog’s eyes brighten when they see a blueberry on their cake? It’s kind of cute, right?
Try to keep decorations simple. A few well-placed fruit pieces or treats often look better than crowded surfaces. Also, some dogs prefer minimal extras and might be distracted by too many toppings. Experiment a bit—you’ll figure out what your dog enjoys and tolerates. It’s okay if the cake looks a little imperfect. After all, it’s for your dog, not a baking contest.
Customizing Cakes for Different Dog Sizes
Adjusting the cake size and ingredient portions depends heavily on your dog’s size and calorie needs, which can vary quite a bit. For small dogs, even a tiny cake can feel like a feast, while large dogs might need a bigger, more filling treat. But it’s not just about size; it’s about making sure you don’t overload them with calories just because the cake looks fun.
For small dogs, think mini cakes—just a few bites, really. A good trick is to halve the recipe or bake in a small silicone mold. That way, there’s less risk of giving too much at once, which can upset a little stomach. Sometimes, I’ll even split the cake into two or three servings to spread out the treat over a couple of days.
Medium and large dogs need something more substantial, but it’s easy to overdo it. Scaling up recipes carefully is key—usually by doubling or tripling ingredients, but with a close eye on calorie counts. Cutting the cake into portion-controlled slices can help keep treats balanced with their daily food intake. You want the cake to feel like a celebration, not an overeating disaster. Ever wondered how much cake your big dog should get? It depends, really, on their activity. So keep that flexibility in mind.
Incorporating Dog Allergies and Sensitivities
When baking dog cakes, allergies can quietly sneak in and spoil the fun. Dogs often react poorly to certain ingredients, and you might not notice until a few treats later. The usual suspects? Wheat, dairy, and some proteins like chicken or beef frequently cause sensitivity. Even corn or soy can be troublemakers for some pups. It’s tricky because what your dog can swallow without fuss, others might find upsetting.
To keep your pup’s cake safe, think about swapping out common allergens for gentler options. Instead of wheat flour, try oat or rice flour—they’re usually easier on the stomach. For dairy, coconut yogurt or pumpkin puree work well as moistening agents. If your dog can’t handle certain meats, you could use fish or even lentils as protein sources.

I’ve noticed that using simple, whole-food ingredients tends to avoid reactions better than processed ones. But it’s never black and white. Sometimes what’s gentle for one dog might not suit another. So, testing small amounts of new ingredients is wise. It’s almost like detective work, balancing flavor and tolerance.
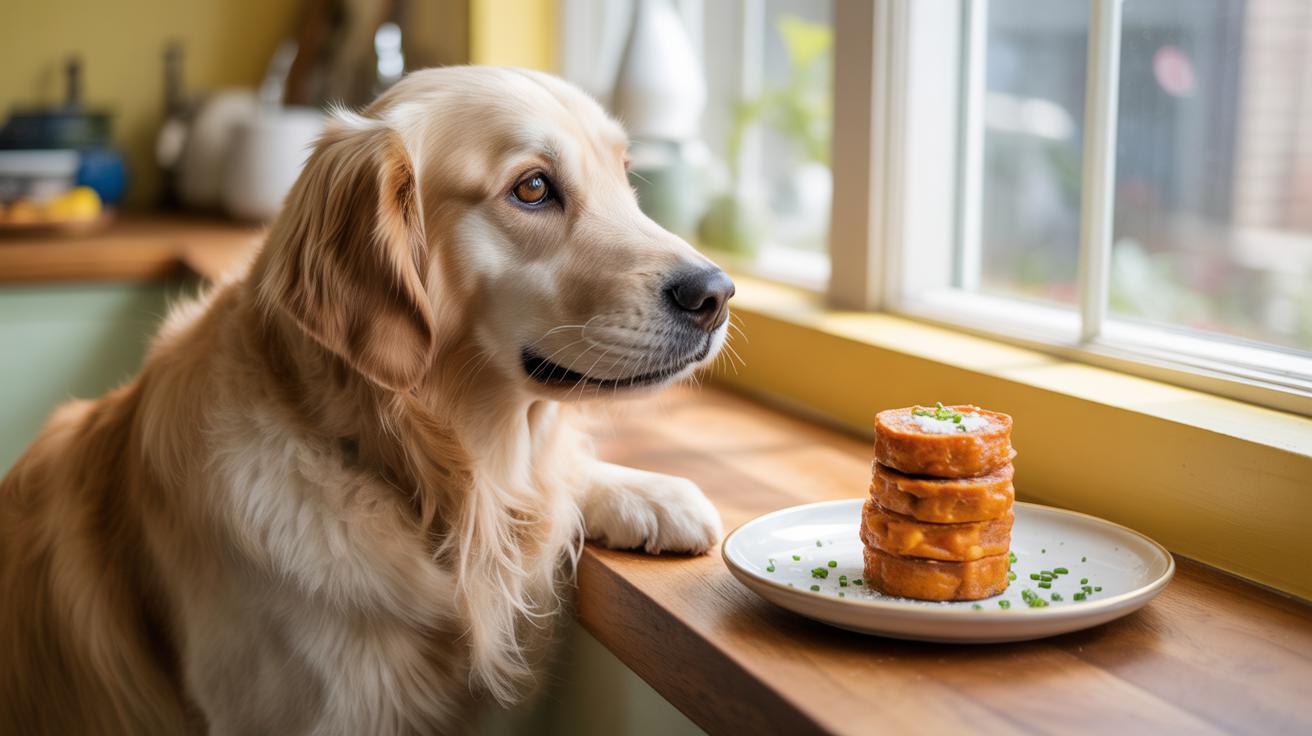
Storing and Serving Your Dog Cakes

Homemade dog cakes don’t last forever, and how you store them really makes a difference. If you plan to use the cake within a couple of days, wrapping it tightly and keeping it in the fridge is usually enough to maintain freshness. I find that placing the cake in an airtight container prevents it from drying out or picking up odd smells from other foods. Yet, sometimes a quick refrigeration isn’t quite enough—especially if your kitchen tends to stay warm or moist.
If you want to keep the cake much longer, freezing is a solid option. Just cut the cake into portions, wrap them individually in plastic wrap or beeswax cloth, and pop them in a freezer bag. When you need a treat, thaw one portion in the fridge overnight. This method avoids the sogginess you might get from thawing at room temperature. Though, I suppose some might prefer the quicker thaw, but risk a slight texture change.
Best Storage Practices
To keep your dog cake fresh and tasty:
- Wrap the cake or slices airtight to avoid drying out.
- Use the fridge if eating within 2-3 days.
- Freeze in small portions for up to 2-3 months.
- Thaw frozen cake slowly in the fridge for the best texture.
Serving Tips and Portion Sizes
When it comes to serving, smaller portions tend to be safer than going overboard. Depending on your dog’s size, a slice about the size of two of their treats is usually plenty. For tiny dogs, even less might be best, and bigger breeds can handle a bit more—but it’s always good to play it safe.
Some dogs get excited and try to gobble the cake too fast, so breaking it down into bite-sized pieces is a helpful approach. This way, you’re not stressing their digestion, and you can watch for any unusual reactions—especially if this is a new recipe.
Also, pairing the cake with a bit of water or their regular meal can help balance things out. It’s simple, but sometimes even the best treat can cause upset if your pup isn’t used to richer foods.
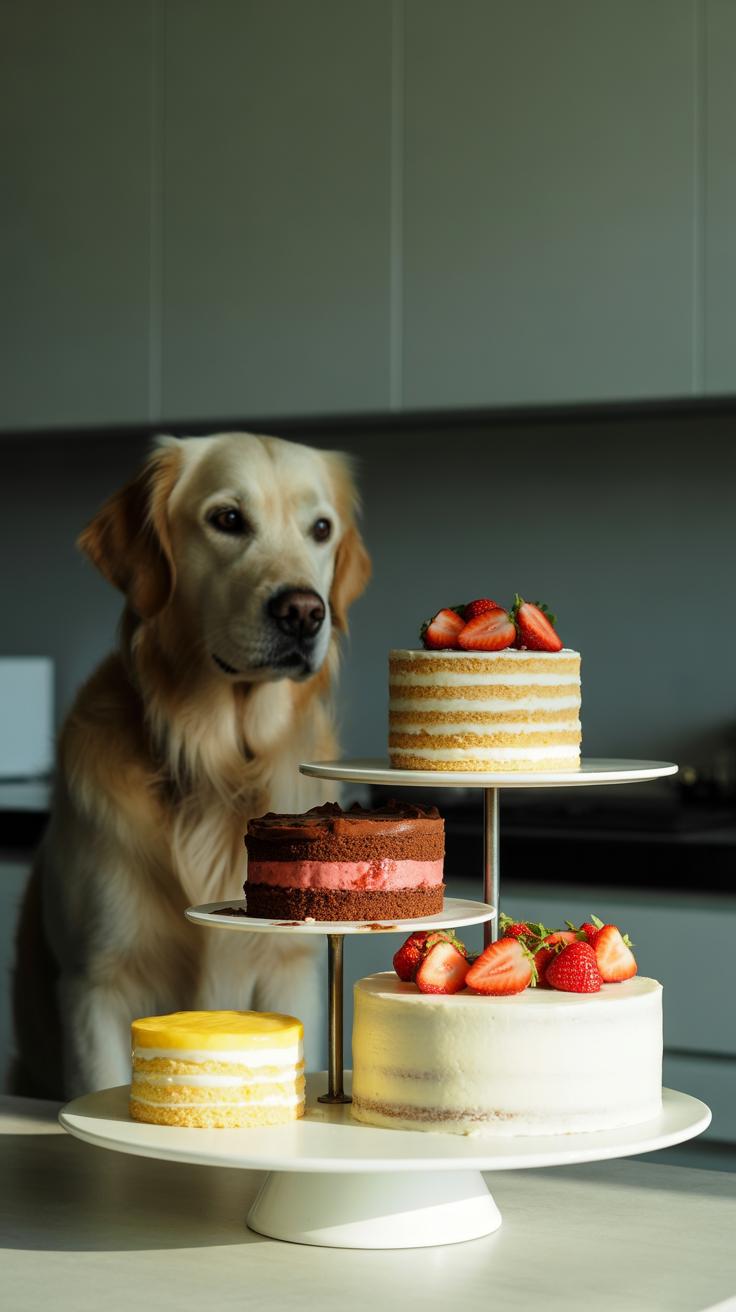
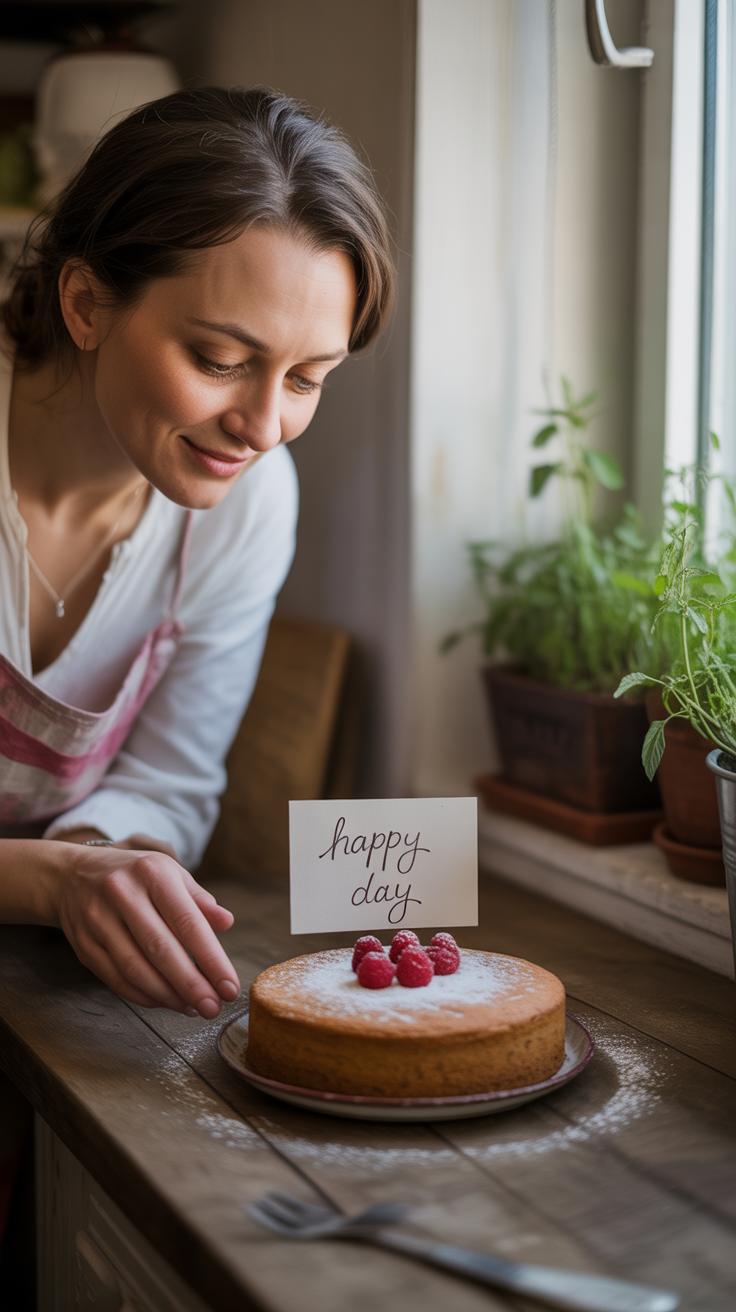
Making Dog Cakes for Special Occasions
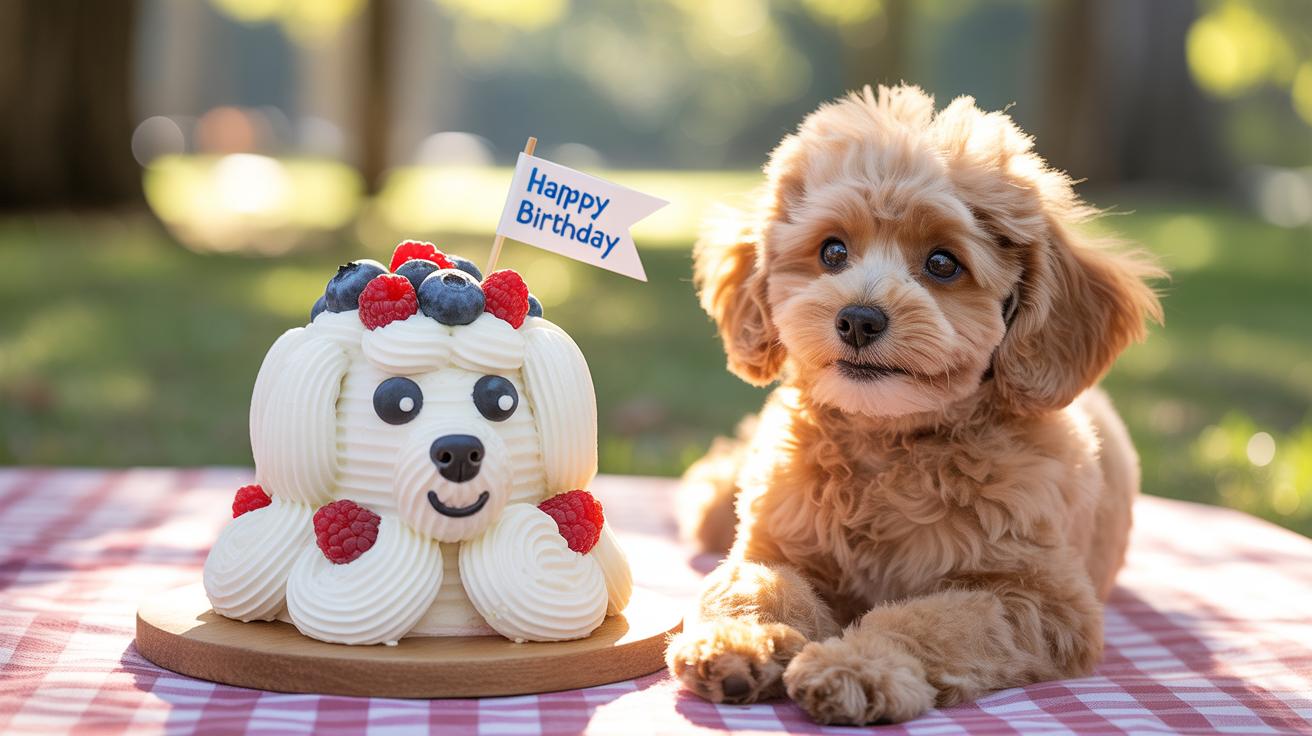
When it comes to celebrating with your dog, a homemade cake can add a lot of warmth to the event. Whether it’s a birthday, a holiday, or the anniversary of their adoption, a special cake tailored just for them can make the day feel unique. You might wonder what themes really suit these moments—something simple often works best, but a bit of creativity doesn’t hurt either.
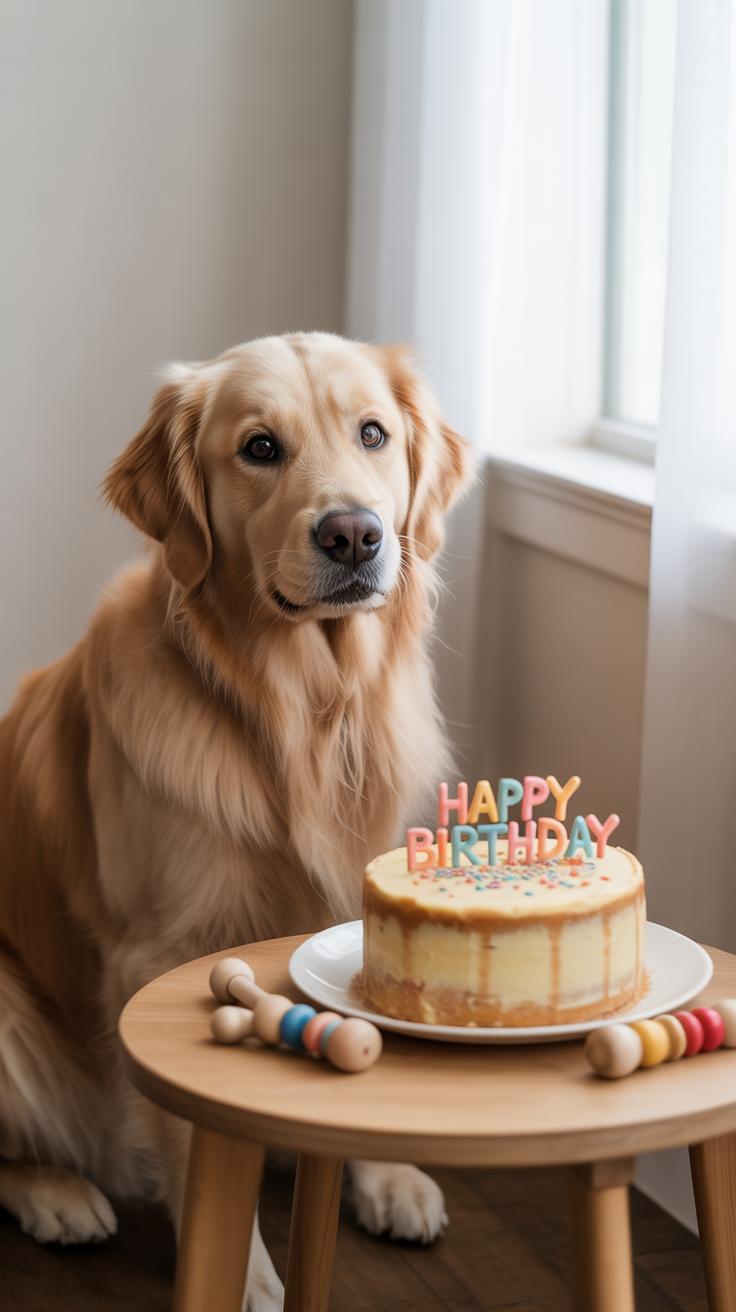
Birthday Dog Cake Ideas
For birthdays, think about your dog’s favorite flavors—pumpkin, peanut butter, or sweet potato often hit the mark. You can keep the design straightforward with a single-layer, or go for a stack that looks like a little tiered cake. Here are some styles you might consider:
- Shape the cake like a bone or paw print—it’s a classic that feels festive without being fussy.
- Add dog-friendly frosting using plain yogurt or cream cheese to keep it simple but tasty.
- Decorate with small treats or fruit like blueberries to give texture and color.
- Personalize the cake with your dog’s name spelled out with treats or carob chips.
Sometimes, plain shapes make it easier to share with guests who might also have dogs. The focus can be on taste rather than intricate appearance, which honestly, your dog probably cares far more about.
Holiday and Celebration Cakes
Holidays offer a fun chance to experiment, but restraint may help keep the cake dog-safe and less overwhelming. Seasonal ingredients can inspire your choices—maybe a carrot cake for Easter or a sweet potato and apple mix for Thanksgiving. Ideas for festive cakes include:
- Mini “Christmas tree” cakes, stacking small circles with a star-shaped treat on top.
- Fourth of July-themed treats using bits of watermelon and blueberries as decoration.
- Simple, heart-shaped cakes for Valentine’s Day or adoption anniversaries, showing love in a subtle, edible way.
- Using natural colors like spinach for green or beet juice for a pink tint, avoiding artificial dyes altogether.
The goal is to create something cheerful without overwhelming your dog or your schedule. Sometimes, a modest, thoughtfully made cake feels more genuine than a complicated one. And you might find that your dog doesn’t care about fanciness—they’ll love a little extra attention, and a treat that’s clearly made just for them.
Troubleshooting Common Dog Cake Baking Issues
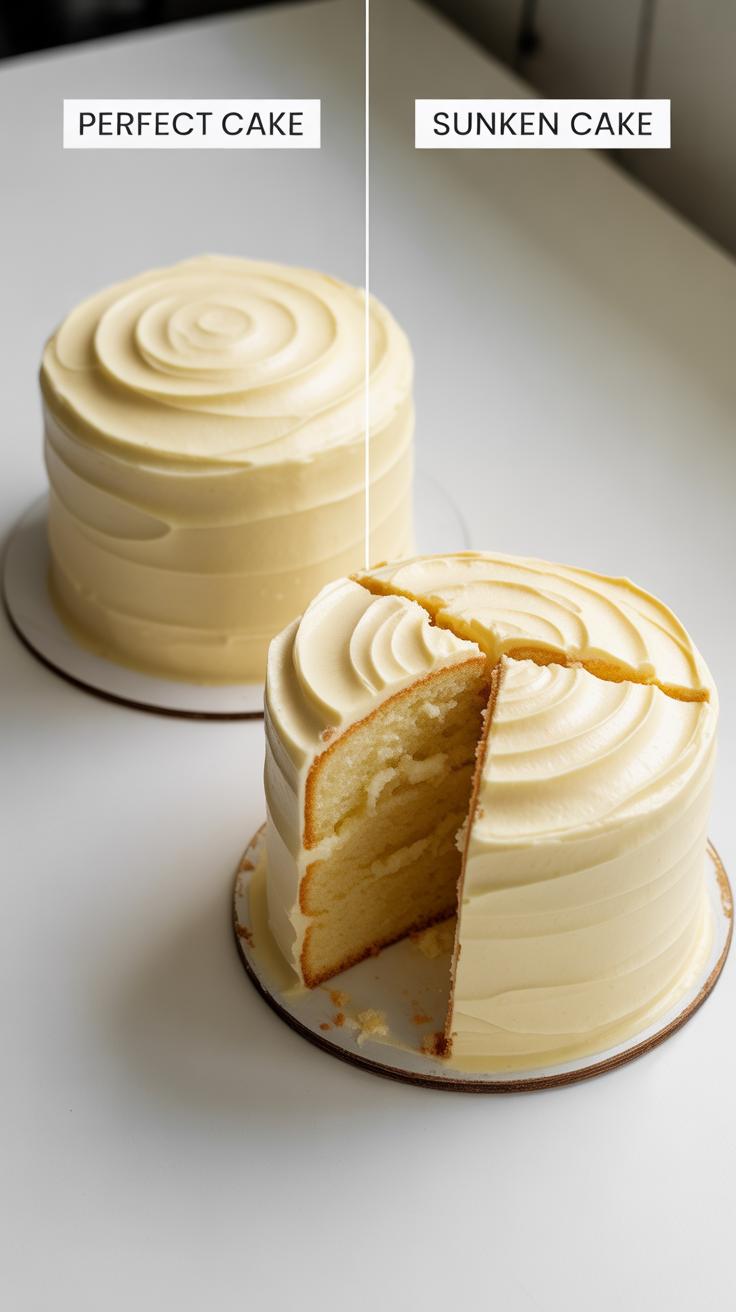
Fixing Texture and Consistency Problems
If your dog cake turns out too dense or heavy, it might be a sign that the flour or liquid ratio is off. Sometimes using too much whole wheat or oat flour can weigh the cake down, so you might try mixing it with a bit of all-purpose flour or adding an extra egg to lighten things up. Baking time is another factor; a cake left in too long can dry out and feel tough, while underbaking leaves it gummy. Try shortening the time by five minutes and test with a toothpick to get that soft, moist texture.
Also, consider the moisture level. Ingredients like pumpkin or applesauce add moisture, but if you reduce these, the cake might dry. Don’t hesitate to adjust by small amounts, maybe add a splash of broth or a bit more yogurt to keep it tender. I once had a cake that came out brick-like until I tweaked these a bit; trial and error can really help find your dog’s favorite texture.
Preventing Cakes from Sticking
Sticking cakes can be frustrating, especially when you’re eager to serve. Preparing your baking pan well makes a big difference. Spraying with a non-stick cooking spray works, but sometimes that alone isn’t enough. Lining the pan with parchment paper is a more reliable method — it creates a barrier and prevents lots of sticking issues.
For pans without removable bottoms, cut parchment to fit the base and sides, pressing it against the surfaces. If parchment isn’t handy, buttering the pan thoroughly then dusting with flour or cornmeal can also help, but watch out for residue that could bother your dog’s digestion. Sometimes heat affects sticking too—cooling the cake in the pan for a bit before removing can help it release more easily.
Have you tried flipping the cake out immediately after baking? That can sometimes cause tearing. Letting it cool partially usually does the trick, though it’s tempting to dig in right away.
Conclusions
Making dog cakes at home is a rewarding way to treat your dog on special occasions. Using simple ingredients ensures your pet stays healthy while enjoying a tasty snack. Always choose dog-safe ingredients and avoid harmful additives like sugar and chocolate.
With the ideas and guidance provided, you can create a variety of dog cakes easily. These homemade cakes are a wonderful way to show love and care for your dog. Start baking today and watch your dog’s tail wag with joy!