Introduction
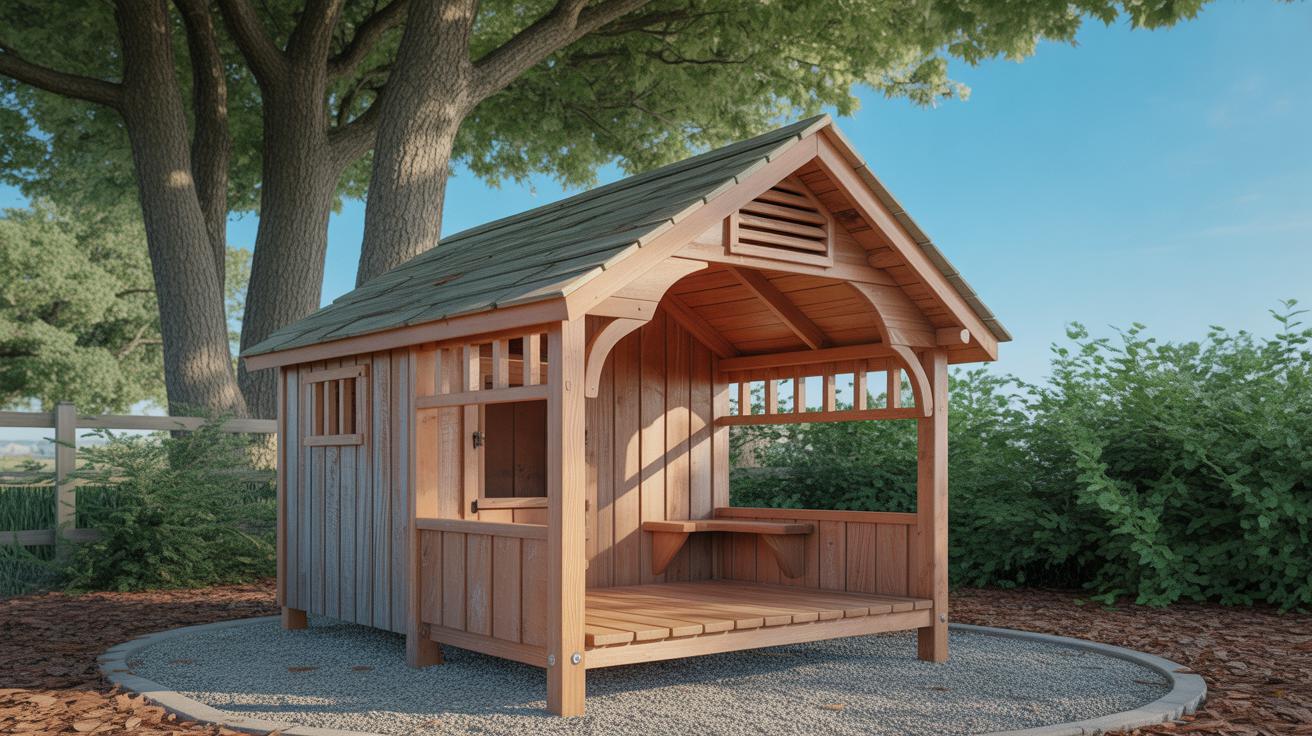
Creating a DIY dog house that keeps your pet cool and dry is a rewarding project. It offers your dog a safe and comfortable place to rest outdoors, protected from the elements. This guide helps you plan and build a dog house tailored to your dog’s needs with practical tips and clear steps.
Throughout this article, you will learn about the right materials, design ideas for ventilation and insulation, and how to make your dog house weather-resistant. Your dog’s comfort and safety are the focus as we explore how to construct a shelter that protects your pet from heat and rain efficiently.
Understanding Your Dogs Needs

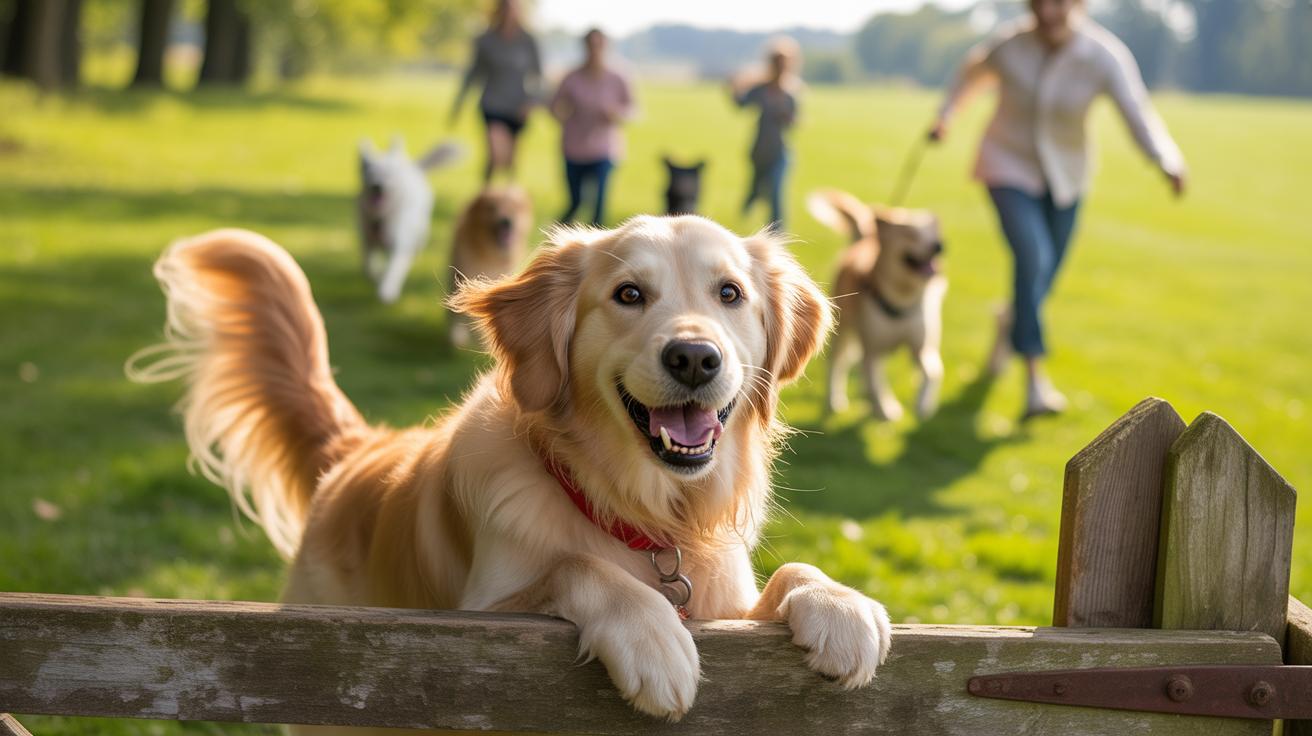
When planning a dog house, knowing your dog’s size, breed, and behavior makes a real difference. Different dogs handle heat and cold in very different ways. A husky, for example, might enjoy a drafty shelter, while a short-haired breed often needs extra warmth. You might find yourself wondering how to balance their comfort with practical design — because it’s not always obvious.
Measuring your dog isn’t just a quick length check. You need to consider three key dimensions: length from nose to base of tail, height when standing, and the width across the shoulders. Make sure to add a bit of extra space — your dog should feel comfortable, not cramped.
Local climate plays a huge role in deciding what your dog house should look like. If you live somewhere cold, insulation becomes a priority. In hotter spots, you want ventilation that keeps things airy without letting bugs in. I remember once trying to build a “one-size-fits-all” house, only to find my little dog shivering inside during winter — lesson learned.
Choosing the Right Materials
When picking materials for your DIY dog house, the options often boil down to wood, plastic, and metal. Each comes with its quirks about durability, insulation, and how easy it is to work with. It’s not always straightforward which one you should choose—depends on what you prioritize most.
Wood tends to be the go-to for many builders. It naturally holds heat better, which keeps the dog warm in cooler weather, and it’s almost forgiving when it comes to customization. You can cut it, paint it, or modify it without much hassle. But keep in mind, not all wood is equal. Some types absorb moisture or rot faster, so picking quality lumber—like cedar or pine—and treating it with a weather-resistant sealant can make a big difference.
Plastic dog houses are lightweight and easy to clean, which is a plus. But they don’t insulate well, so your pet might feel the extremes—too hot in summer, too cold in winter. If you go for plastic, layering with insulation or placing the house in a shaded spot helps. Also, plastic might not last long exposed to harsh weather unless it’s a sturdier kind.
Metal houses? They’re tough and durable, but heat can build up quickly inside, making them uncomfortable during warmer days. Plus, they can be noisy when it rains, which might bother some dogs. Metal’s quick temperature changes mean extra insulation is almost always necessary. You might use metal if you want something very low maintenance, but the trade-offs are noticeable. Do you want something permanent and easy, or something your dog will actually want to stay in?
In the end, your choice shapes how cozy and practical the dog house will be—so think about what your dog needs and what you’re ready to handle during the build. It’s a bit of a balancing act, really.
Planning Your Dog House Design
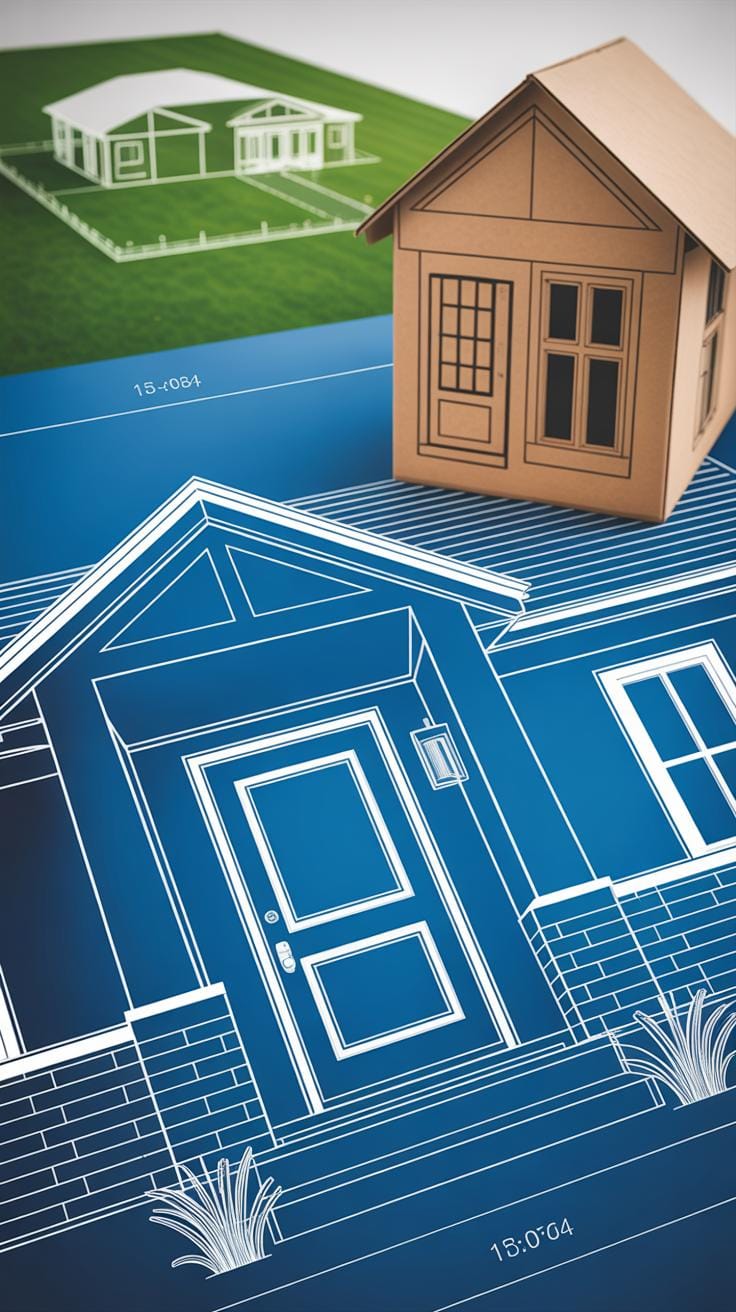
Start by thinking about your dog’s size. Make the interior roomy enough for them to turn around and lie down comfortably. For bigger dogs, a simple square or rectangular plan works well. Smaller breeds might benefit from an igloo shape or something cozier. The entrance shouldn’t be too big—just enough for easy access without letting in too much cold air or rain. Placing the door slightly off-center can help with wind protection, which I often forget until the first chilly night.
Ventilation matters more than you might expect. Sketch small vents or windows near the top walls or under the eaves. These let stale air escape without soaking the inside when it rains. Think about adding a simple overhang above the door—rain tends to drip right down if it’s not protected. I once built a dog house with windows only on the front, which ended up letting rain in due to wind direction—lesson learned.
For insulation, plan a double-wall design or reserve space for panels. Keep in mind, insulation should not block airflow, so vents should stay clear. Even a thin foam layer inside walls can make a noticeable difference. Sketching these details early helps avoid surprises when it’s time to build.
Designing for Ventilation
Airflow is key to keeping your dog comfortable, especially in warm weather. Small, screened vents near the roof corners work well. You can also cut narrow slits just below the roofline. Just make sure the vents have a slight angle or cover so water doesn’t enter during rainstorms. Windows with shutters or removable screens bring flexibility too—open them when it’s warm, close them when it’s chilly.
Good circulation prevents the build-up of heat and humidity, which dogs don’t tolerate well. If you skip ventilation, the house can get stuffy quickly, even during mild weather. On the other hand, too many openings let in drafts, so balance is key. If you’re unsure, err on the side of fewer vents but make them larger with protective covers.
Roof Styles and Their Benefits
A flat roof might look simple, but it causes water to pool, increasing leaks and material wear. It’s not great unless you add a strong waterproof membrane or slight slope. I find slanted roofs easier; even a modest angle lets rain roll off quickly. This reduces leaks and prevents water damage in the walls.
Peaked roofs are popular for a reason—they offer excellent runoff and extra space inside the dog house. That space can be used for insulation or air circulation. Also, peaked designs tend to keep the interior cooler because hot air rises and escapes through upper vents more effectively. But peaked roofs require more materials and a bit more skill to build.
Choosing the roof type may feel straightforward, but remember your climate and how much time your dog spends outside. It’s tempting to pick the simplest style, but thinking about water runoff and temperature control will pay off over time. Which roof style matches your needs might depend on how much you want to tackle during construction and your dog’s comfort priorities.
Building the Dog House Base
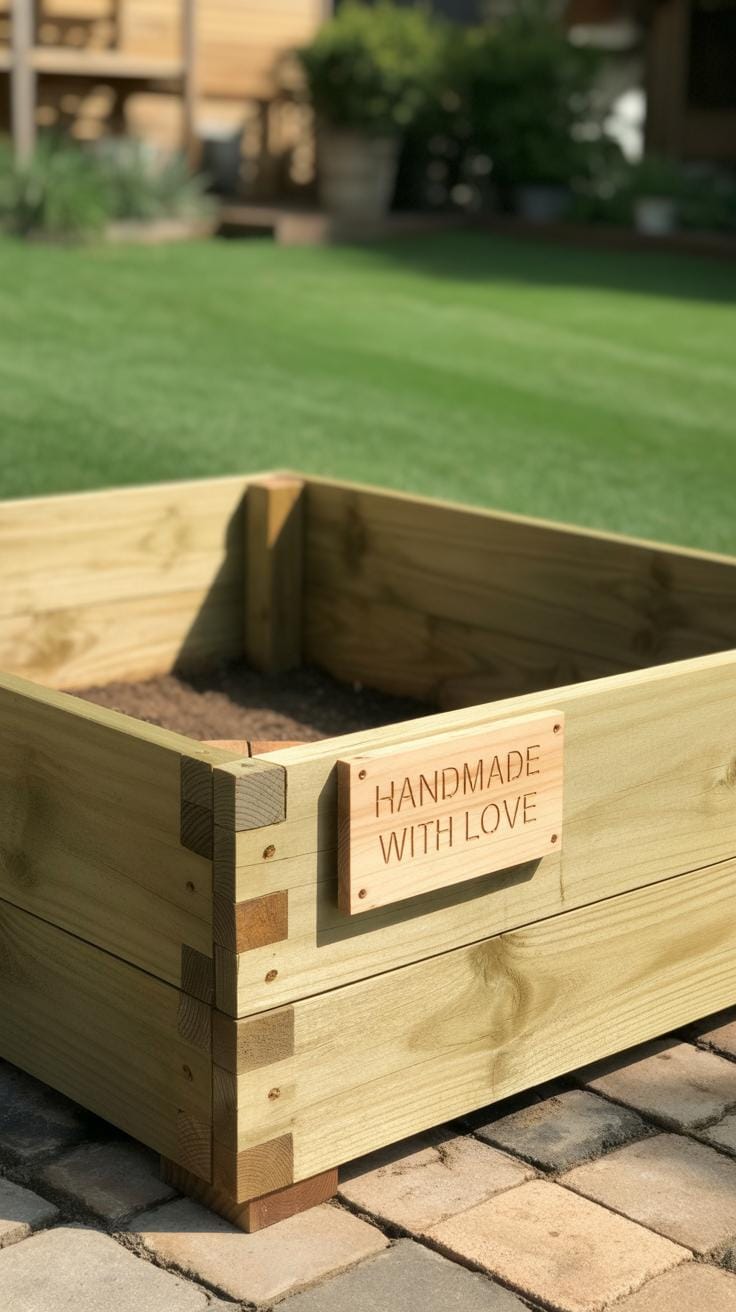
Starting with a solid base is crucial. Your dog’s comfort depends a lot on keeping the dog house off the moist ground, so the base needs to be raised, stable, and good at insulating. A raised foundation not only stops water from seeping in but also improves airflow underneath, which helps keep the floor dry.
Think about creating a simple frame, say about 2 inches off the ground. This gap lets air pass beneath, preventing moisture buildup. You’ll want the floor to be slightly bigger than the dog house walls to give extra protection from splashes or mud. For example, if your house is 3 feet by 3 feet, make the base about 3.5 feet square.
Selecting Base Materials

Choose wood that resists rot—cedar or pressure-treated pine usually works well. I once used untreated pine, and within a year, it started warping from dampness, so that’s a lesson learned. Seal the wood with a non-toxic, weather-resistant sealant or exterior paint to avoid moisture absorption. Avoid plywood for the base; it tends to delaminate quickly when wet.
Metal frames may seem sturdy, but they can get cold and transfer that cold to your dog’s floor. So, wood is generally better if you want a bit of natural insulation.
Constructing a Raised Floor
To build the raised floor, start with four wooden beams laid out as a rectangle, matching the size of your base. Square and level them carefully—that’s key.
Then, attach evenly spaced joists across the beams about 12 inches apart. This spacing supports the floorboards while allowing air to circulate underneath. Screw down the floor planks—1-inch thick boards work nicely. Leave small gaps, maybe a quarter inch, between planks to promote drainage and airflow but not so big that drafts sneak in.
Remember to check the base periodically. If you notice mold or rot starting, treat it again or replace parts if needed. It might feel a bit like overkill, but a firm, dry floor really makes the dog house last longer, and your dog will appreciate the difference.
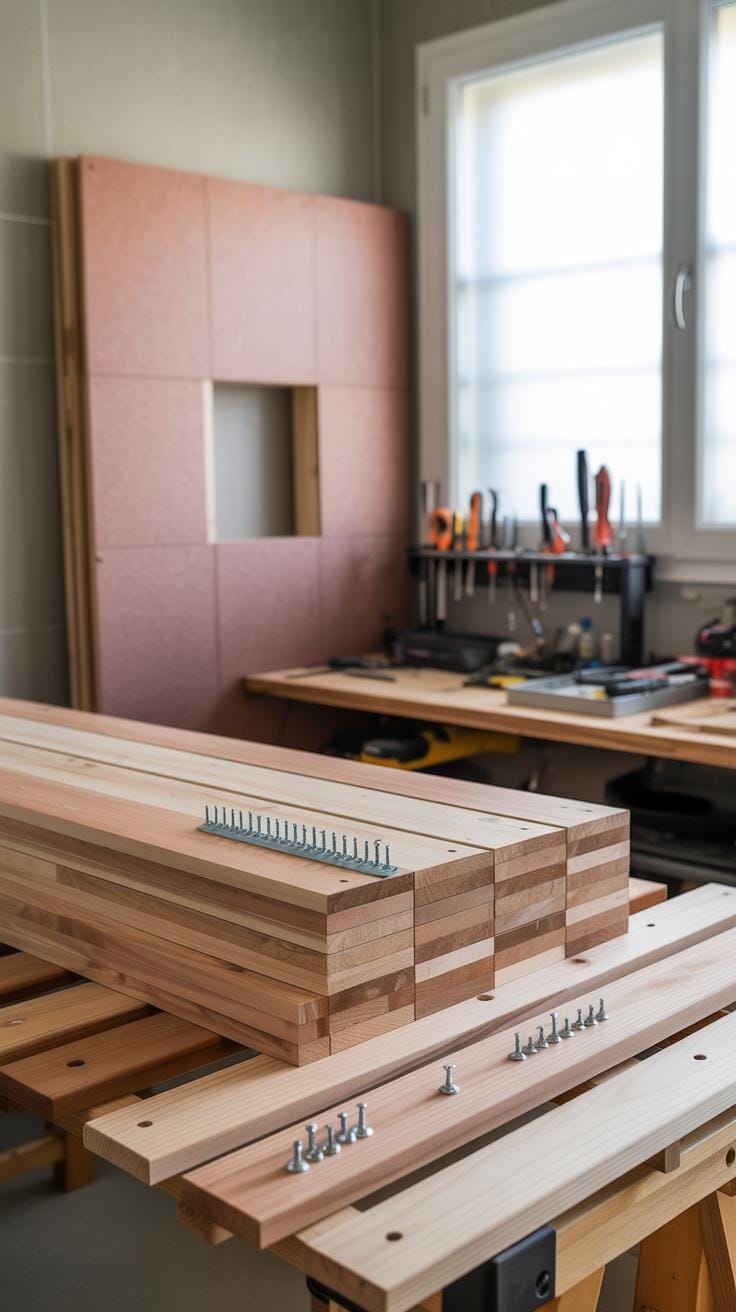
Building the Walls and Entrance
When it comes to assembling the walls of your dog house, you’ll want to start with sturdy panels—plywood works well if you’re on a budget. Use nails or screws—screws offer a tighter hold, especially for corners that take the most strain. Reinforce these corners with small wooden blocks on the inside; it adds quite a bit of stability, even though it might seem like extra work at first. I’ve found that skipping this step often leads to wobblier structures down the line.
Cutting the entrance is a delicate balance. Too big, and your dog house loses warmth and becomes drafty. Too small, and your dog might hesitate to go inside—especially older or larger pets. A good rule is to make the opening just large enough for your dog’s width plus an inch or two. Rounded or arched tops are easier on your dog’s head and reduce sharp edges that could snag fur or skin.
Sealing edges and corners against drafts and moisture is where many DIY projects fall short. I usually run a bead of silicone or exterior-grade caulk along all joints. Don’t forget the corners where walls meet the base. Even tiny cracks can turn into chilly drafts or leaks. For extra protection, covering seams with waterproof tape or thin flashing strips can be effective, especially in wetter climates. It might feel like overkill when assembling, but in the long run, it keeps the shelter much drier.
One last thing—make sure your entrance design doesn’t trap rain inside. A small overhang or angled trim above the doorway can divert water away, keeping things cozy inside.
Installing the Roof for Weather Protection

Getting the roof right matters more than most people expect. The roof must keep rain and sun out, or all your previous work on walls feels wasted. I’ve found angled, sloped roofs work best to let water run off instead of pooling. Attaching sturdy roof panels made from plywood or cedar shingles can provide a solid barrier, but how you secure them matters just as much.
Start by adding roof supports—think rafters or beams—across the dog house frame. These supports hold the panels firmly and reduce warping. When placing the panels, overlap edges slightly to avoid gaps. It’s tempting to rush this step but take time to inspect the seams carefully for tiny cracks or holes. I once skipped this and ended up with a leaky dog house during a heavy shower. Not fun. Waterproofing the roof with roofing felt or tar paper beneath the shingles or panels adds extra moisture defense.
Quiet insulation can make a big difference too—especially if your dog digs the house out of sun or cold. Foam board or reflective foil insulation under the roof traps heat in winter and reflects sun in summer. Using a thin vapor barrier below this layer can also keep the insulating materials dry. A dry roof lasts longer and avoids mold, which I imagine your pet wouldn’t enjoy.
Checking the roof after installation is a must—inspect for even the tiniest leaks by spraying water on it or simply waiting for a rainy day. Seal any gaps with waterproof sealant or roofing tape. Taking these few extra steps ensures your dog house truly shelters from the elements, not just looks the part.
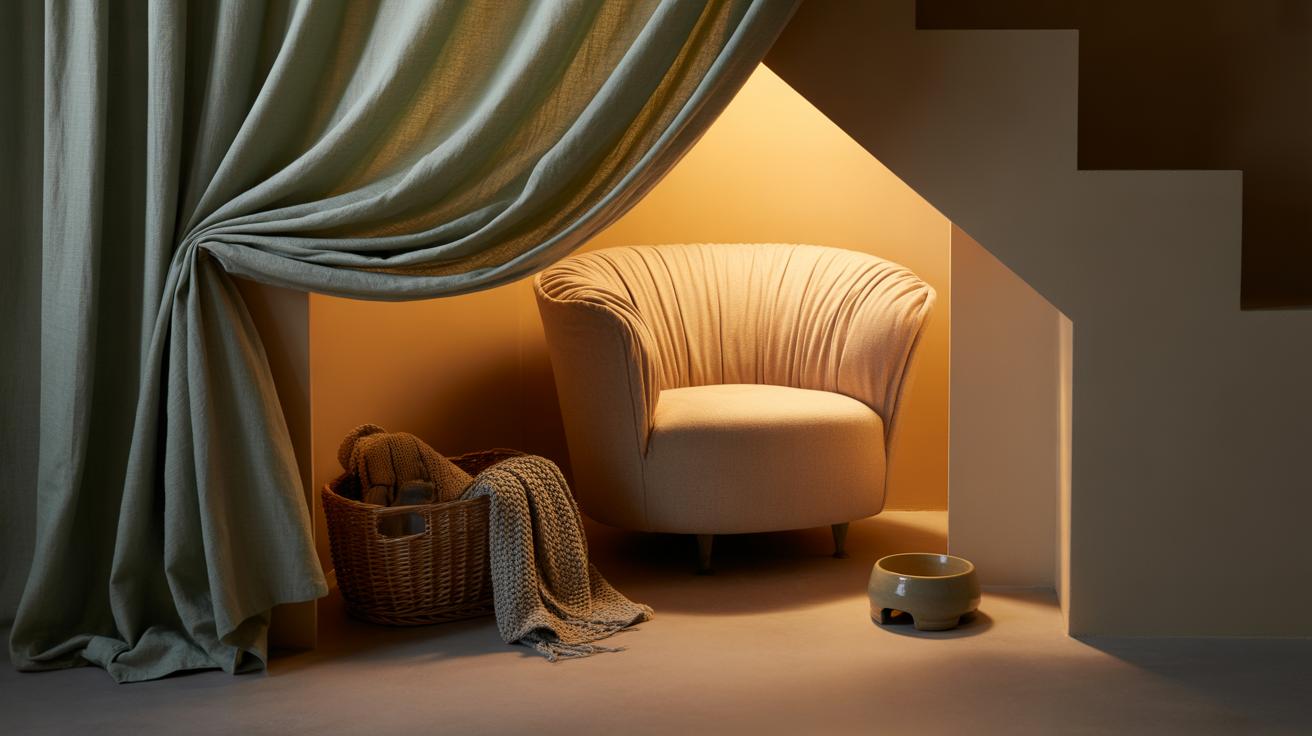
Enhancing Comfort Inside the Dog House
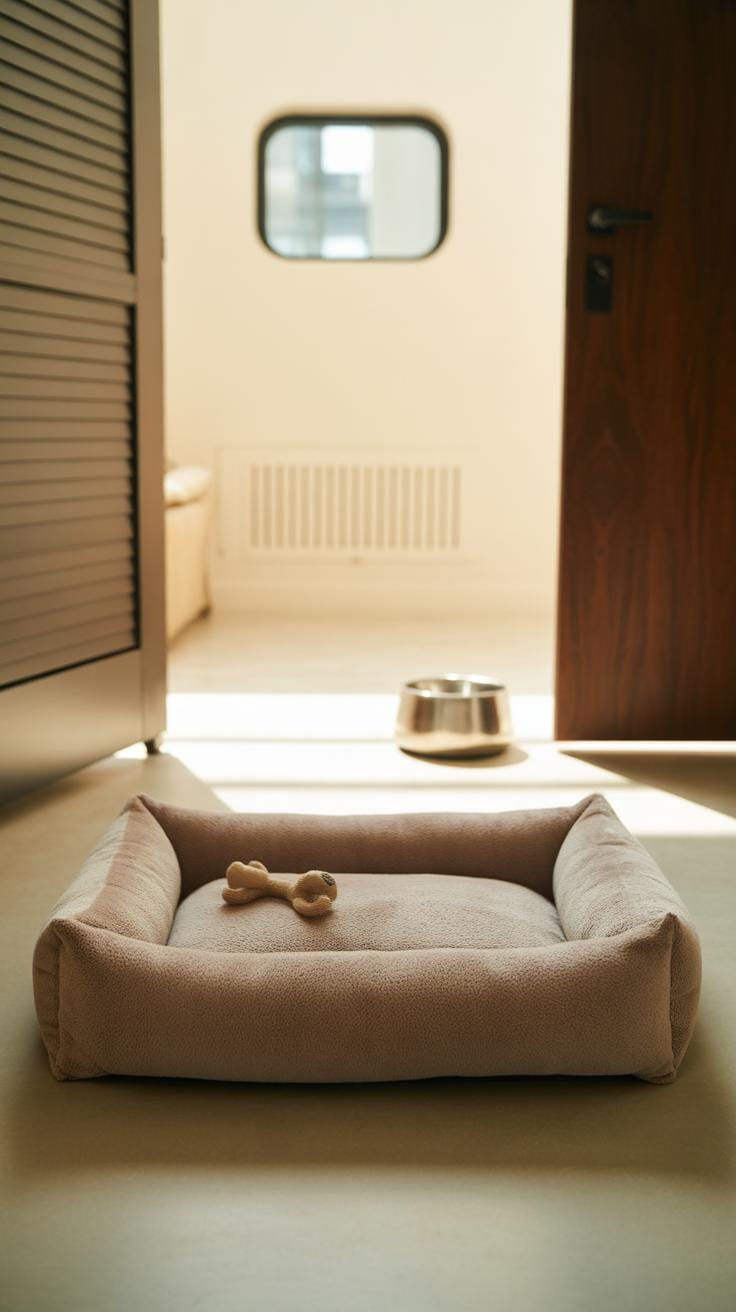
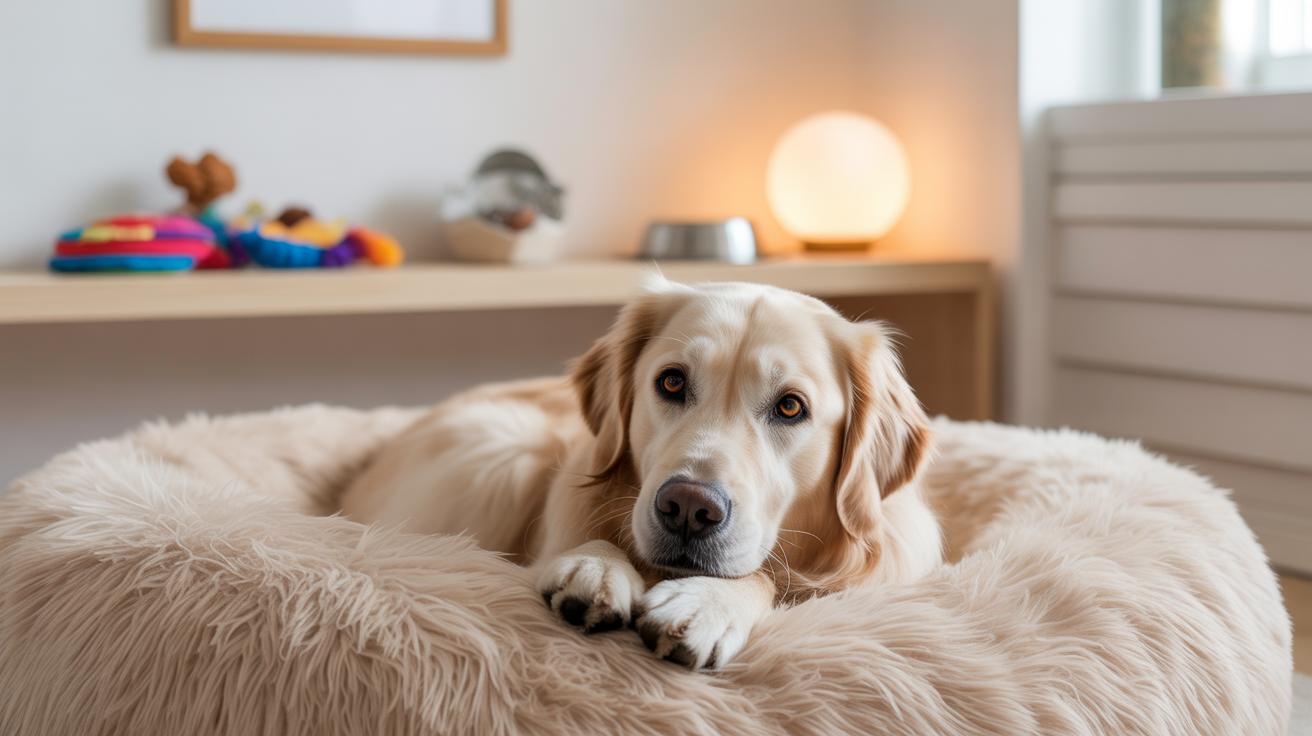
Choosing the right bedding can feel a bit tricky, especially when you want your dog’s house to stay cozy but also easy to clean. Think about materials that can handle moisture and dirt while still being soft enough for your dog to actually want to lie down on. Memory foam beds covered in waterproof fabric tend to work well outdoors, but sometimes simpler options like thick, washable fleece pads do the trick just fine. You might want to have a couple of sets—one for summer and one for winter—because temperature really changes what your dog might find comfortable.
Insulation isn’t just for walls and roofs—it matters inside too. You can add a layer of rigid foam panels beneath the flooring or line the walls with reflective insulation to keep warmth in during cold months. In summer, those same panels help reduce heat buildup. Sometimes I wonder if just elevating the floor a few inches can make as much difference because it avoids cold or damp ground contact. A little ventilation near the top can prevent stuffiness without letting all the heat escape.
Small choices, like a thick blanket tucked in the corner, can be a quick way to boost comfort but remember to pick washable stuff—you’ll want to keep things fresh. Does your dog prefer a simple mat or a bed with bolsters? Observing their preferences might tell you more than any guidebook. Comfort is personal, after all, even for dogs.
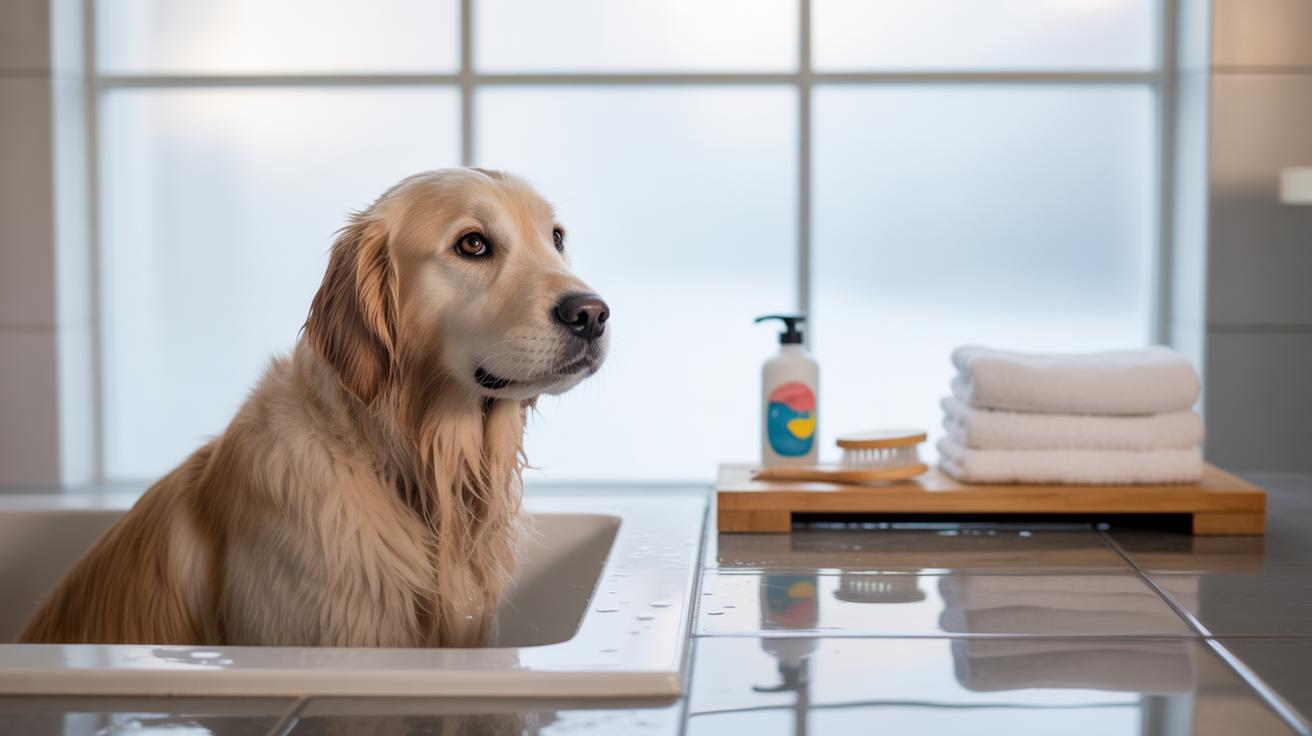
Maintaining and Cleaning Your Dog House
Keeping your dog house clean and in good shape takes a bit of effort, but it really pays off. When a dog house is well maintained, it stays safe and comfortable for your pet—not just now, but for a long time. Dirt, moisture, and wear can sneak in unnoticed if you’re not careful, and that’s when problems start. I’ve seen simple leaks turn into bigger issues, and once, a loose board nearly caused a paw injury. Checking regularly prevents those surprises.
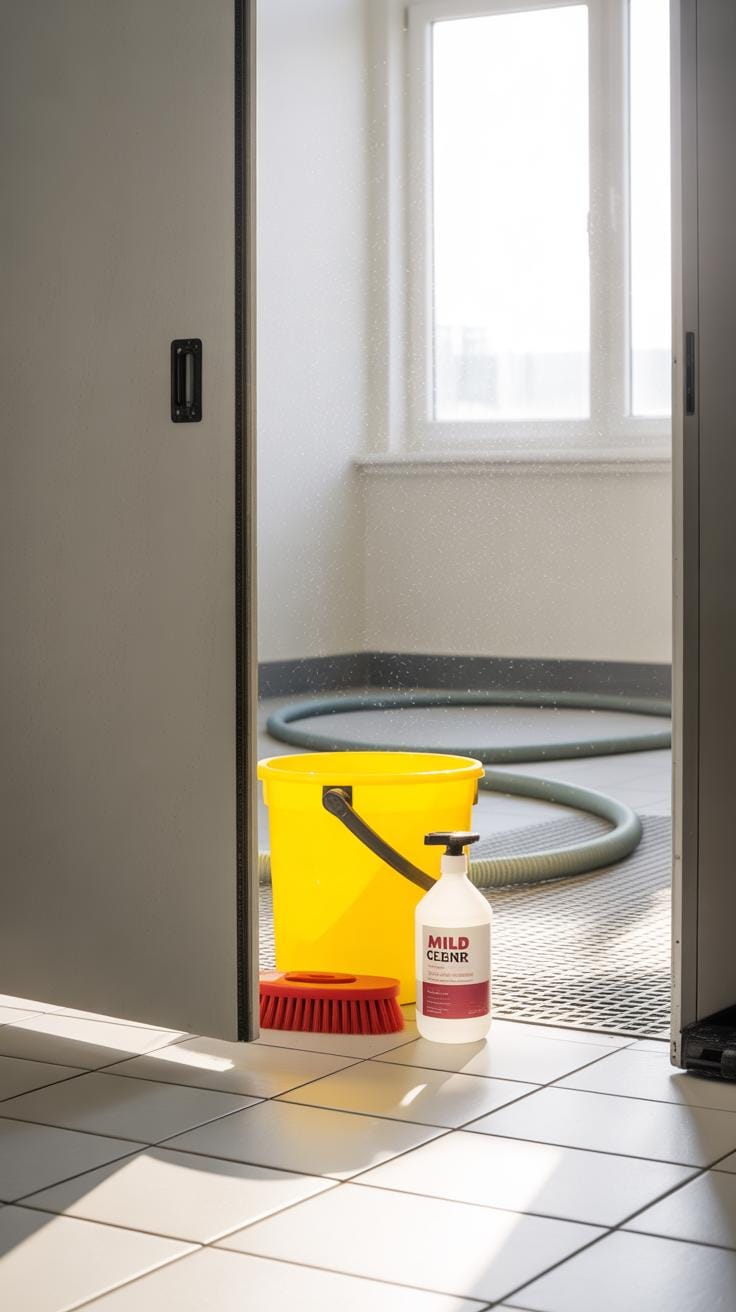
Routine Cleaning Practices
Try to clean the dog house at least once a week if you can. It doesn’t have to be complicated:
- Remove bedding and shake out dirt outside.
- Use warm water mixed with a mild pet-safe soap to scrub floors and walls. Vinegar diluted with water also works well for disinfecting without harsh chemicals.
- Rinse thoroughly to avoid any residue that might bother your dog’s skin or nose.
- Let everything dry completely before putting bedding back inside— damp spots can promote mold or bacteria growth.
If your dog tends to bring in mud or leaves, you might want to sweep or hose down more often. It’s a hassle, sure, but they’ll thank you by staying healthier.
Inspecting for Repairs
You should check your dog house for damage every month or so. Look for things like loose boards, cracked panels, or small holes where water could creep in. Fixing these is usually straightforward:
- Tighten screws or nails that have loosened over time.
- Replace any broken wood with pieces cut to fit.
- Seal gaps with weatherproof caulking or outdoor wood filler to stop drafts and leaks.
- Check the roof carefully—sometimes shingles or waterproof membranes wear thin and need patching.
It might feel like overkill, but catching a tiny leak early can spare you rebuilding the whole thing later. Also, watching closely helps you notice things your dog might react to—like drafts or uncomfortable spots—before they become real problems.
Upgrading with Smart Features
You might think a simple dog house is just that—basic shelter. But adding a few smart touches can make a big difference. Take solar-powered fans, for example. They don’t need wiring or outlets and can keep the air moving inside on hot days. I once installed one on my dog’s house and noticed a real drop in temperature, though it wasn’t a dramatic change. Still, every bit helps.
Automatic doors can also raise comfort while giving your dog control. They open when your pet approaches and close afterward, keeping bugs and bad weather out. It sounds fancy, but kits for these are fairly affordable and straightforward to install, even if you’re not super tech-savvy.
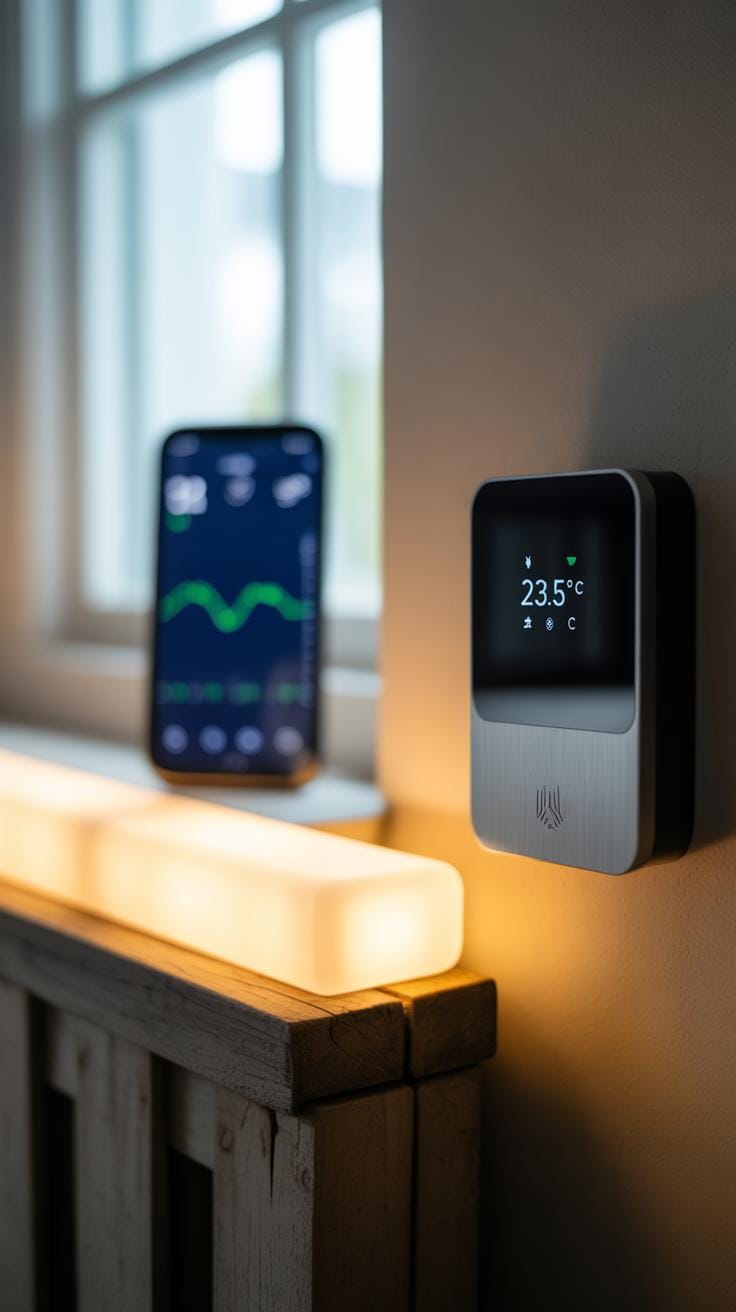
Then there are temperature monitors that let you keep an eye on conditions remotely. They’re easy to set up—you just sync with your phone. Watching the data, I caught an afternoon heat spike once and moved my dog inside before things got uncomfortable. These little alerts could be lifesavers, especially if you’re away often.
Adding Cooling Systems
When summer hits, a poorly ventilated dog house can quickly become unbearable. Instead of expensive air conditioning setups, consider low-cost options that still help. Simple vent holes placed opposite each other promote natural airflow. I drilled a few in mine; it’s nothing fancy, but the difference is noticeable. Raised floors also keep the house off the hot ground, which helps with cooling.
Another option is frozen water bottles or gel packs on warm days, placed safely inside where your dog can’t chew on them. I tried this once, and my dog seemed to appreciate the cool spot. It’s obviously temporary, but it can help on the hottest afternoons. Shade is critical too—make sure the house isn’t baking in direct sun.
Using Technology for Comfort
Sensors aren’t just for humans; you can use them to check your dog’s environment too. Motion-detection cameras inside the dog house show if your pet is comfortable or restless. Coupled with humidity and temperature sensors, they give a fairly complete picture of conditions without you being there.
Remote monitoring offers peace of mind, especially if your dog spends a lot of time outside. It’s easy to check if things inside the house are stable or if adjustments are needed. Of course, these devices aren’t foolproof—technology can fail or miss something; you still need to check on your pet physically. But they do add an extra layer of oversight that’s hard to beat.
Conclusions
Building a DIY dog house that stays cool and dry needs careful planning and the right materials. Focus on proper size, good ventilation, and waterproofing to make a shelter your dog enjoys. Using basic tools and clear plans, you can create a dog house that suits your pet perfectly.
Remember, your dog’s shelter is more than a simple structure. It shows your care and attention. With the tips and ideas in this guide, your dog will have a reliable place to relax comfortably through all seasons. Give your pet a home that matches their needs and you will both benefit.