Introduction
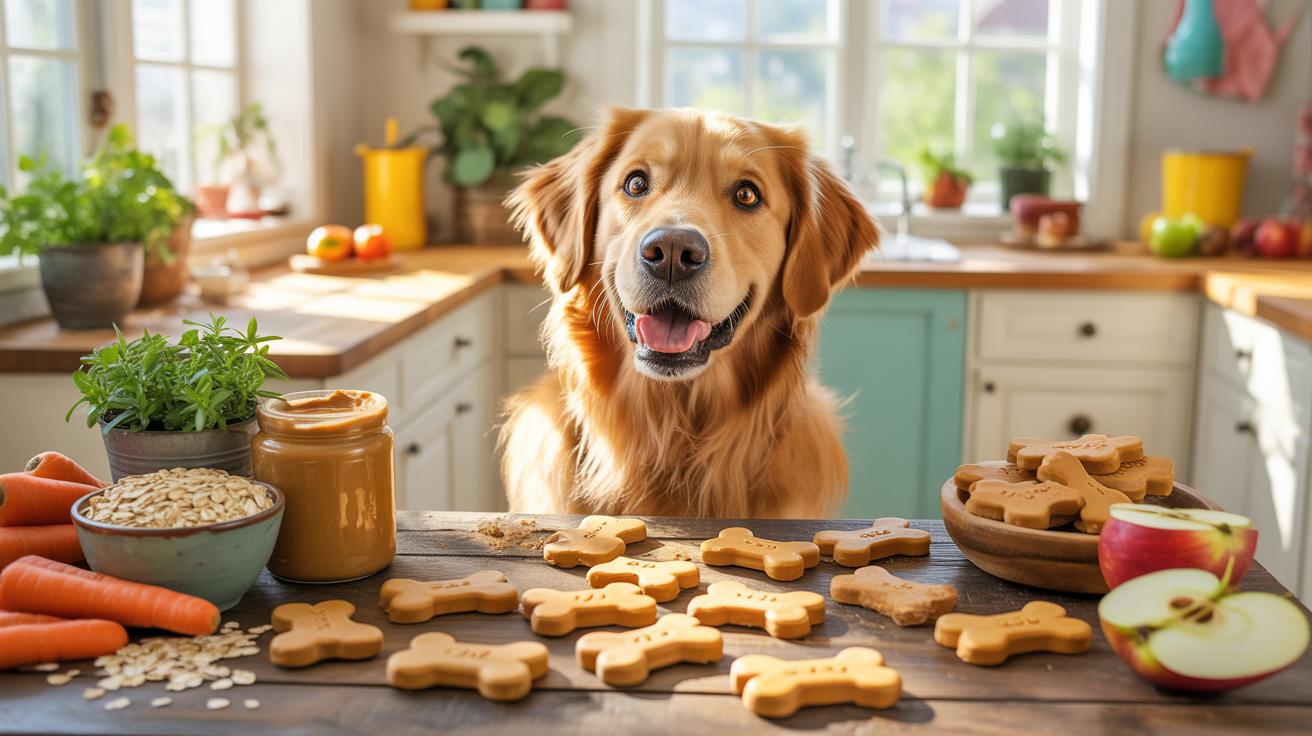
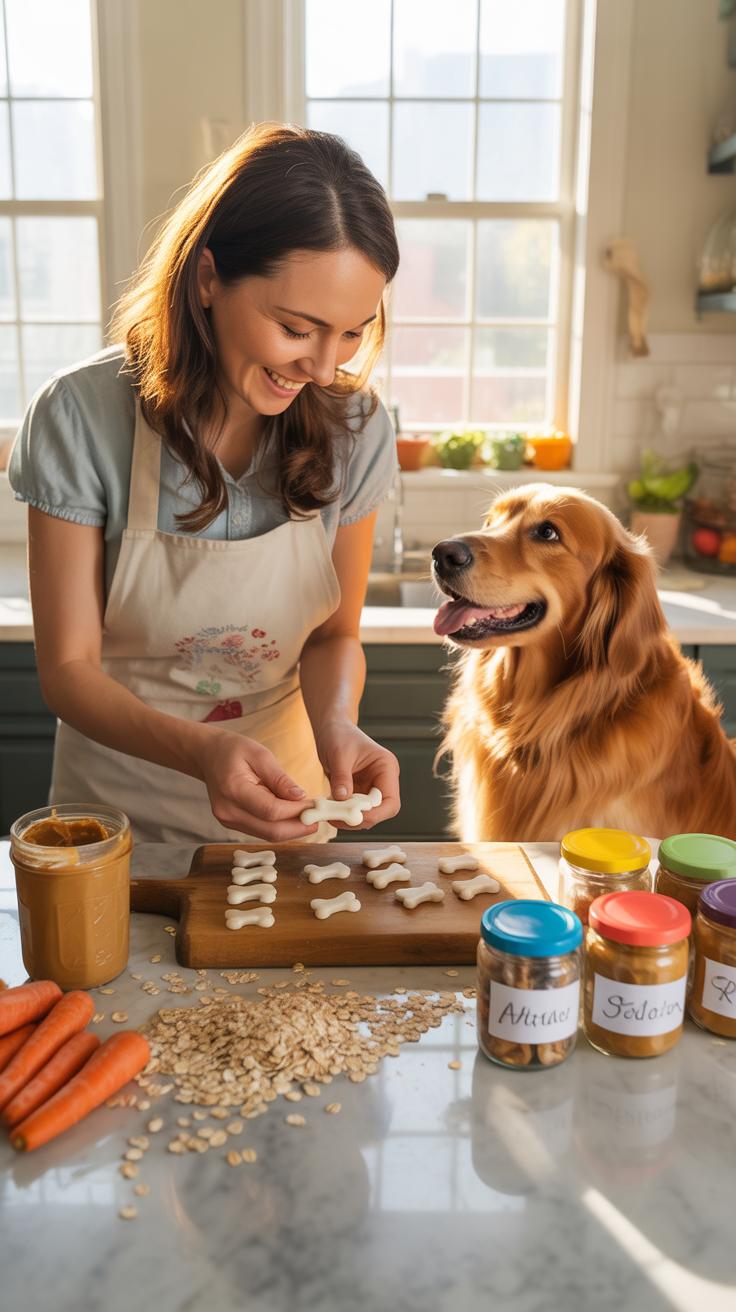
Easy Dog Treat Recipes For Homemade Healthy Pet Snacks focus on crafting simple, wholesome treats that your dog will enjoy. Making treats at home gives you control over ingredients, ensuring your dog gets snacks that suit their dietary needs and preferences. It also helps avoid additives often found in commercial treats.
You will find recipes that use common ingredients, saving money and allowing you to tailor snacks to your dog’s health. This article will cover the benefits of homemade treats, safe ingredients, recipe examples, and storage tips to help you provide nutritious and tasty snacks for your dog.
Benefits Of Making Dog Treats
Why Homemade Treats Matter For Dogs
You might have noticed how some commercial dog treats list a dozen ingredients you can barely pronounce. Dogs don’t really need those artificial colors, preservatives, or fillers in their snacks. Making treats at home lets you skip all that—and your dog gains from it in subtle ways. For instance, avoiding additives can reduce the chance of allergies or digestive upset, which can be common in store-bought treats. It’s not just about cutting out the bad stuff; it’s about knowing exactly what goes into the mix. You get to choose whole ingredients, like plain pumpkin, oats, or peanut butter without sugar or salt added.
And think about sensitivity. Some dogs react poorly to certain preservatives or flavorings. When you make treats yourself, you can tailor the recipe to your dog’s specific needs. Maybe avoiding grains or dairy, or using a protein they tolerate well. It’s a chance to be really mindful, which is harder to do with commercial products. Of course, it takes some effort, but I’ve found it rewarding knowing my dog is only eating what I’d feel comfortable eating myself.
How Homemade Treats Save Money And Improve Health
At first glance, making dog treats might seem like extra work with little payoff. But over time, it usually saves money versus buying premium commercial treats. A bag of flour, eggs, and a jar of peanut butter can last through multiple batches at home, which spreads out the cost. Plus, many recipes use leftover ingredients you already have around the kitchen—like pumpkin puree or apples. This cuts down on waste, too, which feels good.
But there’s more to these savings than dollars. By feeding healthier, less processed treats, you might help your dog avoid some vet bills down the line related to allergies or obesity. If your dog gains weight on sugary treats, switching to homemade, controlled portions of nutrient-dense snacks can nudge their health in a better direction. Maybe it won’t solve everything, but it’s a small, doable step you can take without much hassle.
Have you noticed that your dog perks up more after a fresh, plain biscuit versus a store-bought chew? That’s probably no coincidence. Homemade treats align better with their natural diet and digestion—and that can add up to noticeable benefits over time.
Safe Ingredients For Dog Treats
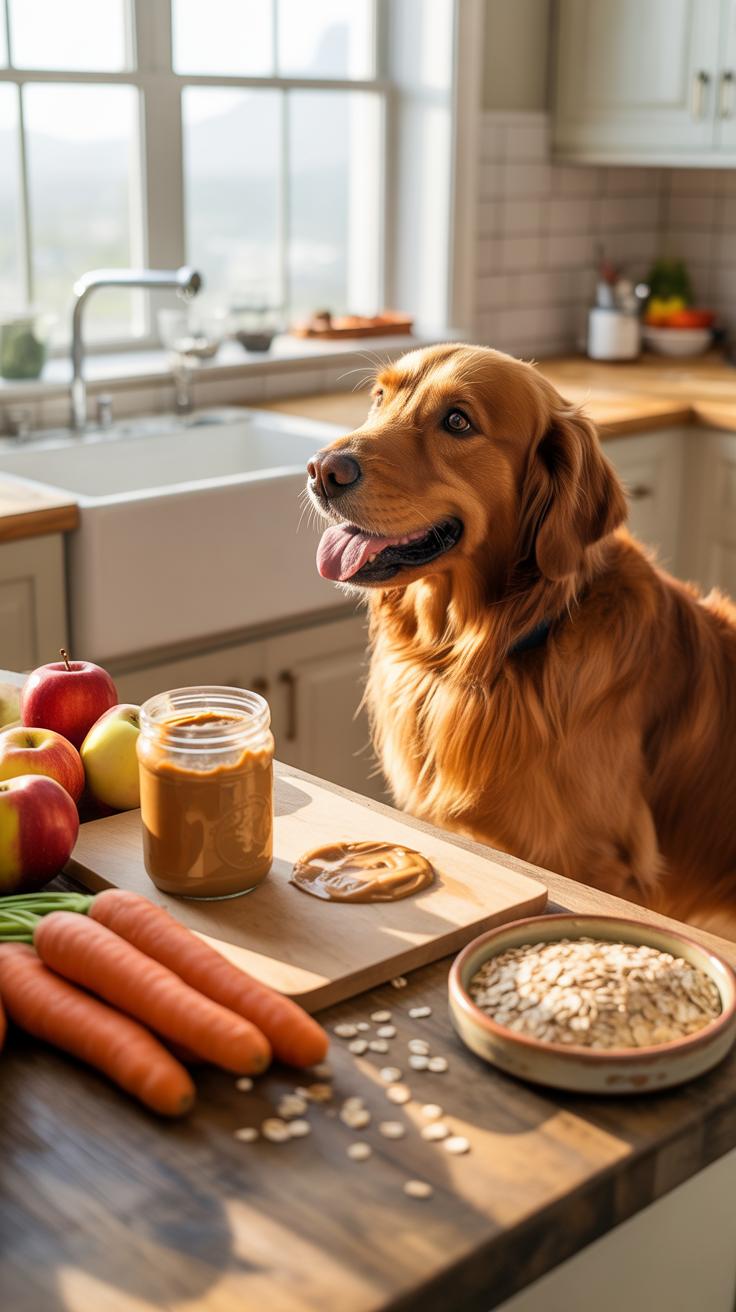
Common Ingredients That Are Safe For Dogs
You might be surprised how many everyday kitchen staples can become the base for healthy dog treats. Peanut butter, for example, is a favorite for many pups. Just make sure it doesn’t have xylitol, which is dangerous. It’s a good source of protein and healthy fats, which can keep your dog’s coat shiny and energy steady.
Oats also make an excellent ingredient. They’re rich in fiber, helping with digestion, and are gentle on sensitive stomachs. Plus, oats can help regulate blood sugar a bit, which might be useful for dogs with certain health concerns. I once swapped flour for oats in a batch of treats, and my dog seemed to love the texture.
Sweet potatoes are another easy choice. They bring fiber, vitamins A and C, and antioxidants that support immune health. You can bake them and mash them up for a naturally sweet flavor dogs usually enjoy. Honestly, the smell when I bake sweet potatoes for treats fills the kitchen nicely—it’s hard not to sneak a piece yourself.
Ingredients To Avoid In Homemade Treats
On the flip side, some ingredients are outright unsafe and shouldn’t touch your dog’s treats. Chocolate is one that often comes up, but it’s not just chocolate. Onions and garlic in any form are toxic; even small amounts can cause serious issues like anemia.
Grapes and raisins are a bit strange—they seem harmless but can cause kidney failure. So it’s best to completely avoid them. Also, artificial sweeteners, especially xylitol, can cause rapid insulin release, leading to hypoglycemia or worse.
Some recipes call for nuts, but many nuts like macadamia are dangerous. So, it’s safer to steer clear or check carefully before adding any nutty flavor. Alcohol and caffeine should also never be part of dog treats. Sometimes it’s easy to overlook these details, but they really matter for your pet’s health.
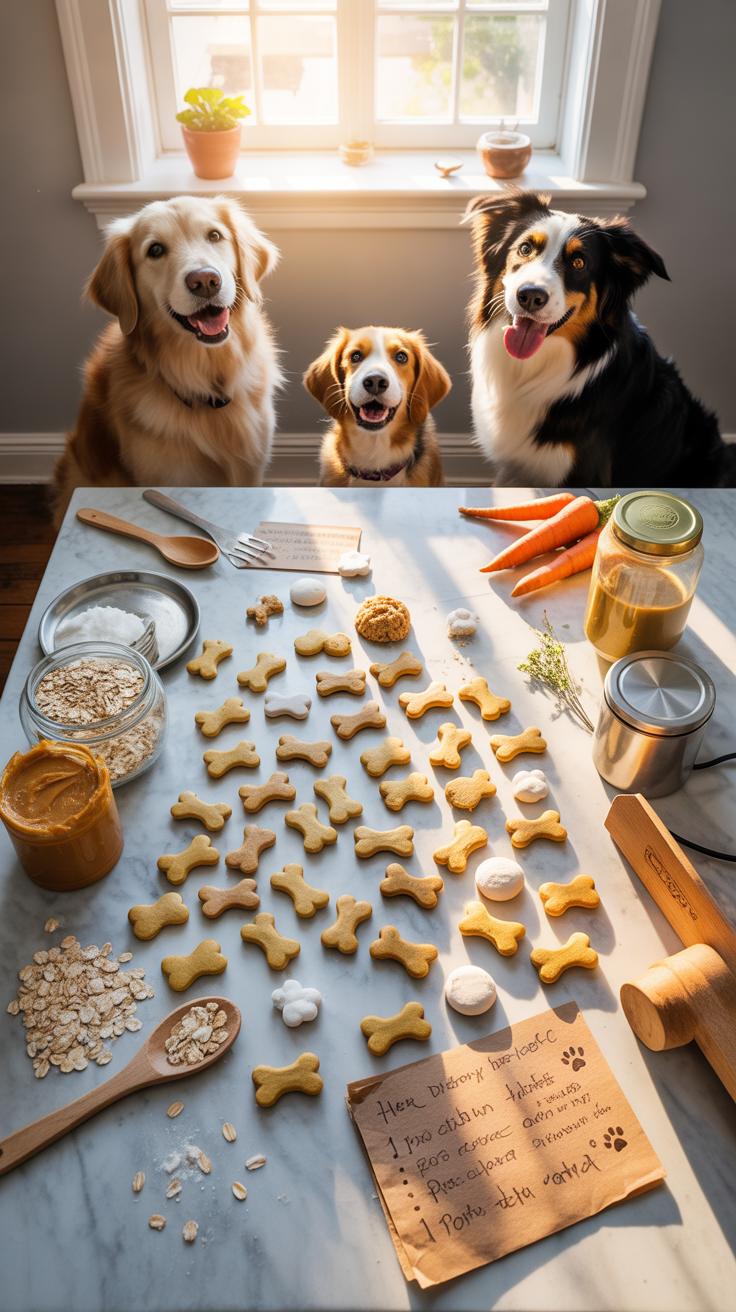
Simple Recipe Examples To Try
Peanut Butter And Oat Treats Recipe
Making peanut butter and oat treats is surprisingly straightforward—and your dog might thank you for it. You only need a few ingredients: oats, peanut butter (make sure it’s xylitol-free), and a little bit of water or apple sauce to bind things together. Start by mixing one cup of rolled oats with half a cup of peanut butter. Add two to three tablespoons of water or unsweetened apple sauce, just enough until the mixture holds together but isn’t too sticky. Then, shape small balls or flatten the dough and cut it into bite-sized squares.
Bake these at 350 degrees Fahrenheit for around 10 to 12 minutes. Watch them closely—they can quickly go from chewy to hard. Let them cool completely before offering one to your dog. You’ll find that most pups love these, and they take minimal time to prepare, which is great if you’re busy but still want something homemade.
Sweet Potato Chew Recipe
Sweet potato chews are another easy, healthy treat option. Simply wash and slice a sweet potato into thin, even strips—aim for about a quarter-inch thickness. You don’t need to peel it, as the skin has nutrients and your dog can usually digest it fine. Line a baking sheet with parchment paper, lay the slices out without overlapping, and bake at a low temperature, around 250 degrees Fahrenheit.
This slow baking process can take 2 to 3 hours. Check them periodically; you want them firm but still a bit chewy, not brittle. These are great for dogs who enjoy chewing but don’t want something hard on their teeth. Plus, they store well in a container, so you’re set for several days of snacks. It’s so simple that even if you’re not a kitchen person, it feels doable—and you might notice your dog showing a new level of interest in snack time.
Treat Storage And Freshness Tips
How To Store Treats Properly
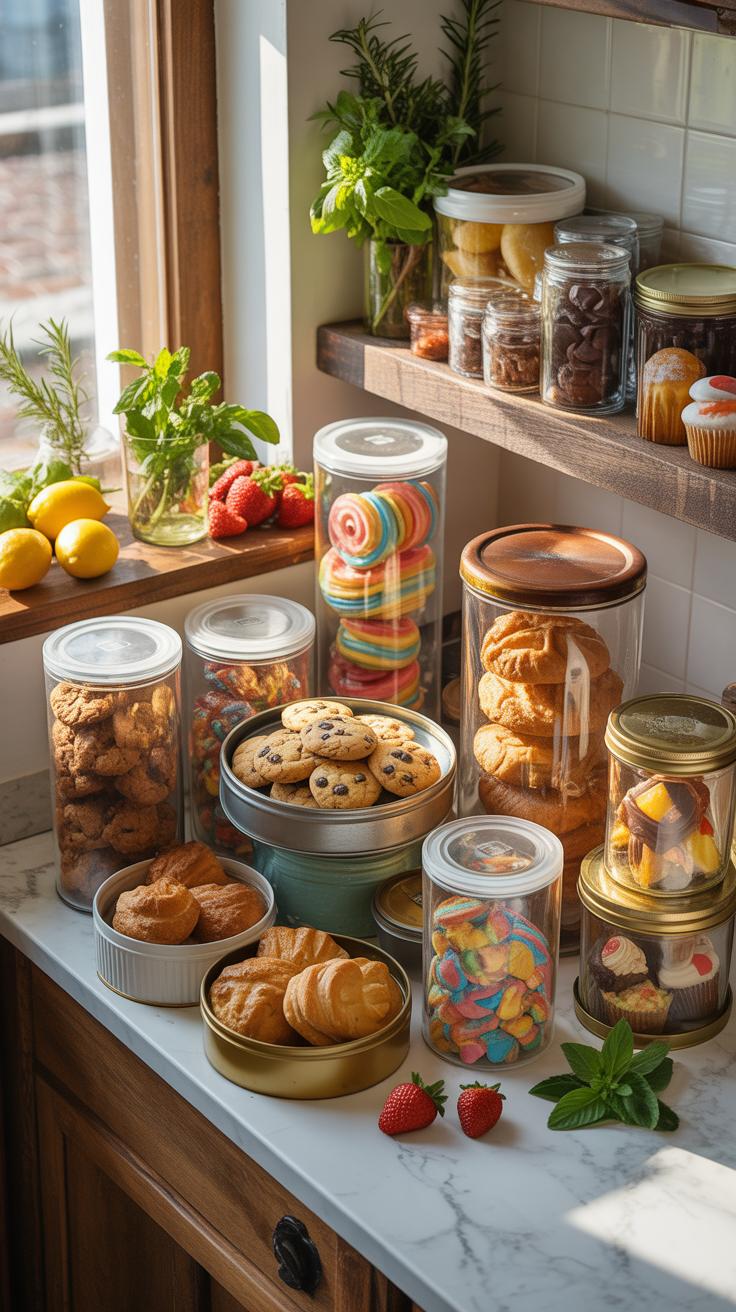
You might think storing homemade dog treats is straightforward, but there are some little things you can do that make a difference. Airtight containers are usually the best bet. I’ve seen treats stay fresher longer when kept in glass jars or sealed plastic tubs. Leaving air out helps prevent them from getting stale faster or absorbing unwanted moisture.
Refrigeration is also something to think about, especially if your treats have ingredients like meat or dairy, which spoil quickly at room temperature. I tend to put soft or perishable treats in the fridge, but dry biscuits can often stay fine on the counter for a few days. Just be careful not to mix storage methods without clear reasons–sometimes folks refrigerate everything, but that might change the texture of certain snacks.
Shelf Life Of Common Homemade Treats
Now, about how long you can expect these goodies to last—well, it varies quite a bit. Dry baked treats like those made from oats and peanut butter may keep good for about two weeks stored properly in a cool, dry place. If you’re baking with moisture-rich ingredients, like pumpkin or fruit, I’d say one week tops unless refrigerated.
Frozen treats, like those based on pureed veggies or yogurt, tend to last longer, maybe up to three months in the freezer, but they need to thaw carefully before offering them to your dog. Meanwhile, something like dehydrated meat-based treats might keep well for a month when stored airtight in a cool spot.
Does this seem like a lot to keep track of? Sometimes it feels that way. But knowing these little details helps your furry friend enjoy snacks that taste as fresh as you intended—and avoids waste from spoiled treats. Have you noticed a difference when switching between storage ideas yourself?
Customizing Treats For Your Dog
When making homemade dog treats, it’s helpful to think about your dog’s unique characteristics. Their size, age, and health all play a role in how you might tweak a recipe. For example, a tiny Chihuahua won’t need the same portion or treat hardness as a big Labrador. Smaller dogs usually do better with bite-sized pieces that are easy to chew. Older dogs might benefit from softer textures to avoid straining their teeth.
Health factors can’t be ignored either. If your dog has joint issues or weight concerns, you might cut back on fat or add ingredients like turmeric that support joint health. Puppies need more protein and calories, so enriching treats with nutrient-dense ingredients can be a good idea. It isn’t just about what they eat but also how much. A large dog can handle bigger treats, but those same treats might be too much for a small dog in one sitting.
Customizing is about balance—finding what fits your dog’s needs without overcomplicating the process. Have you noticed your dog’s preferences shifting? It’s okay to experiment a bit. Maybe your dog will like crunchy over soft, or vice versa. It’s part trial, part intuition.
Tailoring Treats To Dietary Needs
If your dog has allergies or specific dietary restrictions, homemade treats let you control exactly what goes in. Say your dog can’t tolerate grains—quinoa or sweet potatoes may work better than wheat-based flours. If dairy is an issue, swapping yogurt with pumpkin puree offers moisture and taste without the risk.
Some dogs react poorly to common proteins like chicken or beef, so exploring alternatives like fish or lamb might be necessary. It’s not always easy to identify an allergen right away, so keep track of ingredients and watch for any changes in your dog’s health or behavior.
You can also avoid additives or preservatives that store-bought treats often contain. This way, the treats become more about nutrition than just a snack. For dogs with sensitive stomachs, simple recipes with limited ingredients usually work best. It might seem limiting, but it can also spark creativity in the kitchen.
Adjusting Treat Size And Texture
Size and texture matter more than some people realize. For puppies or senior dogs, smaller, softer treats prevent choking and make chewing easier. For tougher chewers or active dogs, firmer, larger treats might be needed to keep them engaged and satisfied.
Texture can be adjusted by changing baking times or ingredient ratios. For example, less baking time creates a chewier treat, while longer baking makes it crispier. Using ingredients like oats or shredded carrots can add texture without making treats too hard.
Think about your dog’s chewing style—does your dog gulp treats whole, or do they take their time nipping bits off? Cutting up treats into tiny squares or strips can help if your dog tends to be a fast eater. On the other hand, whole biscuits could slow down a slower chewer.
So, when you’re at the mixing bowl, don’t hesitate to try different sizes and textures. You might discover what truly suits your dog’s preferences and needs. Isn’t that part of the fun?
Homemade Treats Versus Store Bought
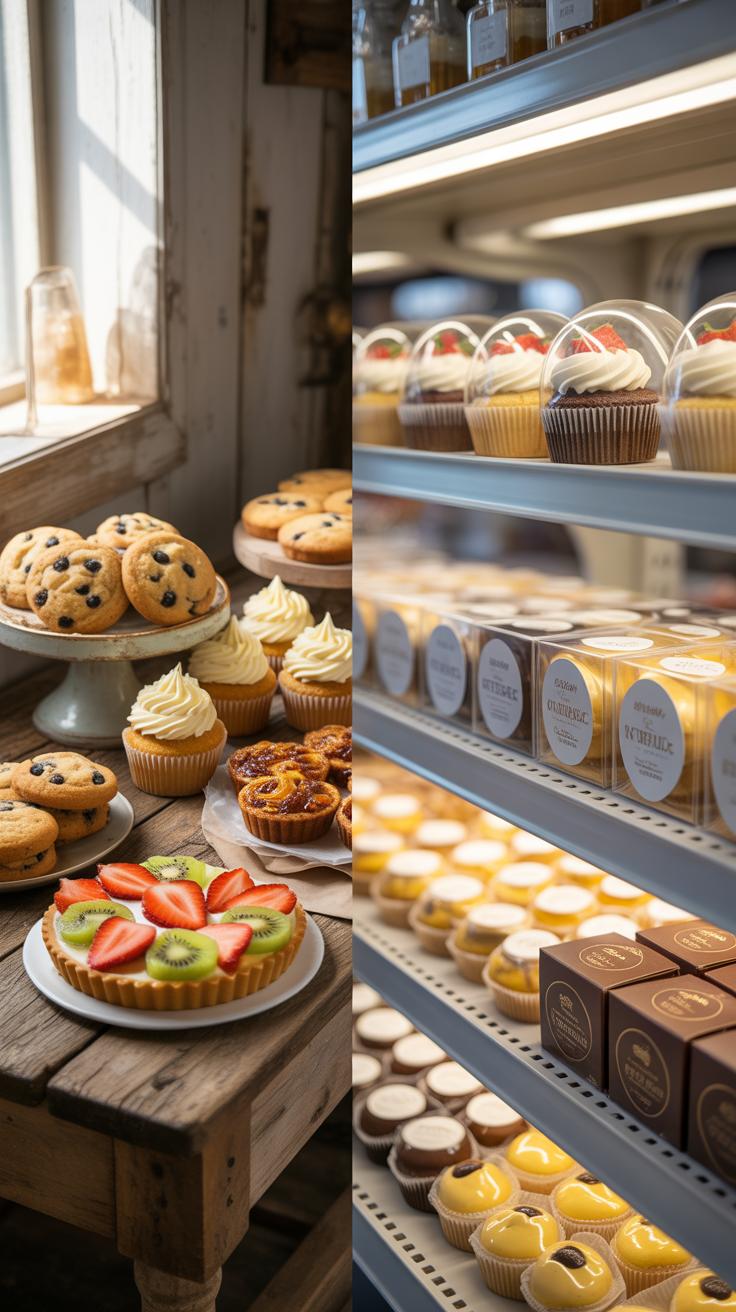
Ingredients Comparison For Treat Quality
When you look closely at homemade dog treats, you really see the difference in ingredients compared to many commercial options. Homemade recipes often rely on simple, recognizable items like plain oats, peanut butter without sugar or xylitol, pumpkin puree, and lean meats. You control what goes in, so you avoid preservatives, artificial colors, and chemicals that sneak into some store-bought treats.
On the other hand, many commercial treats list long, sometimes confusing ingredient names—by-products, fillers, and additives that don’t benefit your dog’s health. I mean, some treats try to hide excess sugars or synthetic flavors under vague terms.
So, even if a store-bought treat looks safe on the package, the unknown in its ingredient list might affect your pet in ways you don’t notice immediately. With homemade, there’s an honest transparency. It feels good, too—you know exactly what your dog is chewing on.
Cost And Health Benefits Comparison
Making treats at home can also save some money over time, especially if you buy ingredients in bulk or use leftovers like cooked meat or veggies. Sure, it requires an upfront effort and maybe some trial and error, but often you get more servings for less cash.
Besides cost, homemade treats tend to support better health. They often lack excessive salt, sugar, or preservatives, which might cause issues in the long run, from allergies to digestive problems. I’ve noticed my dog’s coat improved when I switched to homemade snacks, though maybe that’s just coincidence—or maybe not.
Still, there’s something satisfying about crafting something simple yourself rather than relying on mass production. It might not always be the cheapest option if you buy specialty ingredients, but the control over quality and your dog’s wellness makes it worth thinking about. Have you tried comparing the price of a basic batch of homemade treats to your usual store pick? Sometimes, the math surprises you.
Checklist For Making Dog Treats At Home

Planning And Ingredient Preparation
Start by choosing a recipe that fits your dog’s taste and dietary needs. Think about any allergies or sensitivities your pet may have. You don’t want to spend time making treats only to realize your dog can’t enjoy them. Look for simple recipes with whole foods—things you can find easily at the store or maybe even in your pantry.
Once you pick a recipe, gather all the ingredients. Measure them out before you begin so you’re not scrambling mid-way through. It’s surprising how often we forget an ingredient or misread amounts. If you’re using fresh produce like pumpkin or sweet potato, wash and peel them first. Chop ingredients finely to help with uniform mixing and cooking.
Don’t forget to have your baking tools ready—a mixing bowl, spoon or whisk, cookie cutters if you want shapes, and parchment paper for lining trays. Preparing your workspace can save some hassle later. Also, consider the texture: some dogs prefer chewy treats, others like them crunchy. Adjust ingredients or thickness accordingly.
Baking And Cooling Process
Preheat your oven to the temperature the recipe calls for. It might seem obvious, but jumping into mixing before the oven’s ready means the baking time might get off—and that can mess with texture. Spread your treats evenly on the baking sheet, leaving space for expansion. Overcrowding can lead to uneven cooking.
Bake according to the time, but keep an eye on the treats near the end. Ovens vary, so the suggested time isn’t always exact. If the edges brown too quickly, you might want to lower the temperature a bit. Think about your dog’s preference again—soft in the middle, firm outside? Play around with bake times until you find the perfect balance.
When they’re done, take the treats out and let them cool on a rack rather than on the hot tray. Cooling matters because hot treats can crumble or stick. Sometimes I’ve rushed this part, and the treats just fall apart. Make sure they’re fully cooled before storing. If you keep them in an airtight container, they’ll last longer—and your dog will know you’re the best chef around.
Common Mistakes To Avoid When Making Treats

Using Unsafe Ingredients By Mistake
One of the bigger risks when making your own dog treats is accidentally including something harmful. It’s easy to overlook ingredients that are safe for humans but toxic to dogs. For example, onions and garlic—sometimes sneaking into recipes as powders or seasonings—can cause serious health problems. Chocolate is another usual suspect that nobody should forget is out of the question.
Even natural ingredients like certain nuts can be unsafe. Macadamia nuts, for instance, can cause weakness and fever in dogs, but they often slip past unsuspecting pet owners because they seem benign. Sometimes people add spices thinking they might be ‘nice,’ but many spices like nutmeg or cinnamon in large amounts aren’t good for dogs either.
To avoid this, double-check each ingredient with trusted pet nutrition sources or consult your vet. And keep the recipes simple to minimize the risk. If you’re unsure, less is often safer.
Overfeeding Treats To Dogs
Giving homemade treats feels rewarding, but the temptation to offer too many is real. You might think, “They’re healthy, so more can’t hurt,” but treats should never replace balanced meals or be given in excess. Overfeeding can lead to weight gain or upset digestion.
Think of treats as extras, not staples. Even when treats are made from wholesome ingredients, they add calories. It’s easy to lose track—feeding a few here, a couple there—and suddenly your dog has eaten a significant portion of daily calories in treats alone.
Setting clear limits helps. Many recommend that treats should take up no more than 10% of your dog’s daily calorie intake. You might need to adjust treat size or frequency to fit your dog’s specific needs, especially if they’re less active or prone to gaining weight.
Have you noticed your dog begging more as you make delicious homemade snacks? It’s natural to want to spoil them, but try to keep the routine consistent to avoid habits that might be hard to break later.
Examples Of Successful Dog Treat Recipes
When it comes to homemade dog treats, some recipes just click with both dogs and their owners. These treats tend to be simple, use safe ingredients, and offer a good balance of taste and texture. Let’s look at a couple of favorites that I find quite reliable and, frankly, well-loved in the dog community.
Recipe Case Study Peanut Butter Biscuits
Peanut butter biscuits are a classic for a reason. They’re easy to make and dogs usually adore them. Here’s a straightforward recipe that works well:
- 1 cup whole wheat flour
- 1/2 cup natural peanut butter (no xylitol!)
- 1/4 cup unsweetened applesauce
- 1 egg
Mix everything until it forms a dough, roll it out and cut into shapes. Bake at 350°F for about 15-20 minutes. The peanut butter offers a rich flavor, while the applesauce adds moisture without sugar. The flour binds it all. These biscuits hold up well to training sessions or just everyday snacking. I’ve noticed dogs with sensitive stomachs handle them without trouble, probably because the ingredients aren’t too complex.
Recipe Case Study Frozen Yogurt Treats
Frozen yogurt treats are a nice switch, especially in warmer months. They’re refreshing and easy on digestion. To make these, you just need:
- 1 cup plain Greek yogurt (unsweetened, no artificial sweeteners)
- 1/2 cup pureed pumpkin or mashed banana
- A splash of water if needed to thin
Mix the ingredients, spoon into silicone molds or ice cube trays, and freeze. The probiotics in Greek yogurt support gut health, and pumpkin or banana introduces fiber and natural sweetness. These treats freeze solid but thaw quickly, so you can offer them in small bites that don’t overwhelm. Dogs seem intrigued by the cold texture, which is probably why they’re such a hit.
Conclusions
Homemade dog treats provide a way to control what your dog eats and keep them healthy. Using simple ingredients and easy methods, you can make treats that fit your dog’s dietary needs without extra chemicals and preservatives. This also helps you manage costs and customize treats for your dog’s taste.
Following recipes and safety guidelines ensures your dog’s snacks are safe and enjoyable. Making treats at home builds a stronger bond with your pet and shows care through food. Use the tips and recipes here to start making healthy, homemade treats for your dog today.