Introduction
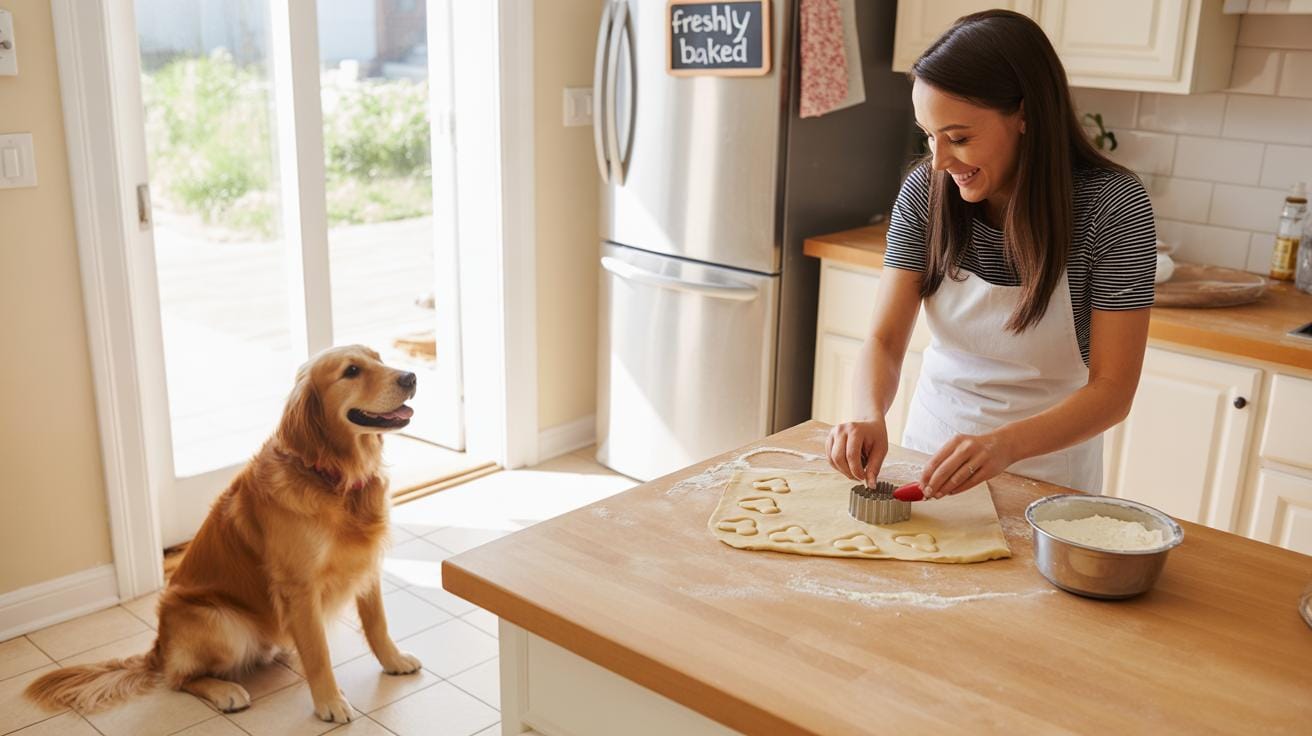
If you want to give your dog a special treat this summer, homemade biscuits are the way to go. They allow you to control the ingredients, avoiding harmful additives found in many store-bought treats. Homemade biscuits can be healthy, delicious, and tailored to your dog’s taste and dietary needs.
Freezing homemade dog biscuits is a smart idea to keep them fresh and handy during the hot summer months. This article will explore why homemade biscuits are a good choice, how to make them, and the best way to freeze them so your dog stays happy and cool all summer long.
The Benefits of Homemade Dog Biscuits
Making dog biscuits at home gives you control—real control—over what goes into your pet’s treats. When you bake yourself, you know every ingredient by name. That’s something store-bought biscuits can’t promise. Often, they contain preservatives or additives you might rather avoid. I once found an ingredient in a commercial dog treat that made me hesitate. It wasn’t harmful necessarily, but it felt unnecessary.

Here are some reasons why homemade is often better:
- You decide which ingredients go in. No hidden fillers or suspicious chemicals.
- You skip preservatives, artificial colors, and flavors that your dog doesn’t really need.
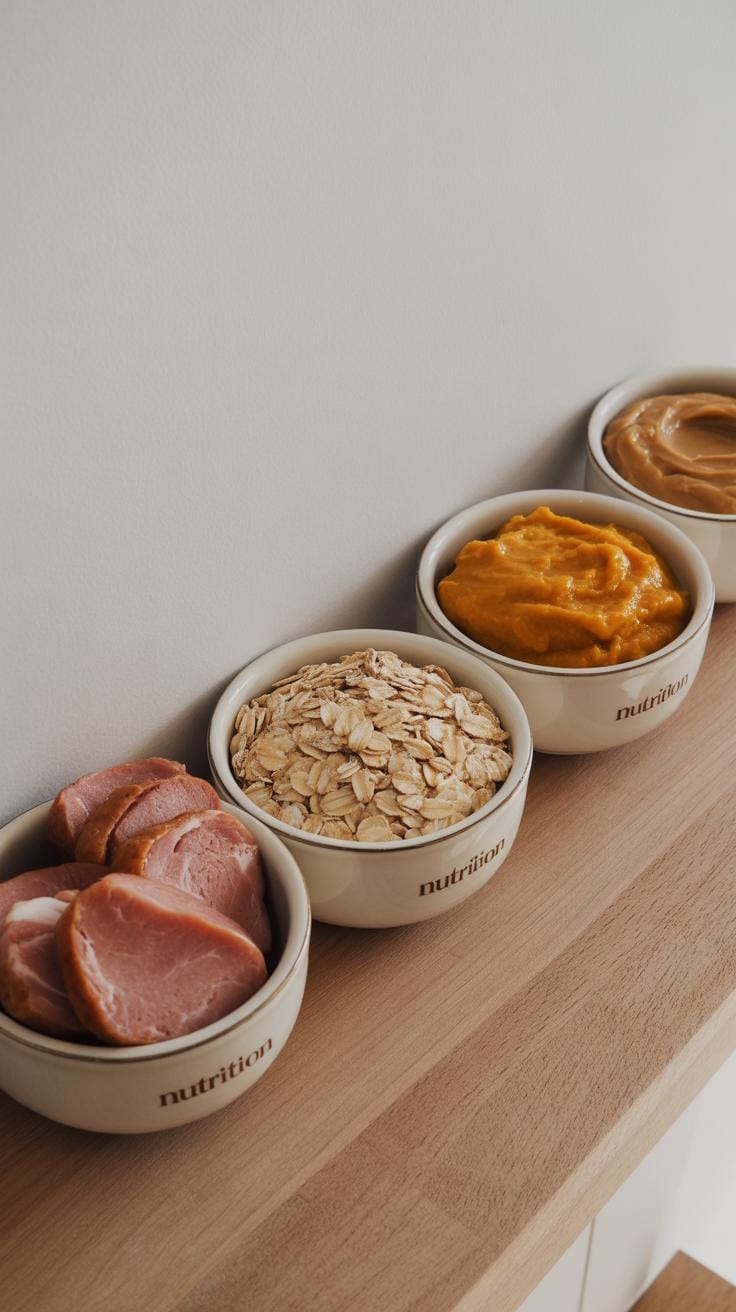
- Biscuits can be tailored for your dog’s taste and health—like adding pumpkin for digestion or chicken for protein.
- You control portion sizes more easily, which helps if your dog needs careful calorie management.
Maybe you think it takes too much time, but the freedom to customize means your dog gets exactly what they need. And honestly, your peace of mind? That’s worth a lot when it comes to treats.
Health Advantages of Homemade Treats
Store treats can look tempting, but many hide artificial colors and synthetic flavors that do nothing for your dog’s health. When you make biscuits yourself, you can focus on whole, natural ingredients. For example, using oats instead of refined flour adds fiber and helps dogs with sensitive stomachs.
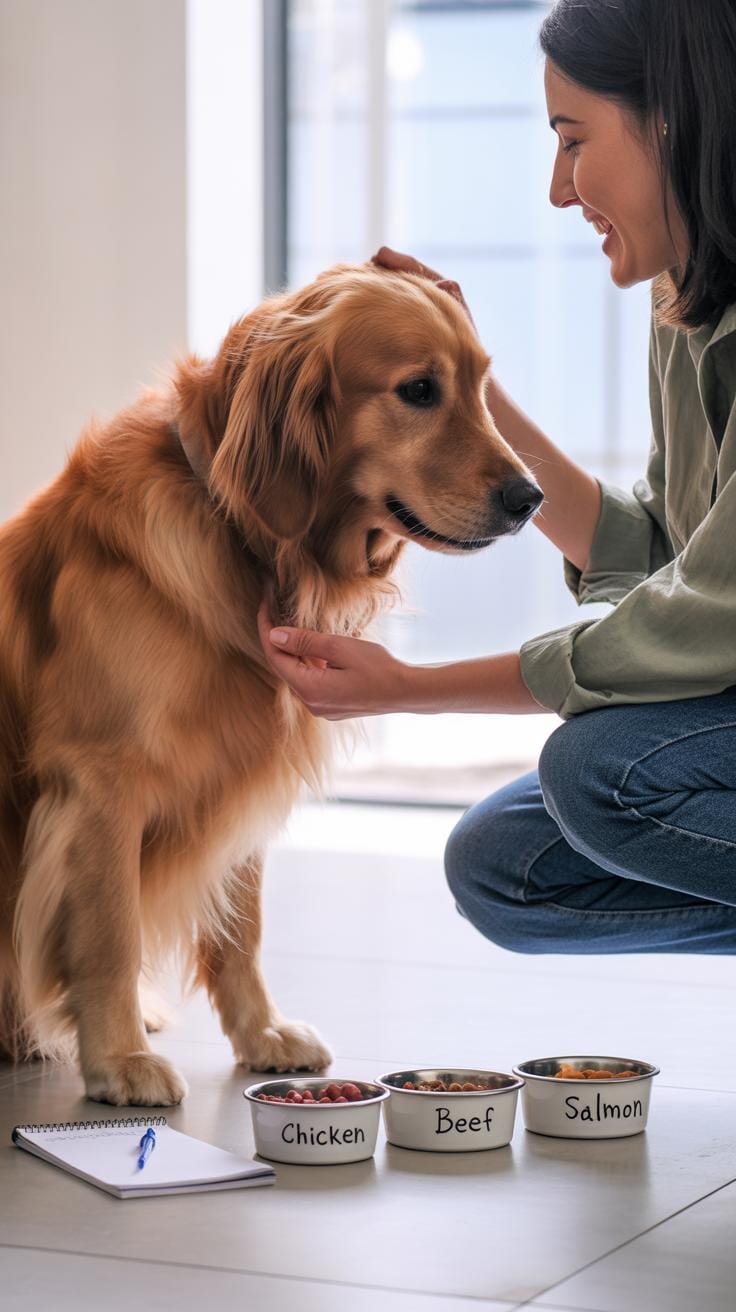
Some dogs have allergies or special diets. Homemade biscuits let you avoid allergens like wheat or dairy, making treats safe for almost any dog. For a dog allergic to chicken, swapping in salmon or turkey is easy and practical. This kind of flexibility simply isn’t as common with ready-made treats.
Personalizing Treats to Your Dog’s Needs
Every dog reacts differently to textures and flavors. Some dogs prefer crunchy biscuits; others might struggle with hard treats. Here, homemade really shines. You can make softer biscuits or even tiny bite-sized morsels for training.
Flavor customization is a plus, too. I once made sweet potato and peanut butter biscuits for my dog, who can be picky, and she loved them. On the other hand, you can avoid flavors your dog dislikes—or that might upset their stomach.
Adjusting ingredients based on health needs works well. For overweight dogs, you can reduce fats and carbs. For those needing joint support, flaxseed or turmeric can be added subtly. Homemade biscuits become more than treats; they become care in a small package.
Choosing the Right Ingredients for Dog Biscuits
Picking ingredients for your dog’s biscuits means balancing health and taste, which can be tricky. You want something nutritious, but also something your dog will actually enjoy. Whole wheat flour is a common favorite, offering fiber without overwhelming your dog’s digestion. Oats also work well—they add texture and are gentle on the stomach. Sometimes I wonder if gluten-free flours like rice or oat flour might be better, but whole wheat often wins out for most dogs.
Proteins are key. Cooked meats like chicken or beef provide that savory punch dogs adore, and if you’re feeling adventurous, pureed pumpkin adds moisture and is good for digestion. Peanut butter, as long as it’s free of xylitol, can be a great flavor boost that’s both safe and tasty.
On the flip side, some things just don’t belong anywhere near your dog’s biscuits. Chocolate is obvious—it’s toxic even in small amounts. Onions and garlic, too, can damage red blood cells over time, though sometimes people forget these sneak in flavor powders or savory mixes. Xylitol is deadly, often hiding in sugar-free peanut butters or nut butters. And certain nuts, like macadamia, are also not safe. It’s a bit worrying how many ‘human’ ingredients can be harmful.

So, when you pick your ingredients, it’s best to double-check everything and keep it simple. Your dog’s safety depends on it, and their happiness mostly depends on taste. Can something be both safe and delicious? With the right choices, yes.
Simple Recipes for Homemade Dog Biscuits
Making dog biscuits at home doesn’t have to be complicated or require a long list of ingredients. In fact, simple is often better when it comes to treats for your furry friend. You can whip up a batch with just a handful of dog-safe ingredients you probably already have in your kitchen.
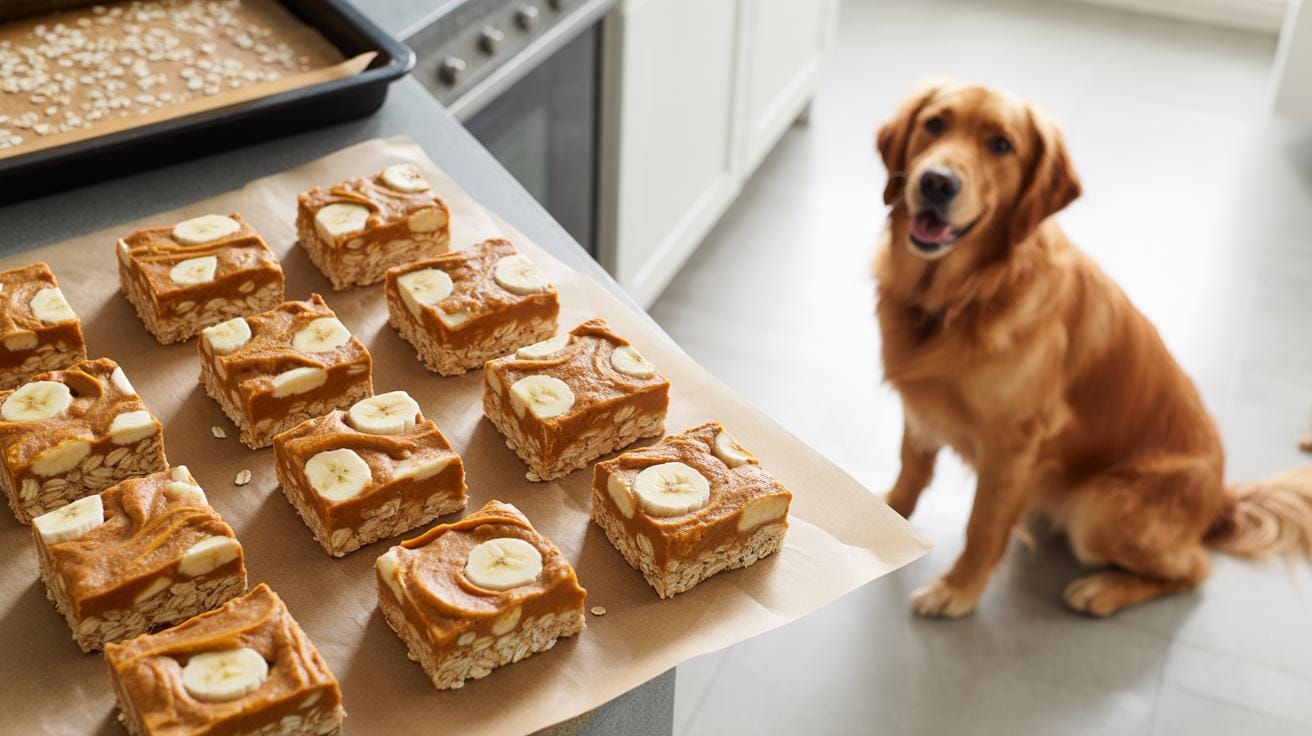
For a basic biscuit, try mixing whole wheat flour, plain canned pumpkin (not the pie filling), and a beaten egg. That’s pretty much it. Stir these together until it forms a dough, roll it out, cut into shapes, and bake at a moderate temperature — around 350 degrees Fahrenheit for 20 to 25 minutes works well. The result? Crunchy treats that store nicely in the freezer.
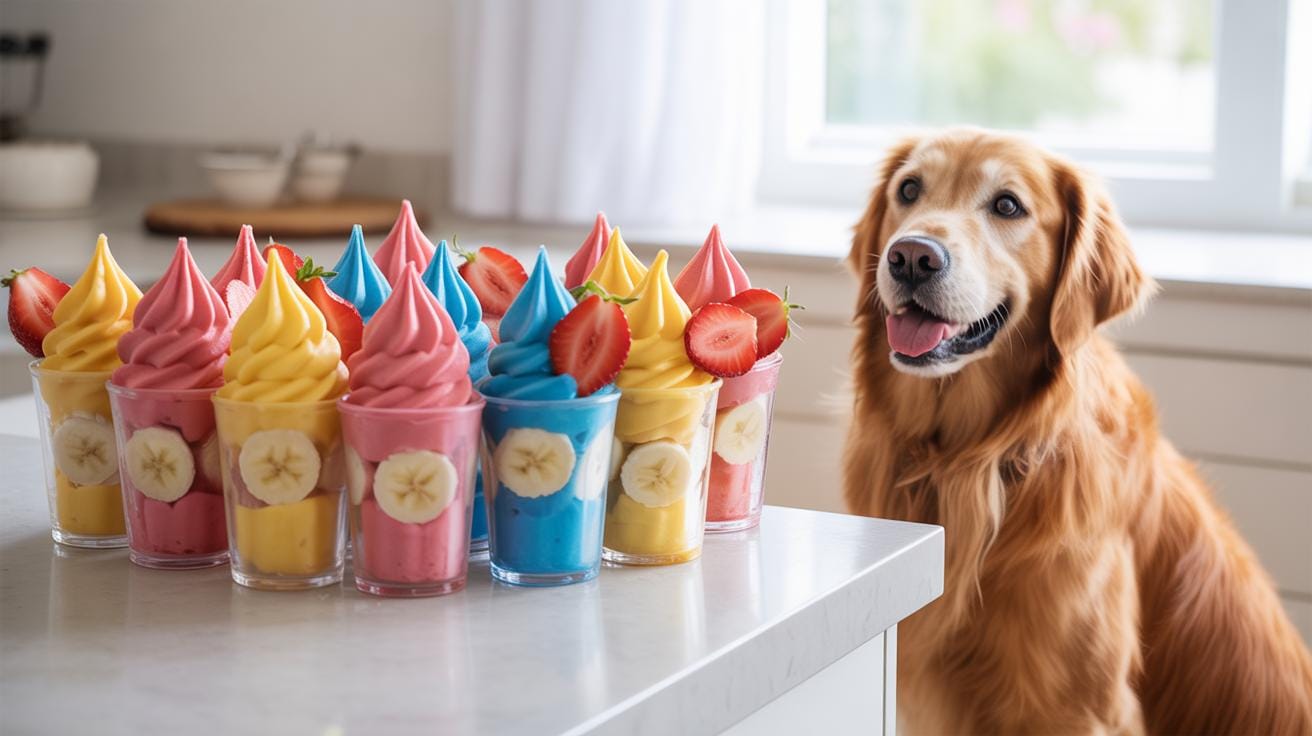
Want something a bit fresher for summer? Adding finely chopped blueberries or grated zucchini not only brings in moisture but also a subtle punch of flavor dogs tend to like. These ingredients keep the biscuits light and refreshing when they thaw. Plus, they’re perfect for hot days, offering a cool, tasty snack you can feel good about.
Have you ever tried using sweet potato in your dog biscuits? I’ve found that it acts like a natural sweetener and helps hold the dough together without needing extra fat or sugars. It’s a small tweak, but it really changes the texture and taste. Maybe give that a shot next time.
- Basic recipe: whole wheat flour, pumpkin, egg
- Summer twist: add blueberries or grated zucchini
- Optional: mashed sweet potato for texture and subtle sweetness
- Bake at 350°F for 20-25 minutes
- Freeze leftover biscuits for a cool summer treat
Baking Tips for Perfect Dog Biscuits

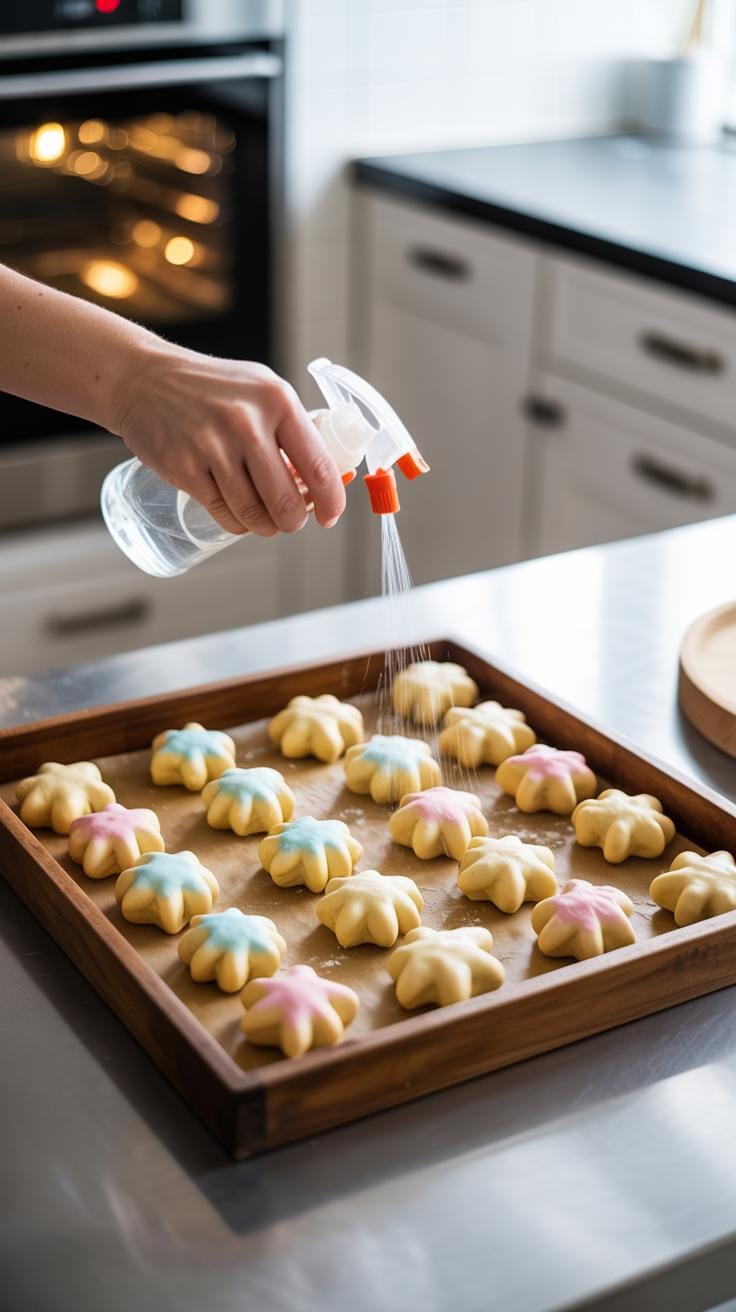
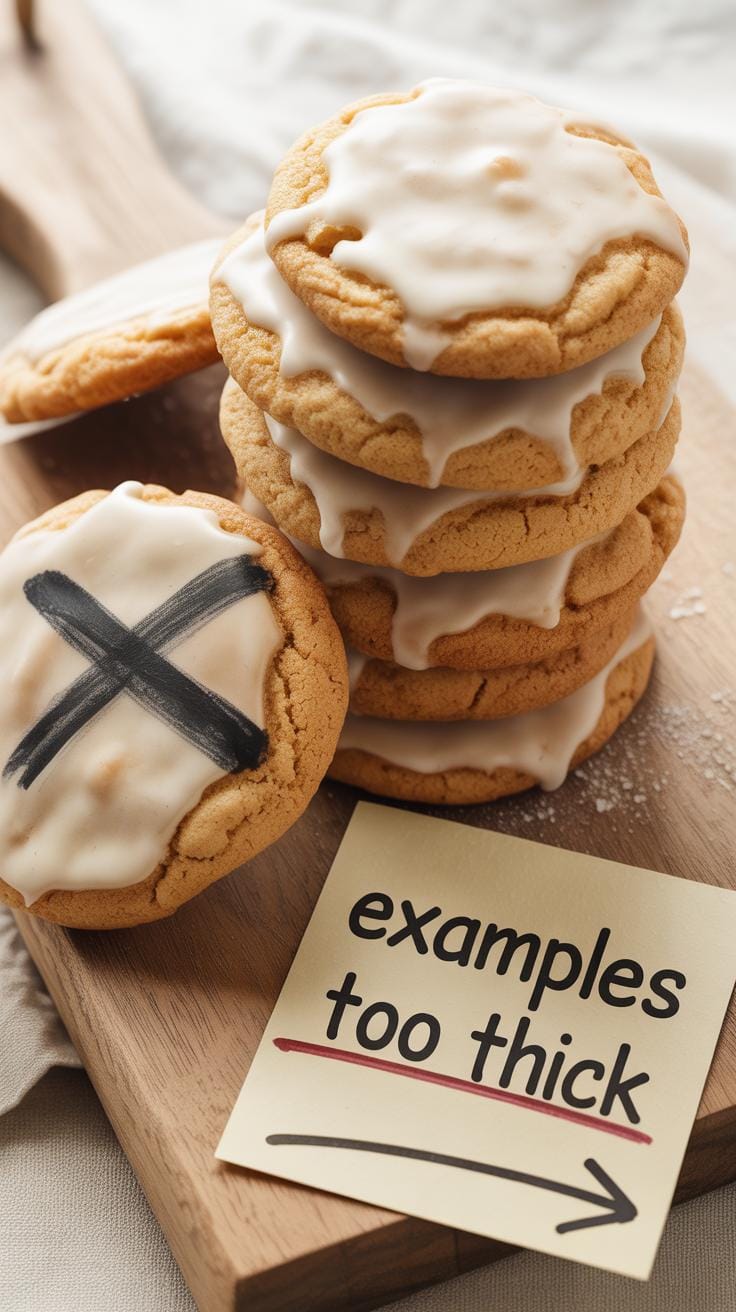
Baking homemade dog biscuits can seem straightforward, yet getting the texture just right often takes a bit of trial and error. You want that satisfying crunch without turning the treats into hard little rocks. One thing I’ve learned (sometimes the hard way) is that dough thickness plays a huge role. Thicker biscuits tend to stay softer inside, which might be what your dog prefers. Thin ones usually dry out crispier. So, decide what your dog likes and roll the dough accordingly—about a quarter-inch thick works well for softer biscuits, while thinner dough near 1/8-inch yields crunchier ones.
Oven temperature and baking time directly affect texture too. Around 325°F to 350°F is a safe range. Baking longer at a lower temperature permits more even drying, but keep an eye — biscuits can go from perfect to burned surprisingly fast. Timers are helpful, but more than that, start checking visually after 15 minutes. Brown edges or a cracking surface usually means it’s done. I’ve set timers and still missed it; often, it’s about watching closely rather than trusting the clock alone.
Overbaking is a common trap. Biscuits will harden as they cool, so take them out just before you think they’re fully crisp. Cooling on a wire rack allows air circulation, preventing soggy bottoms. Avoid stacking warm biscuits immediately, or they might steam each other and lose crispness. I sometimes let the baking sheet cool slightly on the counter so the treats firm up before transferring. It’s a small step but it makes a difference, especially when preparing batches you plan to freeze for summer.
Freezing Homemade Dog Biscuits for Summer
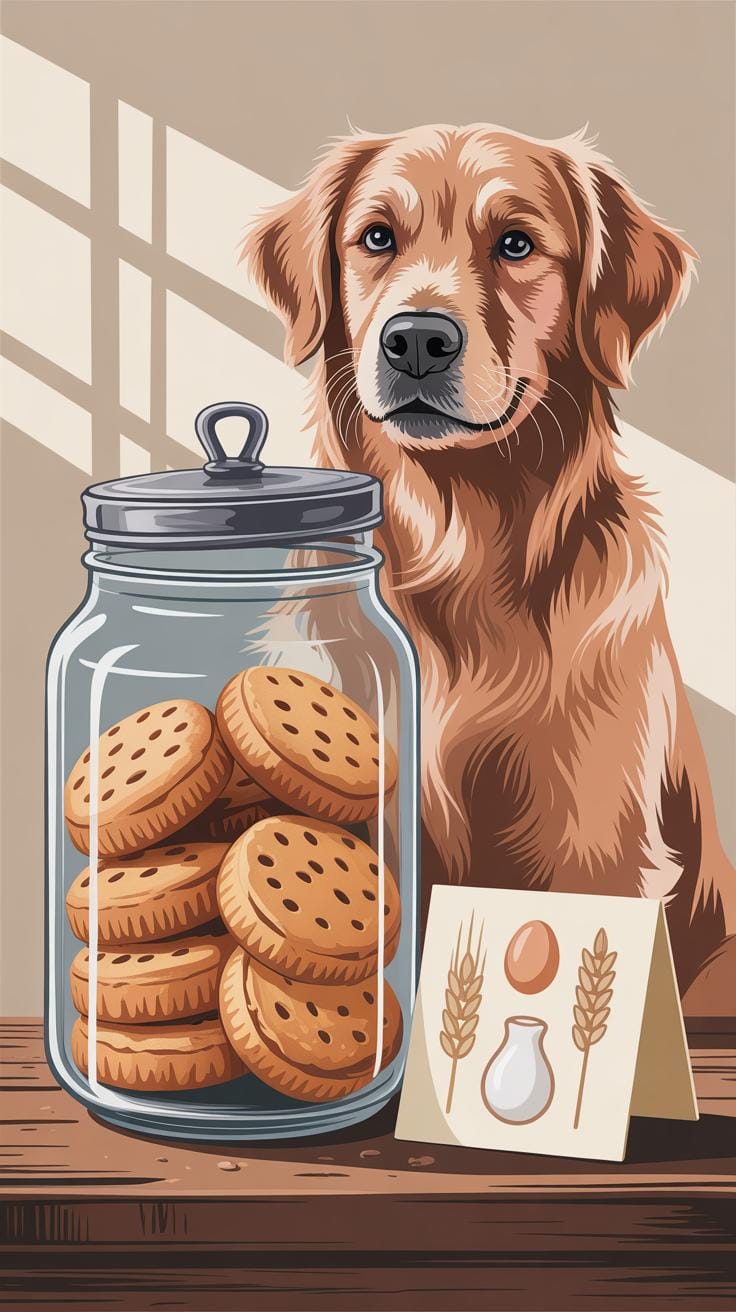
Freezing your homemade dog biscuits is a great way to keep them fresh and flavorful longer, especially when summer rolls around. Once baked and fully cooled, popping them into the freezer slows down the natural loss of moisture and staves off rancidity that can develop over time. This means your dog still gets to enjoy that fresh-baked taste weeks, or even months later.
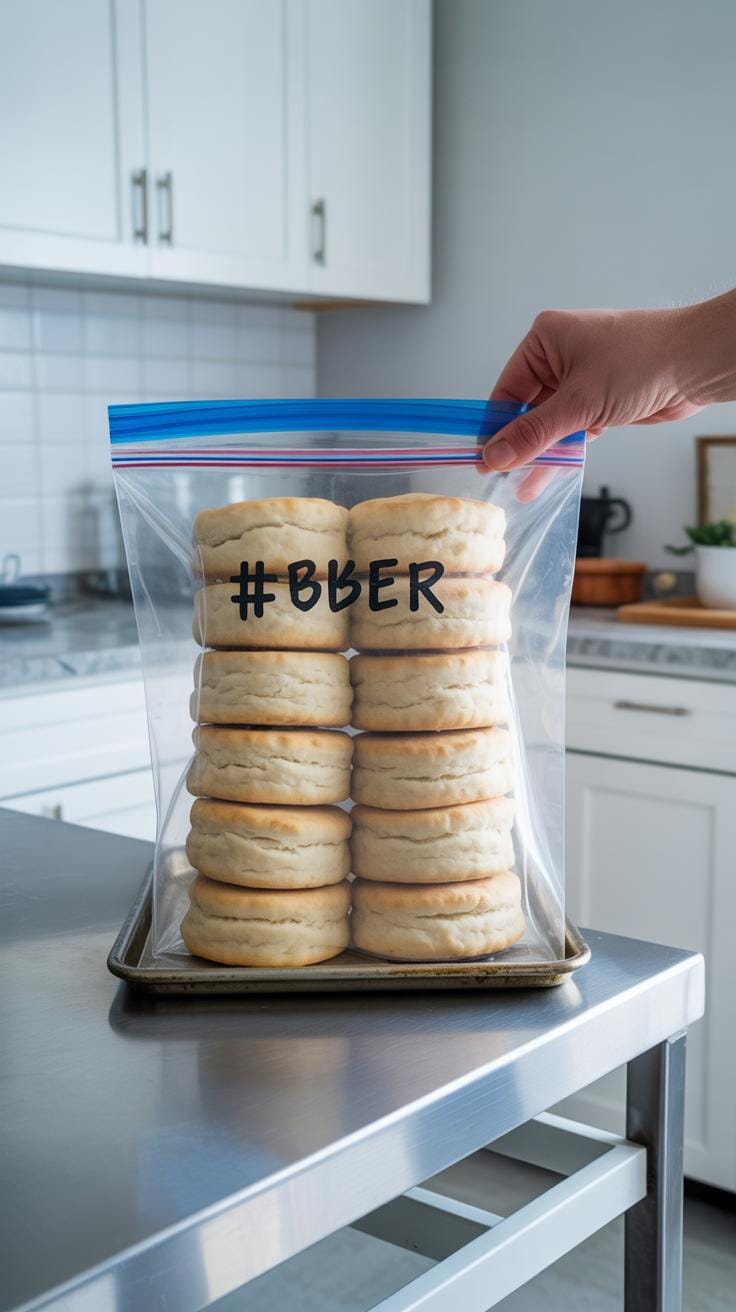
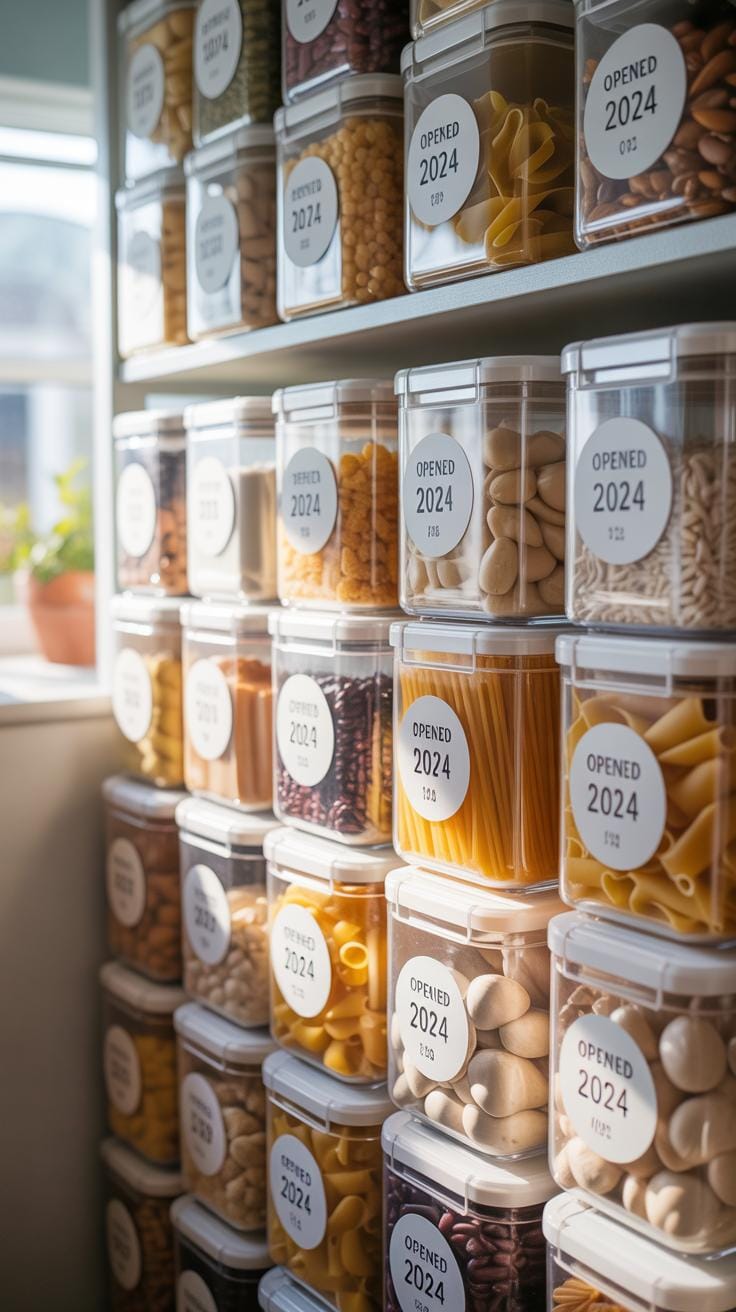
Choosing the right container matters more than you might think. Zip-top freezer bags can work if you squeeze out as much air as possible, but rigid containers with tight lids tend to protect biscuits better against freezer burn. I’ve found that stacking biscuits between sheets of parchment paper makes it easier to grab a few without breaking them all.
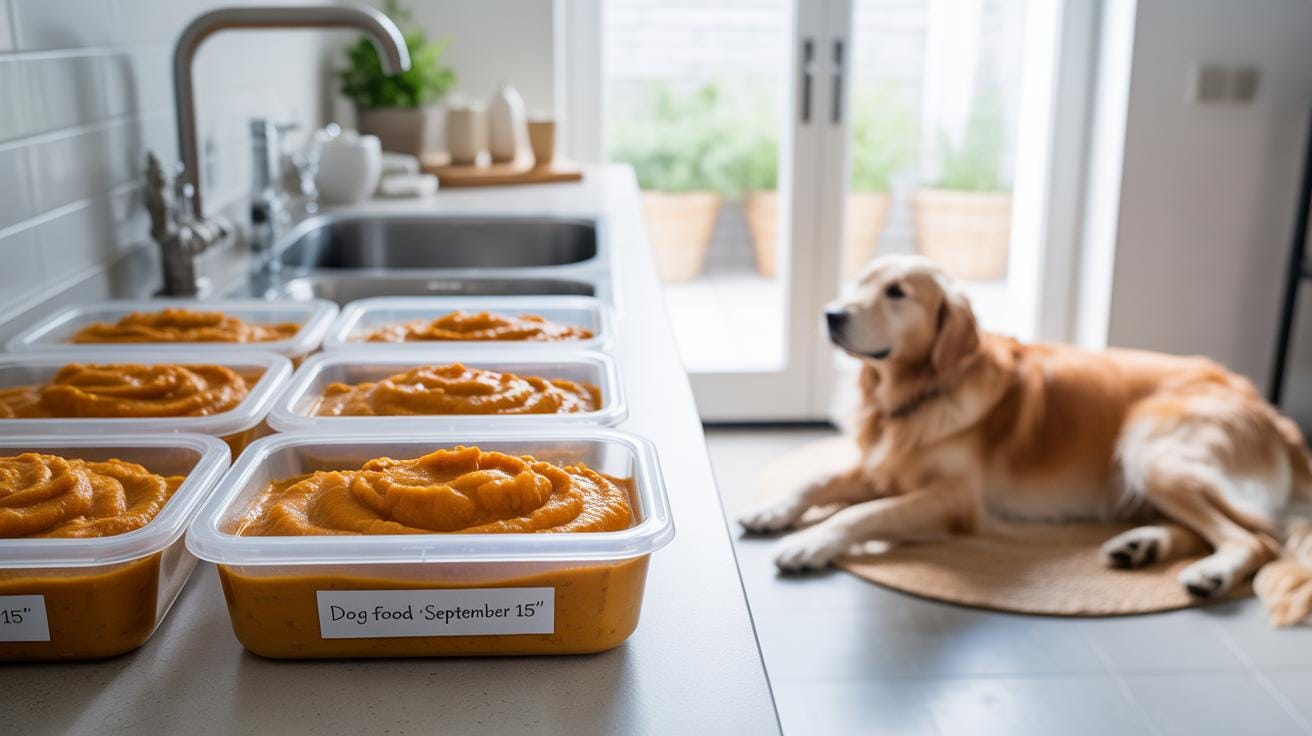
Portioning your biscuits before freezing is worth the small extra effort. Try separating them into small batches — like daily-sized treats — so you can take out only what you need. It avoids repeated thawing and refreezing, which can degrade texture and flavor.
Does freezing really stretch the shelf life? Yes, freezing slows down spoilage by halting the growth of bacteria and mold. So, while homemade biscuits might last a week or two at room temperature, frozen ones can stay good for several months. Still, I try not to push it past three months because flavors can subtly fade and textures might get a bit off if kept too long.
Thawing and Serving Frozen Dog Biscuits

Thawing frozen dog biscuits might seem straightforward, but doing it the right way helps keep them tasty and safe for your dog. There are basically two simple approaches you can use: thawing at room temperature or in the refrigerator. Both have their pros, though the choice often depends on timing and convenience.
Letting biscuits sit out at room temperature usually takes just a couple of hours. This works well if you plan to serve them soon. Just avoid leaving them out too long—especially on warmer days—to prevent any moisture buildup or softness that could affect texture. On the other hand, fridge thawing is slower. Placing biscuits in the fridge overnight keeps them firmer and fresher, and might preserve that homemade crunch better, which some dogs seem to prefer.
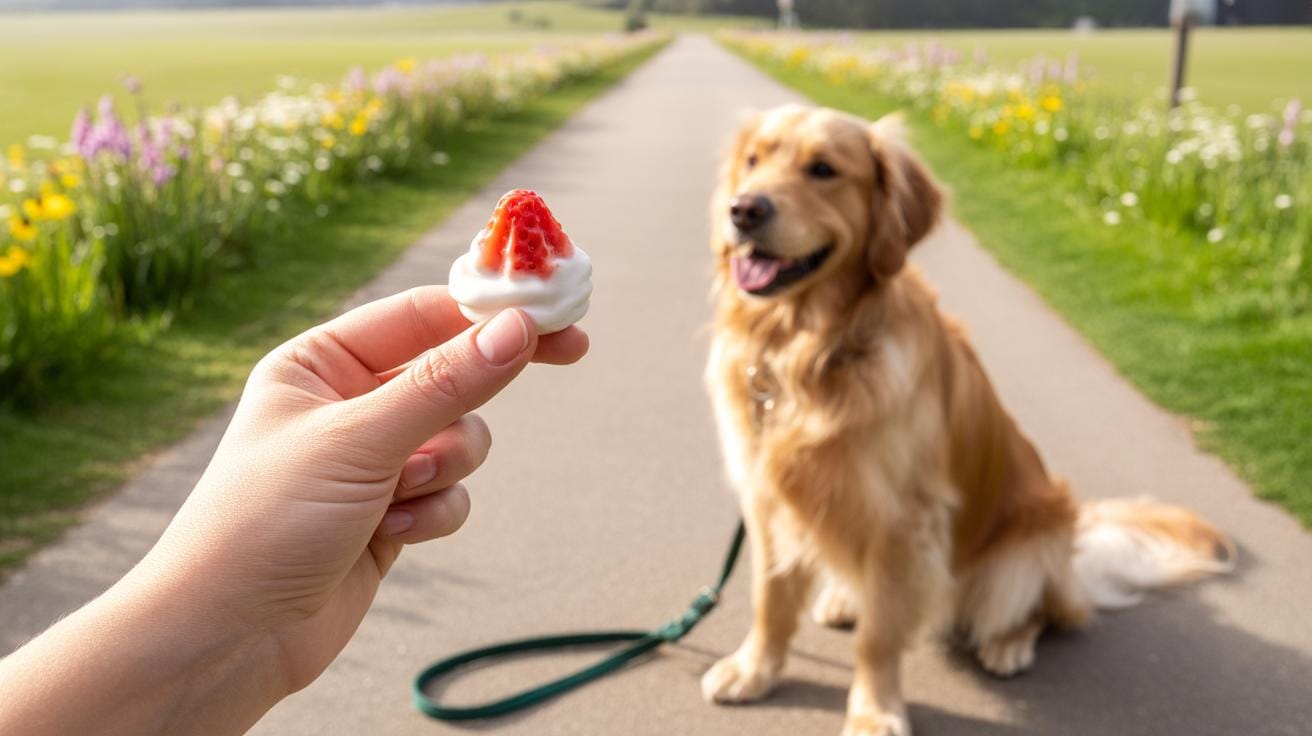
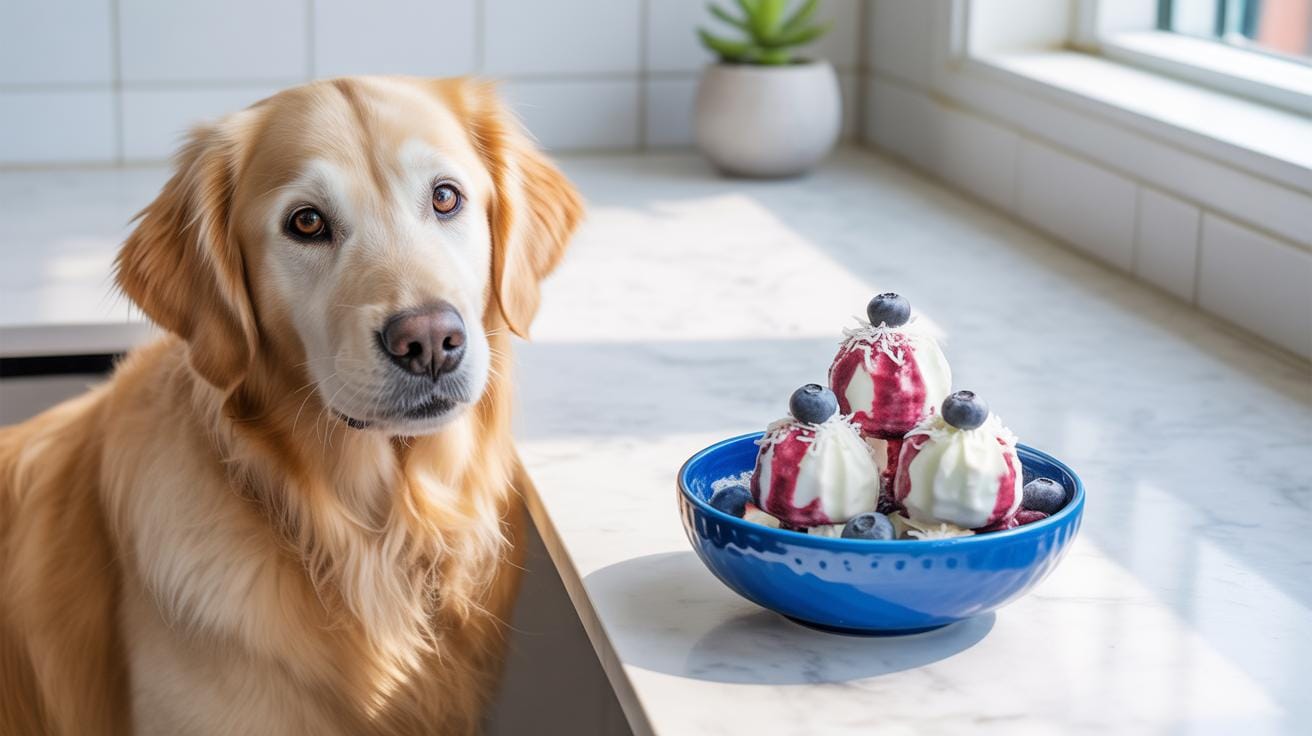
When it comes to serving, frozen or partially thawed biscuits make a nice summer treat. Offering your dog something chilled helps cool them off a bit, which can be a nice change from room temperature snacks. Some dogs love gnawing on the frozen biscuits directly, while others prefer them a little softer. You might even notice your dog’s excitement shifts depending on the weather—curious how little things like this make a difference.
Here are a few tips to keep in mind:
– If serving frozen, keep an eye on your dog while they chew to avoid any choking hazards.
– Slightly thawed biscuits are easier on dogs with sensitive teeth or older pups.
– You can break larger biscuits into smaller chunks before freezing, making portion control and thawing easier.
Have you noticed if your dog prefers their treats really cold or just chilled? It’s a kind of small discovery you might find worth experimenting with—just holding on to the simplicity, really.
Storage Tips and How Long to Keep Homemade Biscuits
Storing Biscuits in the Refrigerator
If you’ve baked a fresh batch of homemade dog biscuits and plan to use them pretty quickly, the fridge can keep them fresh for a short while. Typically, storing biscuits in an airtight container in the refrigerator helps stop them from going stale or molding too fast. I’ve found that around 3 to 5 days is a reasonable window. Beyond that, the texture sometimes shifts—it might get a bit tough or dry, which your dog’s probably fine with but might be less enjoyable for you handing out treats.
Refrigeration slows down spoilage but can also draw moisture into the biscuits depending on how well they’re sealed. Sometimes I worry about sogginess, though usually, a tight container or a resealable bag does the trick. Keep in mind, this method is better when you’re baking smaller batches or using biscuits within the week. If you’re wondering whether to refrigerate or freeze, the fridge is a simpler choice if time is short and you want easy access.
Freezer Storage Duration Recommendations
Freezing is the go-to if you want to keep biscuits around longer without losing much quality. I’d say homemade dog biscuits freeze best for about 2 to 3 months. While they can last longer, after a certain point they may start losing flavor and texture subtly—hard to notice right away, but over time, it does affect how enjoyable they are. Just pop them in a sealed container or a freezer bag to avoid frost or freezer burn.
When freezing, chunk the biscuits into portions that match your typical serving size. That way, you won’t have to refreeze unused bits once thawed. I’ve done that more times than I’d like and it’s a hassle. Freezer storage keeps biscuits practically as good as fresh for weeks, as long as you don’t push it too far. If you’re unsure how long something has been frozen, checking the smell and texture after thawing can help decide if these treats are still worth it.
Common Mistakes and How to Avoid Them
Mixing and Baking Errors
Getting the ingredient ratios wrong is probably the biggest hiccup when baking homemade dog biscuits. Too much flour, and the dough becomes dry and crumbly; too little, and it won’t hold together. Sometimes, I found myself guessing with measurements and ended up with biscuits that were either rock hard or oddly soft. Using a kitchen scale can help avoid this, but if you don’t have one, just scoop carefully and stick closely to the recipe.
Baking times can also be tricky. Some people pull the biscuits out too early, leaving them doughy inside – which dogs might not love or it could affect freezing quality. Bake until they’re just firm, not browned or burnt. Sometimes, ovens run hotter or cooler, so keep an eye on them from about five minutes before the timer goes off. You don’t want biscuits that snap in half like glass, nor soggy ones that fall apart.
Freezing and Storage Mistakes
Freezing homemade biscuits might seem straightforward, but there are some pitfalls. Wrapping them loosely or stacking too many together causes clumping or freezer burn. I’ve heard from dog owners frustrated when their batches froze into a solid block—then had to thaw hours longer than planned. To avoid this, freeze biscuits in a single layer on a tray first, then transfer to airtight containers or freezer bags.
This also means you shouldn’t freeze huge amounts at once unless you’re absolutely sure they’ll last long enough in the freezer. By portioning smaller batches, you keep them fresher and easier to thaw. Plus, avoid freezing biscuits that still feel warm, as trapped moisture turns to ice crystals, ruining texture. Cooling fully on a rack first makes a big difference.
Have you ever wondered why some homemade treats don’t thaw well? It’s usually because of improper wrapping or freezing too many together. Being mindful of these simple steps really improves the experience for both you and your dog.
Understanding Your Dogs Preferences
Not all dogs react the same to homemade biscuits, so watching your dog closely can reveal a lot. Does your dog perk up around meaty smells or get more interested when a biscuit has something sweet like pumpkin? Maybe they prefer soft treats they can easily chew or something harder that keeps them busy for a bit. You might have noticed your dog sometimes ignores new treats but eagerly devours others after a bit of trial and error—this is a clue, really.
Try offering small amounts of different flavors, one at a time. Use safe, dog-friendly ingredients like peanut butter, sweet potato, or chicken broth. Watch their reactions—do they nibble, gobble, or hesitate? Jot down what seems to hit the spot. But don’t rush; some dogs take a little longer to warm up to new tastes.
Texture matters just as much as flavor. For instance:
- If your dog loves crunching but has sensitive teeth, you can bake biscuits a bit shorter to keep them softer.
- Dogs that gulp treats quickly might benefit from a firmer biscuit that lasts longer.
- Older dogs or pups may prefer crumbly or gently baked biscuits that don’t challenge their chewing.
Adjust the baking time, thickness, or even add moist ingredients to change the texture until you find that sweet spot. It’s a bit of an experiment, really. But once you do, your dog’s enthusiasm will tell you—you’re on the right track.
Involving Your Dog in the TreatMaking Process
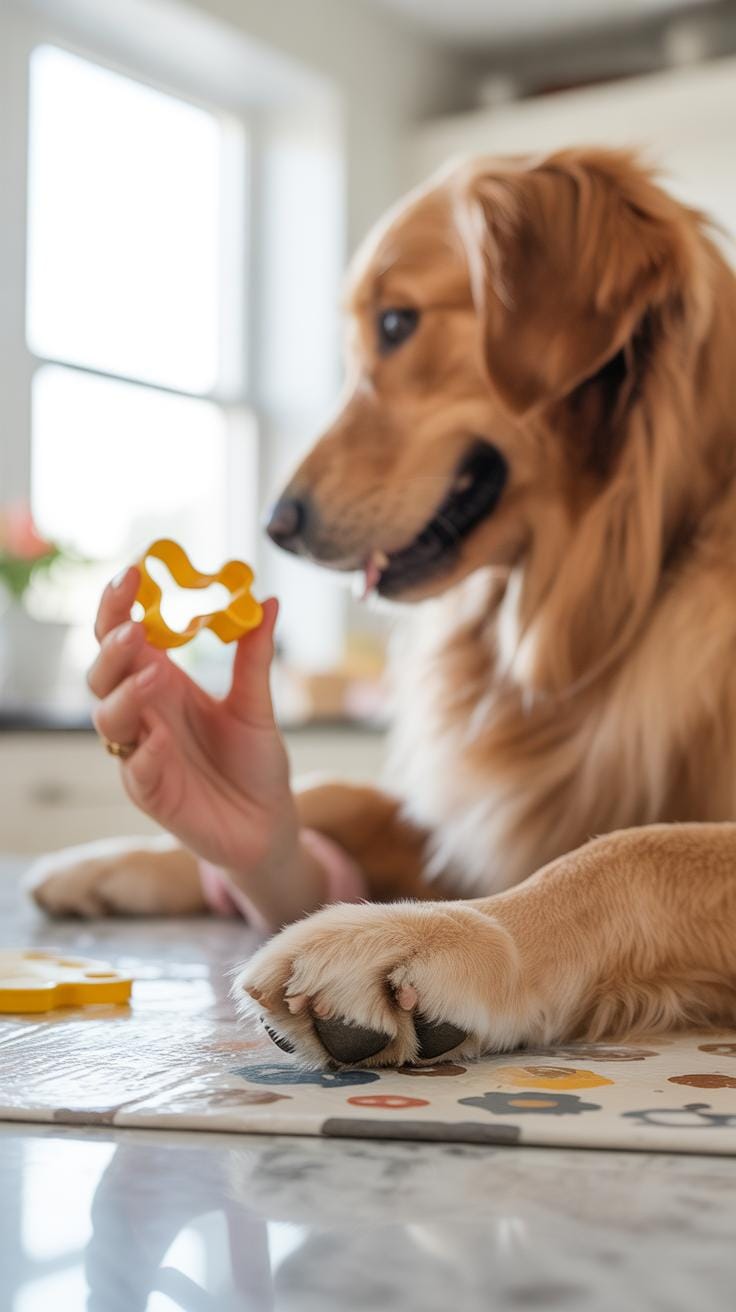
Including your dog in the biscuit-making routine can be surprisingly rewarding. While they can’t exactly roll dough or operate the oven (that would be something), there are plenty of safe ways to keep them involved. For starters, letting your dog watch you prepare the ingredients can spark their curiosity. You might notice your pup’s head tilt or a sniff here and there as they inspect new smells like cinnamon or peanut butter.
During prep, try letting your dog sniff small amounts of safe ingredients. This can help them feel part of the process and even calm any anticipation they might have. Of course, keep a close eye so they don’t sneak a taste too early—some ingredients might not be safe without baking.
You can also turn treat time into a little game. When the biscuits are ready, use them in simple training exercises or hide-and-seek play. It’s a fun way to make the treats part of quality interaction, rather than just a quick snack. Watching your dog focus and respond to commands, rewarded by those homemade biscuits, feels pretty good—like you’re really connecting over something special.
Conclusions
Making homemade biscuits for your dog is simple and rewarding. You know exactly what goes into each biscuit, keeping your pet safe and healthy. These biscuits can be made in batches and frozen to last through the summer, saving you time and money.
Frozen homemade dog biscuits provide a cool, tasty treat that your dog will enjoy when the weather is warm. By following freezing and storage tips, you keep the biscuits fresh and convenient. Treat your dog to homemade biscuits this summer and watch the joy they bring.