Introduction
Making bread at home can be a fun and rewarding experience. Simple tips for homemade bread recipes easy for fresh flavors help you create delicious, fresh bread without complicated steps. With the right ingredients and some basic baking skills, anyone can craft bread that tastes homemade and satisfying.
This article guides you through practical bread-making tips. You will learn how to pick ingredients, prepare dough, and bake bread for the best result. These tips focus on easy methods and fresh flavors to encourage you to bake bread at home confidently.
Ingredients Checklist For Homemade Bread
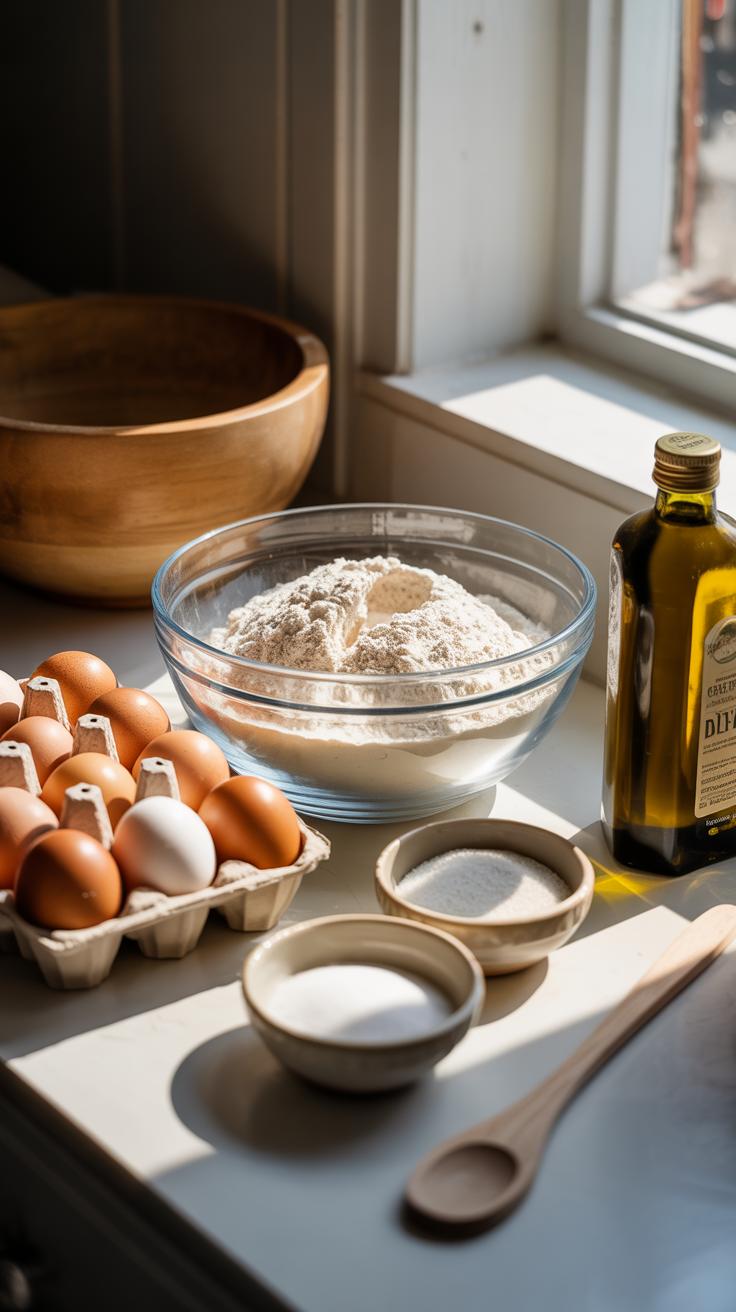
When it comes to making bread at home, getting your ingredients right can really make or break the final result. The basics always include flour, yeast, water, and salt. But the choice within those can be quite tricky—like what type of flour or yeast to pick, or whether you want to add a bit of sugar or fat for flavor and texture.

Flour is the main structure builder, so picking the right one is key. You’ll find all-purpose flour is easy to work with, but bread flour, which has more protein, creates stronger gluten and a chewier texture. Whole wheat flour adds nuttiness and fiber but might make your bread denser if used alone.
Yeast comes next, and there are different kinds: active dry, instant, and fresh. Each behaves a bit differently, especially in how you activate them. Water should be warm, not hot—it wakes up the yeast without killing it. Salt controls fermentation and adds taste, but don’t go overboard—it can crush yeast if too much touches it directly.
Optional ingredients like sugar give yeast a feed boost and add sweetness, while fats like butter or oil soften crumbs and improve shelf life. But you don’t have to include these if you want a more traditional loaf. Sometimes, less is more.
Choosing your ingredients thoughtfully influences texture, flavor, and rise. Have you noticed how even small changes in water temperature or salt level affect your dough? It’s a delicate balance, one that’s part science, part trial and error.
Flour Types And Their Differences
Flour might seem straightforward, but its types change bread’s character quite a bit. All-purpose flour sits in the middle, decent gluten levels that offer versatility. Bread flour has more protein, often around 12-14%, which means more gluten develops during kneading. This makes your bread stretchier and chewier—ideal for crusty loaves or artisan styles.
Whole wheat flour contains the whole grain, so it’s heavier and adds a distinct, earthy flavor. Be ready for denser bread unless you mix it with lighter flours. Some bakers combine it with bread flour to keep that hearty taste without sacrificing too much rise.

Sometimes, you’ll see recipes call for rye or specialty flours—they bring unique flavor and texture but can be trickier to handle. So, thinking about the kind of bread you want first helps pick the right flour. Are you after a soft sandwich bread or a rustic country loaf? Your flour choice nudges you in either direction.
Yeast Options And Activation Methods
Yeast might seem like just yeast, but there are quite a few types. Active dry yeast comes as granules and needs dissolving in warm water before use. It’s pretty forgiving, letting you spot if it’s “alive” by the foamy bubbles when it’s proofed. Instant yeast, on the other hand, can be mixed straight into dry ingredients—faster and a bit more reliable when timing is tight.
Fresh yeast, or cake yeast, is moist and perishable. It activates quickly but requires careful storage. It’s a favorite of some traditionalists, but hard to find for many home bakers.
When activating, water temperature matters—a lot. Around 100°F (38°C) wakes up yeast. Too hot, and it dies; too cold, and it stays dormant. If your yeast mix bubbles and froths within 5 to 10 minutes, you’re good to go. No froth? You might be stuck with dead yeast or the water temperature was off.
Signs of proper fermentation also show up as dough rising and bubbling smells, which can be pleasant but also faintly yeasty or sour. Sometimes, dough rises slower or faster depending on your kitchen’s temperature—a small variable that often confuses bakers.
Step By Step Dough Preparation Process

Measuring Ingredients Accurately
Getting the measurements right is more than just following the recipe – it’s the foundation for how your bread will turn out. Flour, water, yeast, salt – each plays its own crucial role, and even small deviations can throw off the dough’s balance. I’ve found that weighing ingredients with a kitchen scale, rather than just using cups, makes a noticeable difference. Cups can vary depending on how you scoop or pack flour, which is why scales offer consistency.
If you don’t have a scale, spooning flour lightly into the cup and leveling it off with a knife works better than scooping straight from the bag. When it comes to water or liquids, using clear measuring cups at eye level helps avoid common mistakes. Sometimes I get impatient and rush through this step; but then, the dough feels stiffer or wetter than expected, which almost always means I should slow down and recheck.
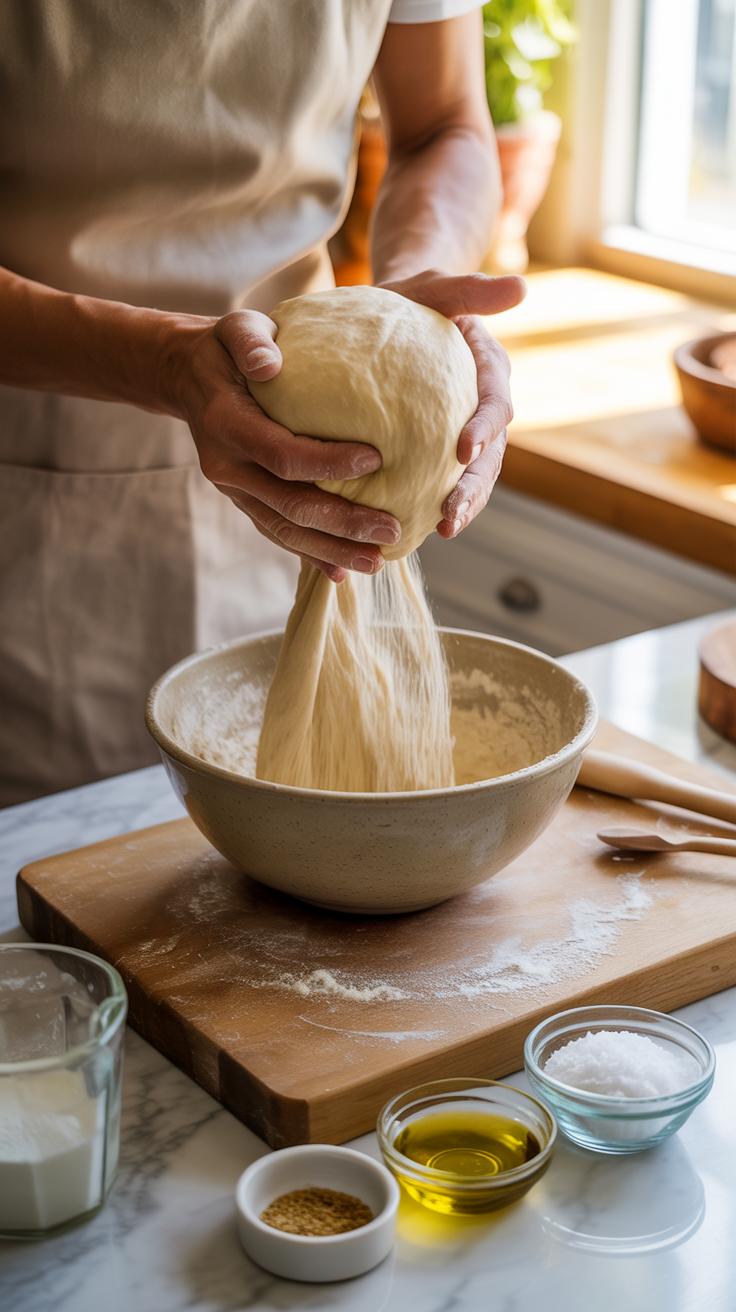
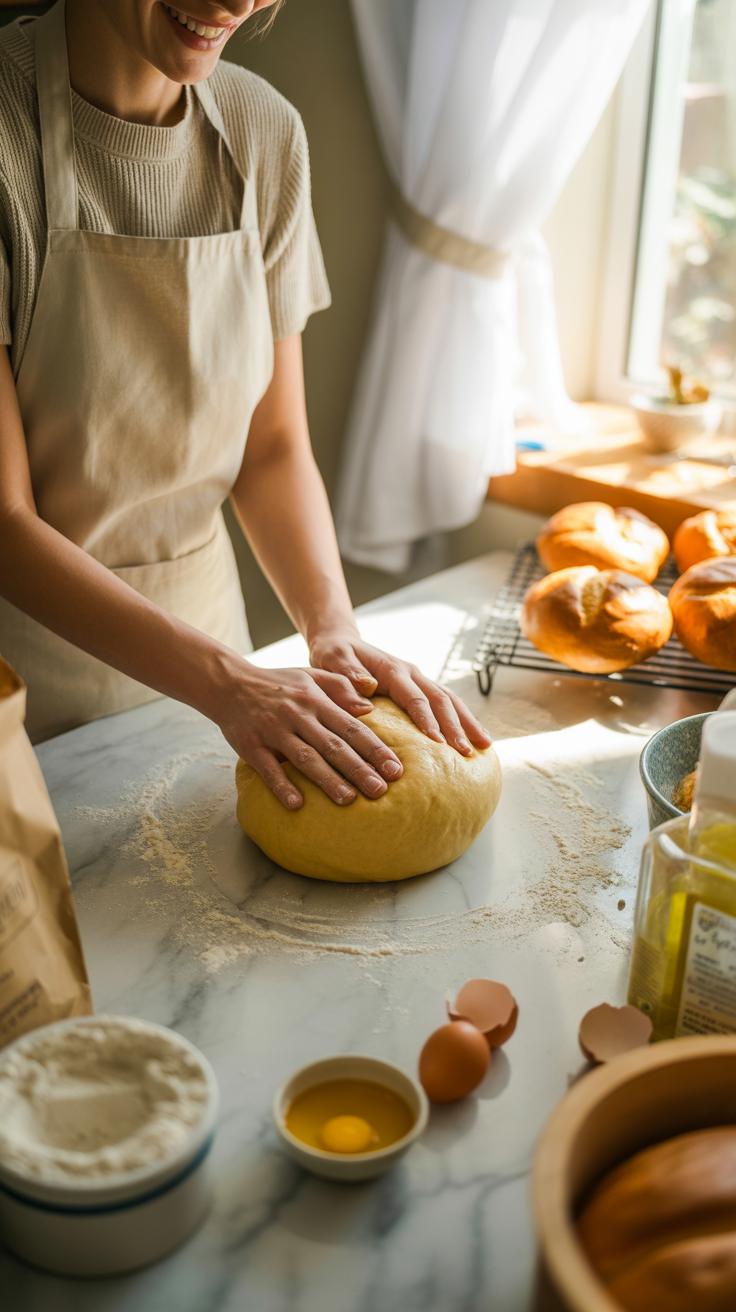
Kneading Techniques For Texture
Kneading is the part where your dough really starts to develop its character. There’s a kind of rhythm to it that—well, it takes getting used to. You want to stretch and fold the dough to encourage gluten formation, which gives bread its chew and structure. Some people swear by the push-fold-turn method, which goes like this: push the dough with the heel of your hand, fold it over, then give it a quarter turn and repeat.
The dough’s texture changes as you knead—initially sticky and rough, then smoother and elastic. That’s your cue to slow down or keep going. Over-kneading can make dough tough, while under-kneading leaves it dense. I notice that different flours absorb water differently, so sometimes I stop kneading when the dough springs back a bit after you poke it. That bounce-back suggests the gluten network is starting to hold.
When shaping, try to be gentle but firm; shaping sets the stage for even rising and a good crumb. If you’re worried about sticking, a light dusting of flour on the surface or your hands usually helps without drying the dough out.
Proofing And Fermentation Tips Explained
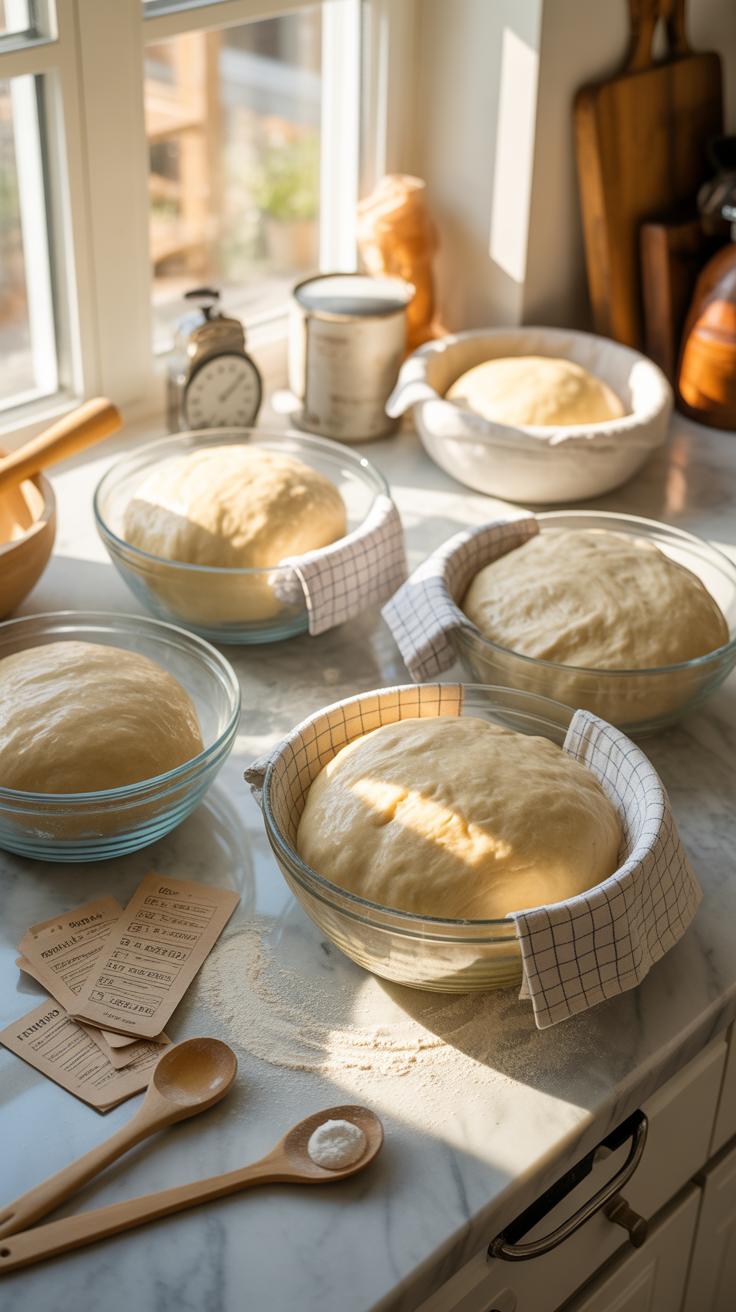
Proofing, in simple terms, is when your dough rises thanks to yeast activity. But it’s really more than just waiting for bubbles. There are key stages — the first rise after mixing, and sometimes a second after shaping. Both stages matter because they develop flavor and texture in different ways. The longer you let fermentation go (within reason), the more complex the flavor becomes. Yet, too long and you risk over-proofing, which can make the dough collapse or taste sour.
Temperature is a major factor here. Yeast works best when it’s warm — but not hot. It’s a balancing act. If your kitchen is chilly, dough will rise slowly, which might actually improve flavor but demands patience. Too warm, and you’ll end up with a quick rise that can sacrifice richness and cause uneven texture.
To help your dough rise well, try these tips:
- Keep dough covered with a damp cloth or plastic wrap so it doesn’t dry out.
- Find a warm, draft-free spot — ovens with lights on or near a radiator can work.
- Be patient. Sometimes you’ll watch and think, “Nothing’s happening,” but the dough is quietly working under the surface.
When you spot dough gently puffed up and slightly domed, that’s a good sign your yeast has done its job. Don’t rush based on the clock; look instead for how the dough feels elastic and springs back slowly when poked. Those little details guide when you bake, shaping your bread’s final crumb and flavor more than you might expect.
Ideal Proofing Temperature Range
Yeast prefers cozy warmth, generally around 75 to 80 degrees Fahrenheit. At this range, it’s active but not stressed. Too cool and yeast grows sluggishly; too warm, above 90 degrees, and you can speed it up but risk losing flavor or inviting off tastes.
Maintaining this temperature at home can be tricky. I once tried proofing near a sunny window, only to find the dough crusted on the top from uneven heat. A better option? Warm spots like the top of a fridge or inside an oven with the light on—just don’t turn the oven on itself. You can also fill a bowl with warm water, then nest your dough bowl inside it. It’s a simple trick I return to often, especially in colder months.
Signs That Dough Is Ready
Wondering if your dough’s proofed enough? Look closely. First, the dough will usually double in size, although this can feel subjective—“double” might mean different things depending on the dough type. Press it gently with your fingertip. If the indentation springs back slowly yet leaves a slight mark, it’s ready. Too quick a bounce means it needs more time; no bounce at all signals possible over-proofing.
Visual cues to watch for include a smooth, slightly domed surface and an airy feel when lifted. If you notice the dough sagging or collapsing, it’s probably gone too far. But if it’s just a little shy and you’re eager to bake, you can risk it—oven spring during baking often compensates, though maybe not perfectly every time.
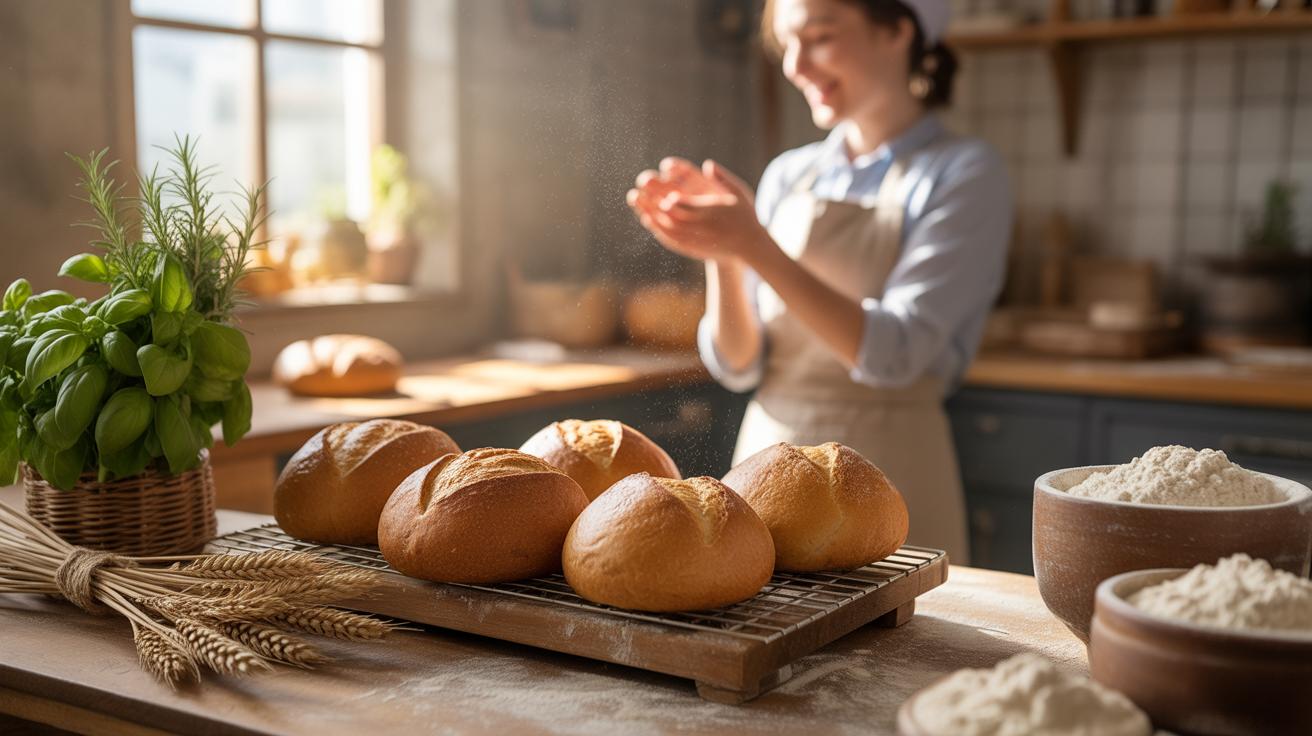
Baking Bread At Home Efficiently
Baking bread at home can feel a bit like juggling unknowns, but with a few straightforward steps, you can nail it more often than not. First, getting your oven right is key. Most breads do well between 375°F to 475°F (190°C to 245°C), but it depends on the style—denser loaves like rye prefer lower temps around 375°F, while crusty artisan bread thrives at the higher end, near 475°F. Preheating is non-negotiable. I usually leave my oven on for at least 20 minutes before popping the loaf in; it ensures the heat penetrates evenly.
Creating that coveted crisp crust? That’s partly about moisture. Introducing steam during the first few minutes of bake time works wonders. Some swear by tossing ice cubes or pouring water into a hot pan at the oven’s bottom to create a burst of steam. Others might cover the dough loosely with foil or a lid for the early stage, then uncover to brown. Each method brings a slightly different crust texture, so you might want to test what suits your taste best.
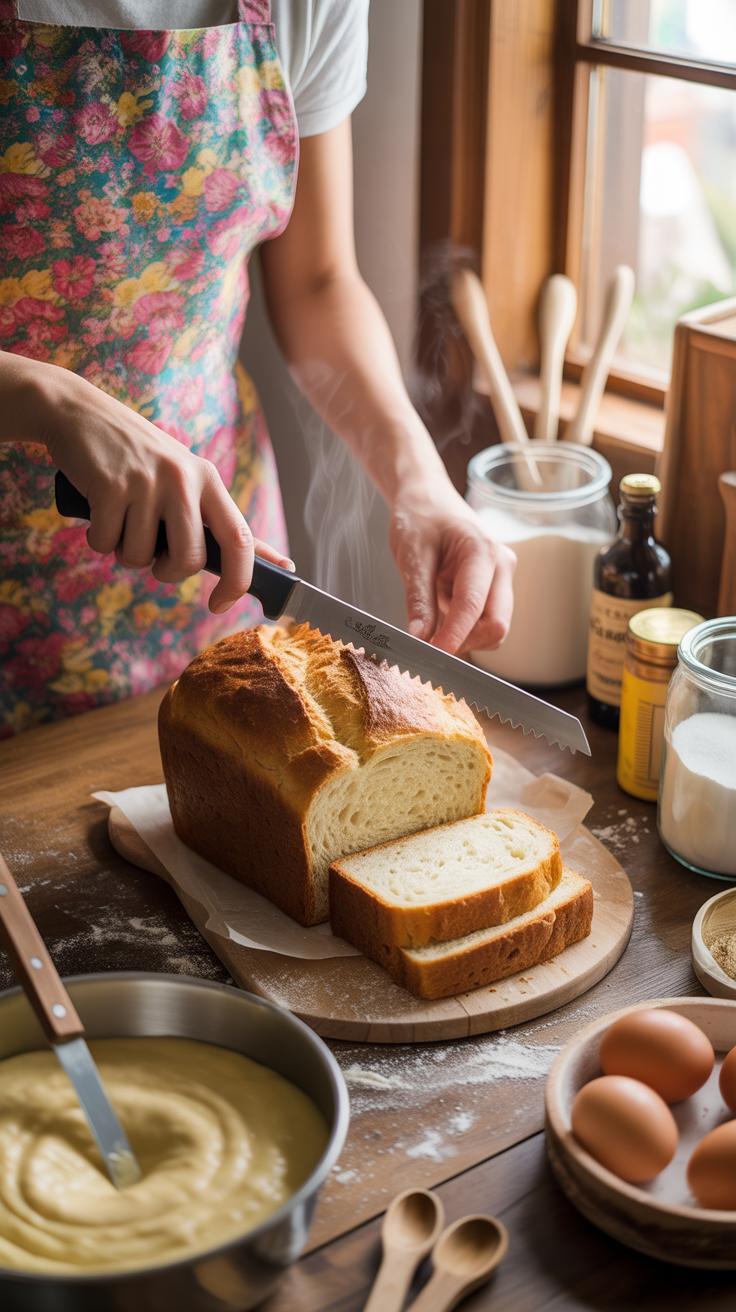
Beyond the steam, how you bake plays a role too. Baking bread on a preheated stone or cast-iron pan can boost heat transfer, making the crust firm up quicker. I’ve found that flipping the tray or rotating the bread halfway through helps avoid uneven baking, though ovens differ widely. Baking times vary too—roughly 25-40 minutes depending on loaf size and moisture content. You’ll know it’s done when the crust is deeply golden and the loaf sounds hollow when tapped.
Thinking about your last loaf, what could a few tweaks in oven temp or steam have changed? That simple step can sometimes turn a so-so crust into something worth remembering.
Common Baking Mistakes To Avoid
Over Proofing Effects
Leaving dough to rise for too long can seriously mess with your bread’s texture and flavor. When dough over-proofs, it literally runs out of steam — the yeast consumes all its sugars and the gluten structure weakens. This results in a dough that’s soft, almost too loose, and can collapse when baked or even just handled. You might notice that it looks puffed up but kind of wrinkly on top, or that it deflates easily with a light poke. I’ve seen loaves turn out dense or flat because of this, despite all the effort invested.
How do you catch over-proofing early? Try the “poke test”: gently press your finger into the dough. If it springs back quickly, it needs more time. If it barely springs back or stays indented, it’s over-proofed. Recognizing the balance is tricky since it depends on room temperature, humidity, and even the flour you use. But paying attention to these signs helps dodge disappointing results.
Improper Oven Use Impact
Another common issue is mishandling the oven—setting the wrong temperature or baking for too long or short. Most home ovens don’t always maintain an even temperature, and that can lead to bread that’s underbaked inside or burnt on the crust. If your bread takes longer than expected yet still seems doughy inside, it could be that the temperature was too low or fluctuating.
Preheating the oven thoroughly is critical but not always followed. Some bakers start baking before the oven fully heats, which affects the rise and the final crust. Using a thermometer to check your oven’s actual temperature often reveals some surprises—you might think it’s at 375°F but it’s really cooler or hotter.
Timing also matters. Baking the bread too long dries it out, while cutting the time short leaves it gummy. Maybe you’ve pulled out a loaf too early, then regretted it moments later. Trust your recipe’s range but also check by tapping the bottom of the loaf—it should sound hollow. These little checks go a long way to improving outcomes.
Flavor Variations With Add Ins

When you think about homemade bread, the basic dough often feels a bit plain without some extras. Herbs, seeds, nuts, or even dried fruit can turn a simple loaf into something far more interesting. But adding these ingredients isn’t just about tossing them in; timing and quantity really matter.
Herbs and spices work best when mixed into the flour before adding liquids. This way, their flavors infuse the dough evenly. Fresh herbs like rosemary or thyme bring a fragrant, earthy touch, while dried spices such as cinnamon or cardamom lend a subtle warmth that’s surprising but pleasant in bread.
Seeds and nuts add texture, but you want to avoid breaking the dough’s structure. Toasting them lightly first can boost flavor and prevent sogginess. Incorporate seeds like sunflower, pumpkin, or sesame during the final stages of kneading, so they stay intact but don’t overwhelm the dough.
Dried fruits—think raisins, apricots, or cranberries—give sweetness and chewiness. They’re often best soaked briefly to soften and sprinkled in gently so they don’t sink to the bottom or disrupt rising.
Experiment. For example, a mix of walnuts and rosemary creates a rustic loaf that’s unexpectedly delightful. You might find some combinations work better than others, or maybe you prefer to keep it simple and classic. There isn’t a single “right” way here.
Storing And Serving Fresh Bread
Bread Storage Best Practices
Keeping homemade bread fresh longer requires a bit of care, and sometimes it feels like the bread loses its charm too quickly. The easiest way is to store bread at room temperature in a paper bag or a bread box. This lets the crust keep its texture without trapping moisture, which can make bread go soggy fast. Plastic bags, while common, tend to hold moisture and soften the crust—you might like it that way, or perhaps not.
If you want to save bread for more than a couple of days, freezing is your friend. Slice the loaf beforehand and wrap pieces tightly in plastic wrap or foil, then put them in a freezer bag. When you’re ready, toast or warm the slices directly from frozen. This method retains freshness better than keeping bread at room temperature beyond a couple of days.
One tricky thing I’ve run into is that refrigeration doesn’t work well for bread. It actually makes it dry out faster, so avoid the fridge unless you want stale bread. Also, keep bread away from humid spots to prevent mold—your kitchen counter next to the sink might not be ideal.
Serving Ideas For Fresh Bread
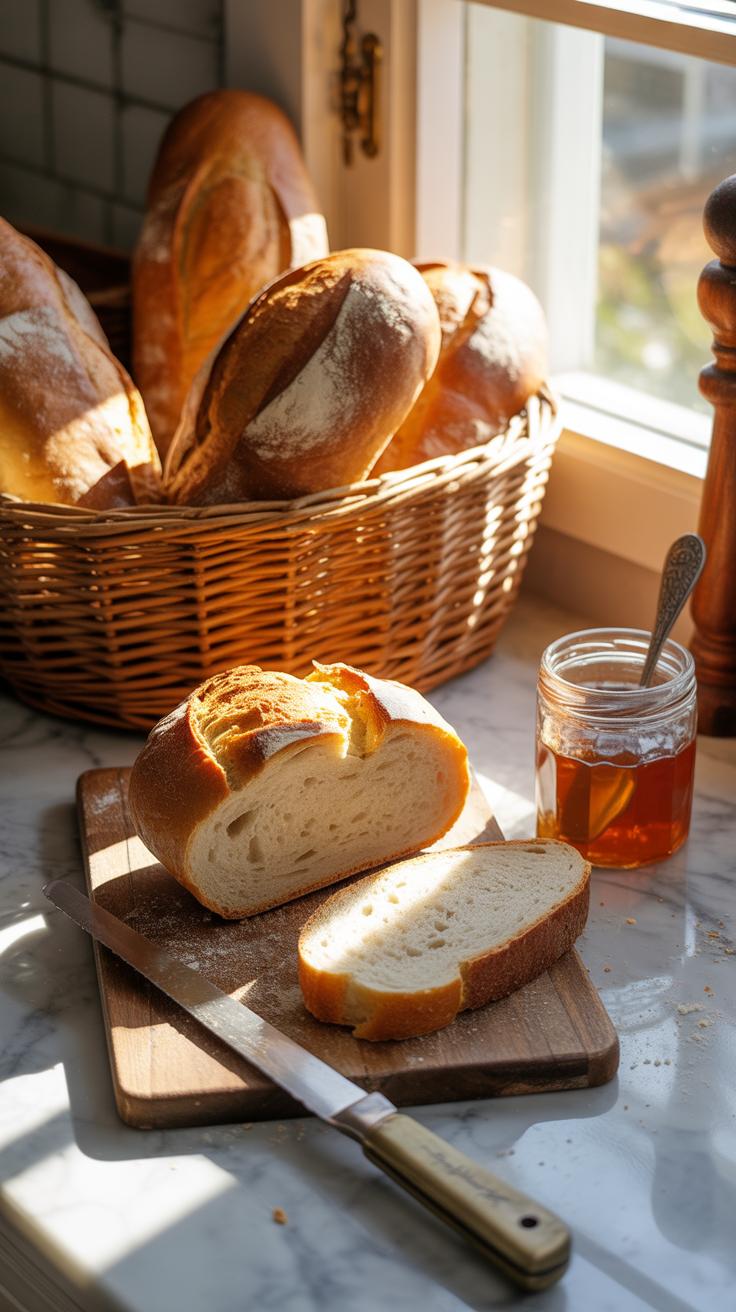
Fresh bread can be more than just a side—it’s a canvas for flavors. Spread it with simple things like butter, honey, or your favorite jam. That crisp, warm crust with a melting spread is something that never gets old for me. Sometimes, I serve fresh bread alongside soups or stews, letting it soak up brothy goodness—try it with tomato or butternut squash soup.
Sandwiches, of course, make great use of fresh bread. You might think just ham or cheese, but experimenting with roasted veggies, fresh herbs, or even a smear of pesto adds surprising depth. Warm the bread slightly before assembling for that extra touch.
Toast can also be a quick but satisfying way to enjoy your bread. Add avocado and a sprinkle of chili flakes or a drizzle of olive oil and sea salt. Do you tend to serve bread plain, or do you prefer a more dressed-up bite? It’s interesting how the same loaf can feel so different with just a slight change in accompaniments.
Comparing Homemade Bread Types
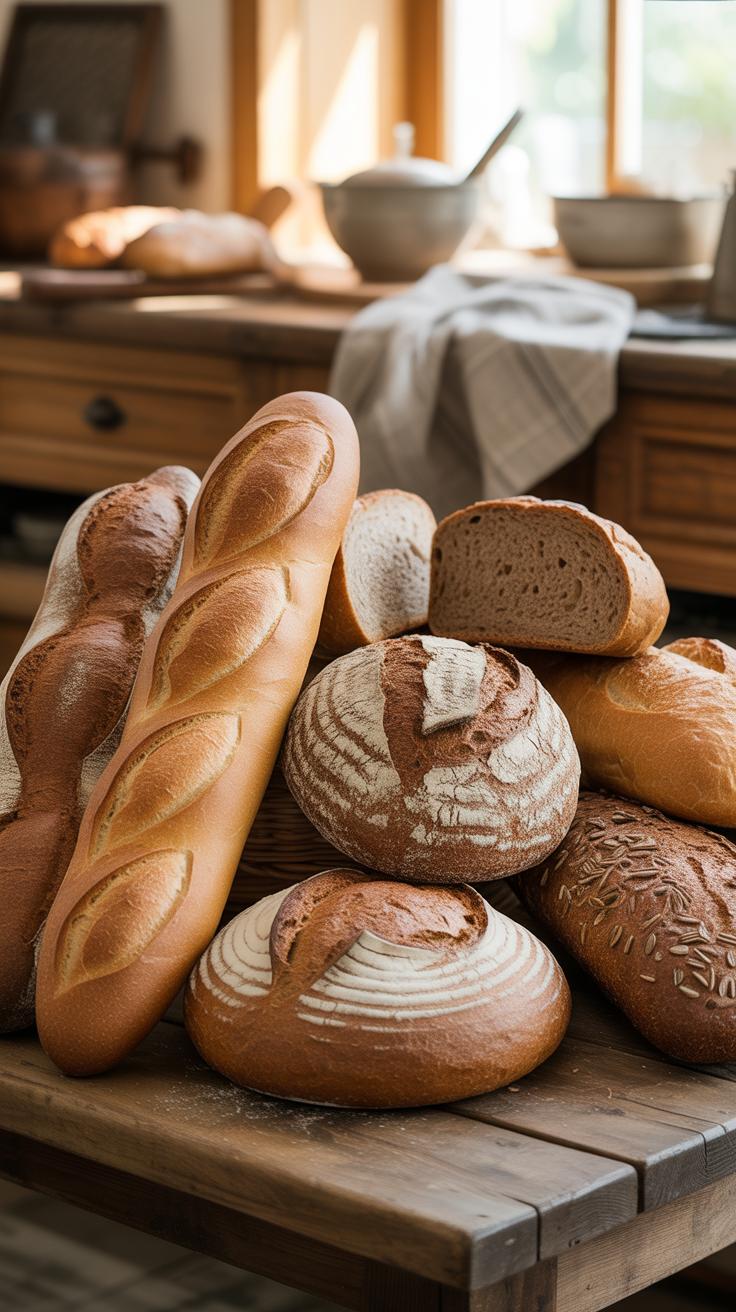
When you’re deciding what bread to bake at home, it’s useful to think about how different types stack up—not just in taste, but also in how you prepare them. For starters, white and whole wheat breads are quite distinct despite sharing some basic ingredients.
White bread uses refined flour, which gives it a lighter texture and softer crumb. Whole wheat, in contrast, includes the bran and germ from the grain, so you’ll get denser loaves with more bite and a nuttier flavor. Nutritionally, whole wheat offers more fiber and nutrients, though some people might find it less tender or a bit heavier to eat.
Moving on to quick breads versus yeast breads, the main difference lies in the rising agent and time involved. Quick breads rely on baking powder or baking soda, so they don’t need hours to rise—sometimes just minutes. Yeast breads, of course, depend on yeast, which creates that familiar chewy texture and lets flavors develop slowly as the dough ferments. Baking quick breads feels more immediate, but you miss out on the depth of flavor that comes with yeast fermentation.
So, which type fits your mood? If you want something fast and straightforward, quick breads might be the way. But if patience isn’t a problem, yeast breads offer a rewarding experience in both making and tasting.
Conclusions
Baking bread at home is accessible when you follow simple, clear steps. Using the right ingredients and care in your preparation leads to fresh, tasty bread. These tips help take the guesswork out of baking and invite you to enjoy homemade bread anytime.
Experimenting with bread recipes at home allows you to find flavors and styles you enjoy. Keeping techniques simple and focused on freshness makes baking bread rewarding. Enjoy the process and the fresh bread you create for yourself and family.