Understanding Ticks On Dogs What YouRe Actually Dealing With

What Are Ticks And Why Are They Dangerous To Dogs
Ticks are parasitic arachnids that survive by feeding on the blood of hosts. They do not jump or fly like fleas do. Ticks wait on tall grass or brush to latch onto your dog as it passes by. Once attached, they bury their mouthparts into the skin to begin feeding. This process allows them to transmit pathogens directly into the bloodstream.
Disease transmission represents the primary threat to your dog. Ticks carry harmful bacteria and viruses that cause serious illnesses. These include Lyme disease, Anaplasmosis, and Rocky Mountain spotted fever. A single bite can lead to chronic joint pain, kidney failure, or neurological issues. Quick removal is vital because some infections require less than twenty-four hours to transfer from the tick to your pet.
Common Tick Species That Affect Dogs In North America
The Black-legged tick, also known as the Deer tick, is a major threat in the East and Midwest. It is the primary carrier of Lyme disease. The American Dog tick is found across the Gulf Coast and Eastern United States. This species is larger and often transmits Rocky Mountain spotted fever. Identifying the specific tick helps determine which diseases your dog might have encountered.
The Brown Dog tick is unique because it can complete its entire life cycle indoors. It survives well in homes and kennels. The Lone Star tick is recognized by a white dot on its back and lives mostly in the Southeast. Each species has a specific habitat and peak season. Owners must monitor their dogs year-round because different ticks remain active during various temperatures and environmental conditions.

How To Spot Ticks On Dogs Before They Become A Bigger Problem

Where Ticks Like To Hide On Your Dog’S Body
Ticks prioritize dark and warm areas with thin skin for easy blood access. Check the crevices around the ears and the soft tissue inside the ear canal first. Examine the armpits and the groin area where the limbs meet the body. These shielded zones provide protection from the dog’s grooming attempts. Inspect the spaces between the toes and the underside of the tail near the base.
Run your hands against the grain of the fur to feel for small bumps. Ticks often feel like hard seeds or skin tags that do not move when touched. Use a high-powered flashlight to see the skin clearly on thick-coated breeds. Do not ignore the eyelids or the area around the lips. Ticks settle anywhere they can remain undisturbed while feeding on the host blood supply.
Signs Your Dog May Have A Tick Even If You Can’T See It
Behavioral changes often signal a tick bite before the parasite becomes visible to the eye. Dogs frequently lick or chew at a specific spot to soothe the irritation caused by tick saliva. Watch for sudden head shaking or pawing at the ears if a tick attaches inside the canal. Sensitivity or flinching when you touch a certain part of their body indicates localized pain from an attachment.
Physical symptoms beyond the bite site also provide clues. Look for unexplained lameness or joint stiffness that shifts from one leg to another. Ticks carry pathogens that cause systemic inflammation shortly after feeding begins. Check for low-grade fever or a sudden drop in energy levels after outdoor walks. Chronic scratching in the absence of fleas or allergies usually warrants a full tactile inspection of the skin surface immediately.

Tick Removal Dog The Right Tools You Need Before You Start
Fine Tipped Tweezers Vs. Tick Removal Tools: Which Is Better
Standard household tweezers often fail during dog tick removal. Their flat, wide tips frequently crush the tick body. This action forces infectious fluids into your dog. You must use fine-tipped tweezers or a dedicated removal tool. These designs allow you to grasp the tick as close to the skin as possible. Specialized tools focus force on the head rather than the abdomen.
Dedicated tick hooks and loops provide a mechanical advantage. These tools use a twisting or sliding motion to dislodge the parasite without squeezing. This reduces the risk of leaving the mouthparts embedded in the skin. Professionals prefer these tools because they minimize trauma to the dog. Always select a tool matched to the size of the tick. Choosing the right tool prevents unnecessary complications and secondary infections.
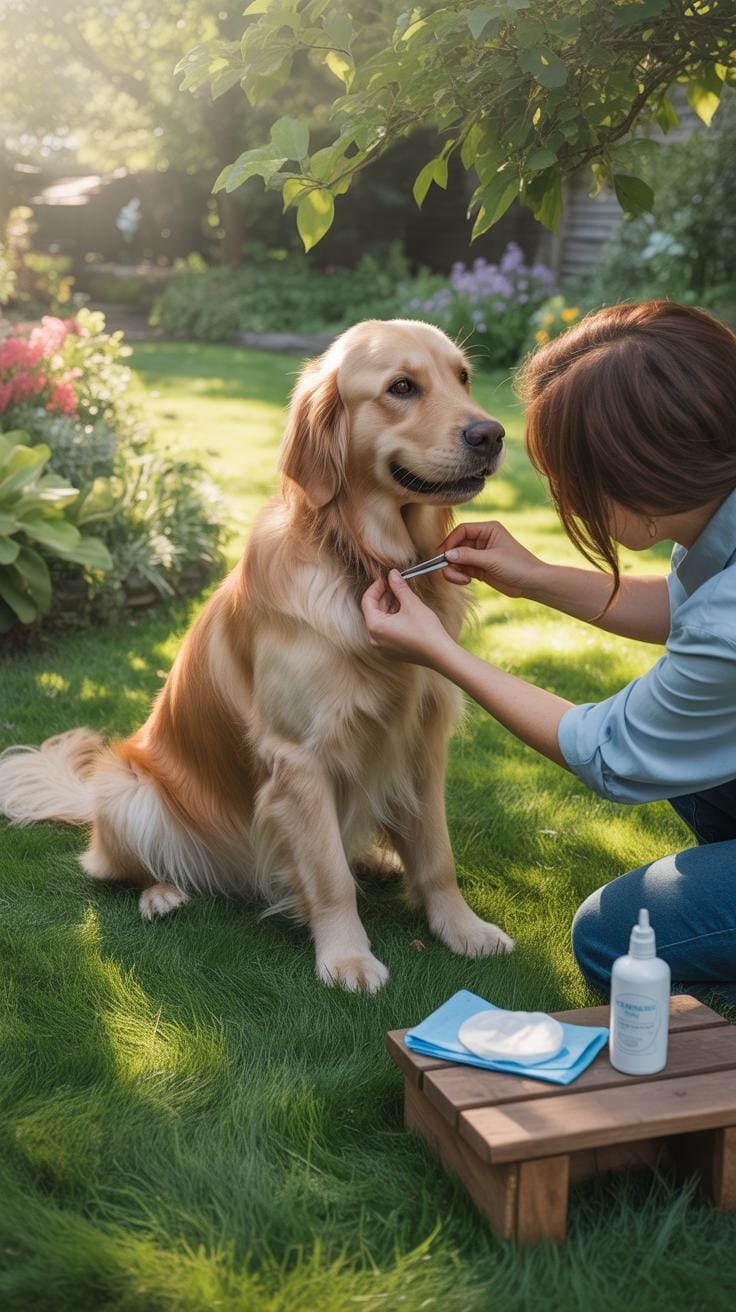
Essential Supplies To Have Ready For Safe Tick Removal
Preparation prevents mistakes during the extraction process. You need a clean workspace and specific antiseptic supplies before you touch the dog. Do not search for items once you start the procedure. Keeping the dog calm requires you to move quickly and efficiently. Gather all hardware and liquids in one tray. Having everything ready ensures you can treat the wound immediately after removal.
- Fine-Tipped Tweezers: Use stainless steel tweezers with a needle-nose point. These allow for precise gripping of the tick head. They prevent the body from rupturing during the pull. Standard eyebrow tweezers are too thick for this task.
- Isopropyl Alcohol: Rubbing alcohol serves two purposes during this process. Use it to clean the bite area after extraction. You also need a small container of alcohol to submerge and kill the live tick once you remove it.
- Latex or Nitrile Gloves: Ticks carry pathogens that infect humans through small cuts on the hands. Always wear protective gloves. This barrier prevents direct contact with the parasite and its fluids. Safety for the handler is just as important as the dog.
- Antiseptic Ointment: Apply a pet-safe antibiotic cream to the site once the tick is gone. This helps prevent localized skin infections. Ensure the product does not contain ingredients harmful to dogs. Clean the area thoroughly with soap and water first.
- Collection Container: Keep a small glass jar or plastic bag nearby. You may need to save the tick for a veterinarian. If your dog shows symptoms later, the vet can test the specific specimen for Lyme disease or other common pathogens.
Document the date and the location of the bite on your dog. Use a bright flashlight to improve visibility during the extraction. Many ticks hide under thick fur or in dark areas like ears. Good lighting helps you see the head clearly. If the dog is restless, ask a second person to hold the animal steady. This prevents the tick from tearing during a sudden movement.

Tick Removal A Step By Step Guide To Safely Removing A Tick From Your Dog
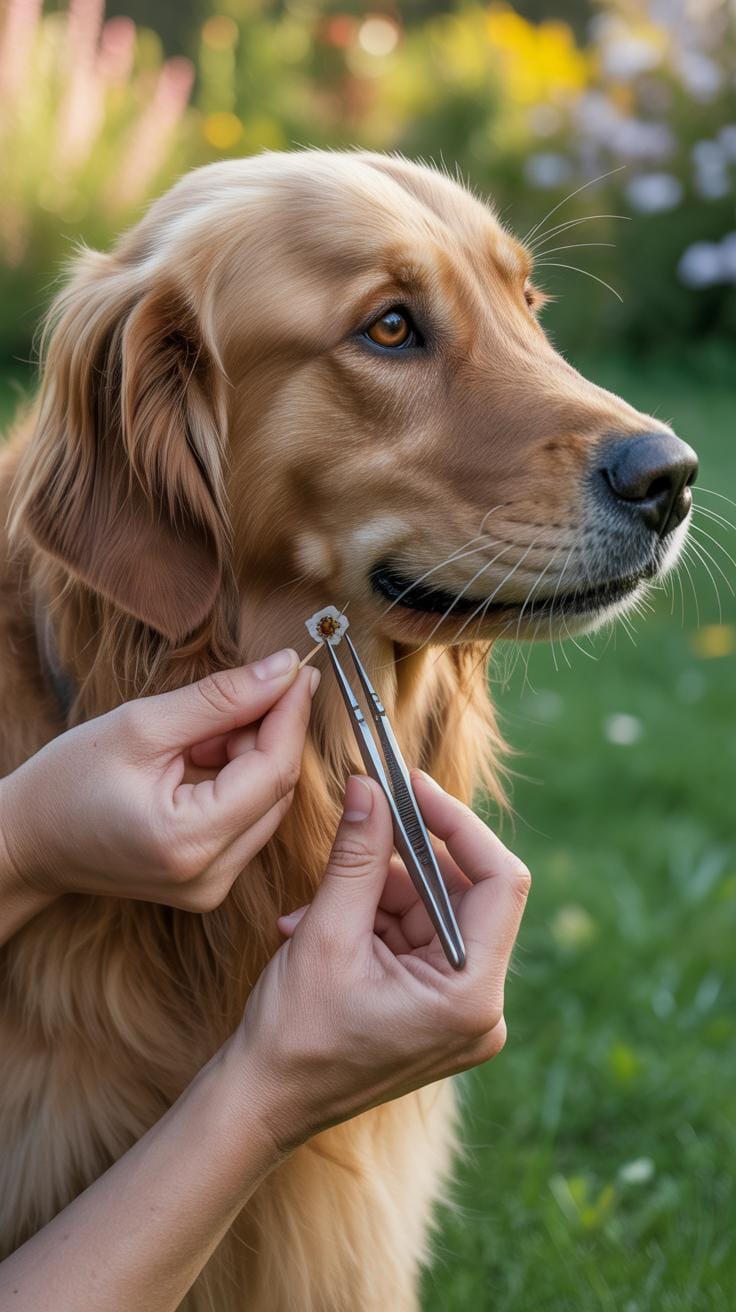
How To Properly Grasp And Extract A Tick Without Breaking It
Effective dog tick removal requires precision and the correct tools to prevent infection. You must use fine tipped tweezers or a dedicated removal tool to reach the head. Do not use your bare fingers to pull the parasite. Fingers apply uneven pressure that crushes the body. This mistake forces dangerous pathogens directly into the bloodstream of your dog immediately.
- Fine Tipped Tweezers: Use professional grade tweezers to reach as close to the skin surface as possible. This tool allows you to grasp the head and mouthparts rather than the engorged body. High quality stainless steel provides the necessary grip for a clean extraction.
- Steady Extraction: Pull upward with steady and even pressure until the tick releases its grip. Avoid jerking or twisting the tool during this movement. Sudden movements often snap the head off. A smooth pull ensures the entire mouthpart remains attached to the head during removal.
- Positioning: Place the tweezers at the exact point where the tick enters the skin. Focus your grip on the hard head section. Do not squeeze the soft abdomen. Crushing the abdomen can inject saliva and fluids into the bite site. This increases the risk of disease transmission.
- Skin Tension: Use your free hand to pull the skin of your dog taut around the bite area. This provides a clear view of the parasite. Tension helps the mouthparts slide out of the skin layers easily. It prevents you from pinching the skin of your pet accidentally.
- Mouthpart Extraction: Check the bite site after removal to see if the head remains in the skin. If parts stay behind, leave them alone and let the skin heal. Probing the wound can cause more damage. The body usually sheds these small parts naturally over several days.
Clean the bite area and your hands with rubbing alcohol or soap and water specifically. This step eliminates any remaining bacteria left on the surface of the skin. Monitor the spot for several weeks to watch for redness or swelling. Accurate technique prevents the most common complications found in pet owners today. Proper tool usage is the only way to ensure a successful and safe removal process.
What To Do With The Tick After You’Ve Removed It
Do not discard a live tick in the trash or down a sink. These parasites are resilient and will crawl back out to find a new host. You must kill the tick or preserve it for testing. Submerging the tick in a container of rubbing alcohol is the most efficient way to neutralize the threat. Seal the container tightly to prevent any escape.

Keep the dead tick in a labeled plastic bag or small jar for identification purposes. Write the date of removal and the location of the bite on the label. This provides vital data if your dog shows signs of illness later. A veterinarian can test the specimen to determine if it carries Lyme disease or other pathogens. This proactive strategy ensures faster treatment and more accurate medical diagnoses.
Common Tick Removal Mistakes That Could Harm Your Dog

Why You Should Never Squeeze, Burn, Or Suffocate A Tick
Folk remedies like using matches, nail polish, or petroleum jelly are dangerous. These methods irritate the tick and cause it to vomit fluids back into your dog. This process is called regurgitation. It significantly increases the risk of transmitting pathogens like Lyme disease or Anaplasmosis into the bloodstream. You must avoid any tactic that agitates the parasite before you successfully pull it out.
Squeezing the tick’s body during removal is equally hazardous. This pressure forces infected saliva and gut contents directly into the bite site. You essentially act as a syringe for the tick’s bacteria. Only apply pressure to the head or mouthparts where they meet the skin. Use fine-tipped tweezers or a dedicated tick tool. Keep the body intact to ensure a clean and safe extraction every time.
The Risk Of Leaving The Tick’S Head Embedded In The Skin

Breaking the tick during removal often leaves the mouthparts stuck in the dog’s flesh. This happens when you pull too fast or twist the tool. While the head alone cannot transmit further disease, it acts as a foreign object. The body will try to reject it, leading to localized inflammation or a painful abscess. Your dog may experience swelling, redness, and persistent itching at the site.
If the head remains, do not dig into the skin with tweezers. Prodding causes more tissue damage and introduces secondary skin infections. Treat the area with rubbing alcohol or iodine and allow the skin to heal over. The dog’s immune system will eventually push the fragments out like a splinter. Monitor the area for significant swelling or discharge. Consult a veterinarian if the site does not improve.
Get Rid Of Ticks In Your Yard Reducing Tick Exposure At The Source

Landscaping And Yard Habits That Help Eliminate Tick Habitats
Ticks thrive in high humidity and shade. Tall grass and leaf piles provide the perfect cover for these parasites to survive and hunt. You must keep your lawn mowed short to increase sunlight and heat on the soil surface. This dries out the ground and kills ticks quickly. Remove all leaf litter, brush, and weeds from the perimeter of your property immediately.

Create a dry border between your lawn and wooded areas. Use three feet of wood chips or gravel to form a physical barrier. Ticks rarely cross these dry zones because they risk dehydration and death. Move swing sets and patio furniture away from the yard edges. Keeping these items in sunny, central locations reduces the chance of ticks crawling onto your family or dogs.
To keep a dog is to keep a piece of your heart in the wild, and protecting them from the smallest intruder is the gentlest act of love. Steady your hands with patience, for a clean removal is a quiet promise of many more sunsets together.
— Roger Caras
Safe Environmental Treatments To Reduce Ticks Around Your Home
Focus your chemical or natural treatments on the perimeter of your yard. Most ticks live in the transition zone between manicured grass and wild brush. Apply acaricides during the spring and fall when tick activity peaks. Choose products labeled for specific tick species found in your region. Spot treat the shaded areas under decks and around stone walls where ticks often hide.
Consider using tick tubes to target the source of the problem. These devices contain cotton treated with permethrin. Mice collect this cotton for their nests. The chemical kills ticks living on the rodents without harming the host animal. This method breaks the tick life cycle effectively. Always follow local regulations and label instructions when applying any pesticides. Strategic application saves money and protects your local ecosystem.
Tick Repellent For Dogs Choosing The Safest And Most Effective Option
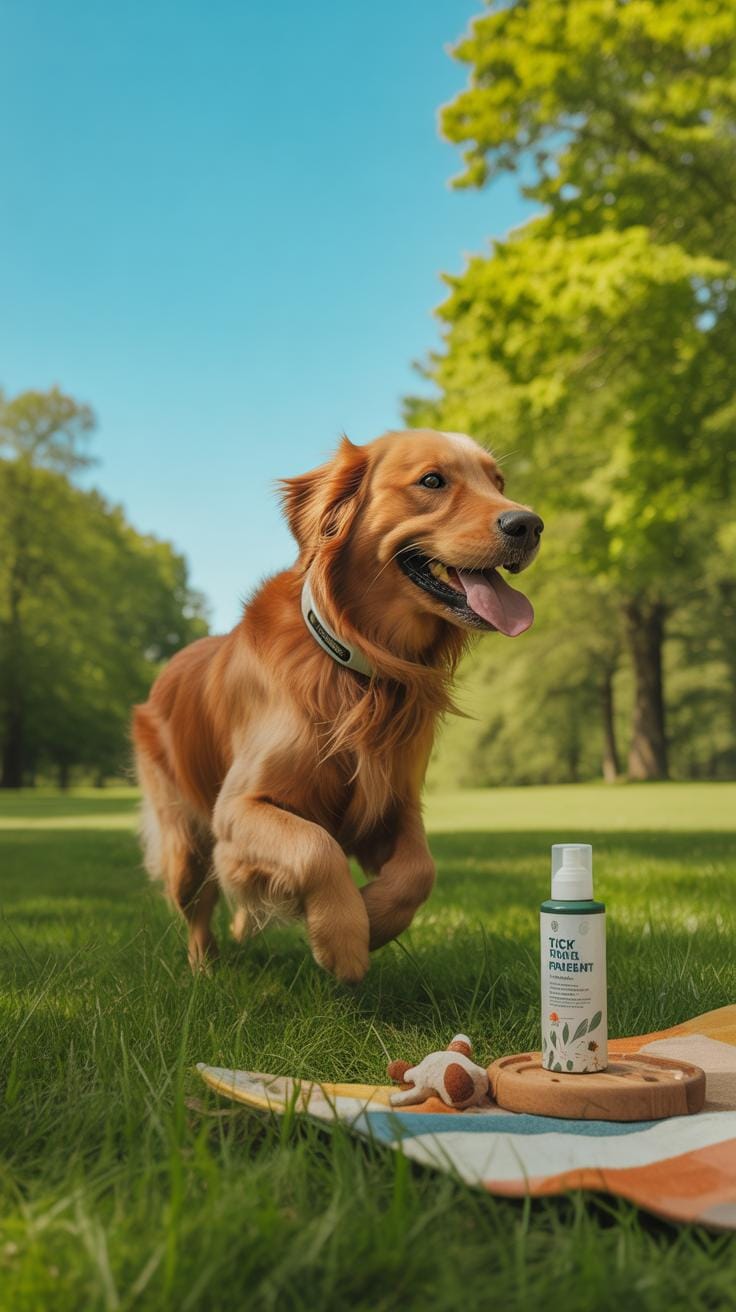
Vet Approved Tick Repellent Products: Topicals, Collars, And Oral Treatments
Modern tick prevention relies on three main delivery methods. Oral chewables like isoxazolines provide systemic protection by killing ticks after they bite. Topicals or spot-on treatments apply directly to the skin to repel or kill through contact. High-quality collars use a slow-release technology to spread active ingredients across the lipid layer of the dog. These pharmaceutical options undergo rigorous testing for safety and efficacy.

Consult your veterinarian to choose the right chemical class for your dog. Factors like age, weight, and local tick populations dictate the best choice. Some products target only adult ticks while others kill larvae and nymphs. Consistency is the most important factor for success. Missing a single monthly dose creates a window for infection. Always follow the specific weight requirements on the label to avoid toxicity.
Natural Tick Repellent Approaches And Their Limitations For Dogs
Natural repellents often use essential oils like cedar, peppermint, or lemongrass to deter pests. These substances work by masking the scents that ticks use to find hosts. Many owners prefer these options to avoid synthetic chemicals. However, natural sprays often lack the staying power of conventional meds. They require frequent reapplication to remain effective. They also fail to kill ticks that manage to attach.
Effectiveness varies wildly among DIY and holistic brands. Most natural oils only provide a temporary barrier rather than a total solution. These products rarely undergo the same clinical trials as medical grade treatments. Many oils can also cause skin irritation or respiratory distress in sensitive dogs. Never use natural oils as a substitute for vet care in high-risk areas. Rely on them only as a secondary layer of protection.
Tick Prevention Year Round Building A Routine That Protects Your Dog

Seasonal Tick Activity And When Your Dog Is At The Highest Risk

Tick activity depends on temperature and humidity levels. Most species become active once ground temperatures reach 45 degrees Fahrenheit. Peak risk typically occurs during the spring and fall months. During these periods, adult ticks seek hosts to complete their life cycles. You must realize that ticks do not disappear in winter. They survive under leaf litter or snow until the temperature rises.
Climate change has expanded tick territories and lengthened their active seasons. You cannot rely on a traditional frost to kill off the local population. Some species like the black-legged tick remain active even in near-freezing conditions. You must maintain prevention measures twelve months a year to avoid gaps in protection. Consistent vigilance is the only way to ensure your dog stays safe.
How Regular Grooming And Tick Checks Fit Into A Prevention Routine
Manual inspections are your last line of defense against disease transmission. Tick checks must happen every single time your dog comes inside from a grassy or wooded area. Focus your search on warm, dark areas like the ears, armpits, and between toes. Run your hands over the skin to feel for small bumps. Early detection allows you to remove the parasite.
Regular grooming improves your ability to spot small nymphs before they engorge. Brushing removes loose fur and debris that hide these pests from view. Professional grooming or home bathing provides a thorough look at the skin surface. You should integrate these checks into your daily habit to catch ticks quickly. Speed matters because most pathogens take hours to transfer from the tick to your dog.
Ticks On Dogs By Breed Extra Considerations For The Red Aussie Shepherd And Other Double Coated Dogs

Why Thick And Double Coats Like The Red Aussie Shepherd’S Make Tick Detection Harder
Double coats consist of a dense undercoat and a longer topcoat. These layers trap heat and moisture near the skin. Ticks prefer these warm environments for attachment. The Red Aussie Shepherd has a thick mane and feathered legs that hide parasites easily. You cannot rely on a visual scan alone. The hair density masks the small bump of a feeding tick until it becomes dangerously engorged.
The undercoat acts as a physical barrier during manual inspections. Your fingers often glide over the topcoat without reaching the skin surface. Ticks crawl deep into the woolly layer to avoid detection and removal. Darker pigments in a Red Aussie coat also provide natural camouflage for many tick species. You must use high-pressure tactile checks to locate pests buried beneath the fur. Surface petting will not find them.
Breed Specific Grooming Techniques That Support Better Tick Visibility
Effective tick detection requires line-of-sight to the skin. Use a high-velocity dryer to blow the hair apart in sections. This tool reveals the skin surface without needing a full bath. Focus on the high-risk areas like the neck, ears, and armpits. For a Red Aussie, use a metal undercoat rake to thin out dead hair. Removing excess shed allows your hands to feel the skin more accurately during daily checks.
Partition the coat using professional grooming clips to ensure you cover every square inch. Work in a systematic grid from the tail to the head. Use a fine-toothed flea comb to snag unattached ticks traveling through the long guard hairs. Always keep a bright LED headlamp available for inspections. Targeted lighting penetrates the shadow of a thick coat better than overhead room lights. Consistency in grooming reduces the window for tick attachment.
Frequently Asked Questions

How do I know if my dog has a tick?
Ticks often feel like small, firm bumps on your dog’s skin, ranging from the size of a pinhead to a grape. When performing a routine check, pay close attention to warm, hidden areas like under the collar, between toes, and inside ears. If you spot a dark protrusion that doesn’t move, you likely need to perform a dog tick removal to protect your pet from potential infections or irritation.
What is the best way to pull a tick off a dog?
For successful dog tick removal, use fine-tipped tweezers or a specialized tick hook. Grasp the parasite as close to the skin’s surface as possible without squeezing the body. Pull upward with steady, even pressure to ensure the head doesn’t break off inside the skin. Avoid twisting or jerking the tick, as this can cause the mouthparts to remain lodged, potentially leading to a localized skin infection or abscess.
Can I remove a tick if I don’t have a special tool?
If you don’t have a specialized removal tool, household pointed tweezers are a perfectly effective and budget-friendly alternative. If you have nothing at all, you can use a loop of sturdy sewing thread or dental floss to snag the tick’s head. However, never use your bare fingers or “home remedies” like matches, alcohol, or nail polish, as these dangerous methods can cause the tick to vomit toxins into your dog.