Why Dog Treats Homemade Easy Recipes Are Better Than Store Bought Options
The Real Ingredients Behind Commercial Dog Treats
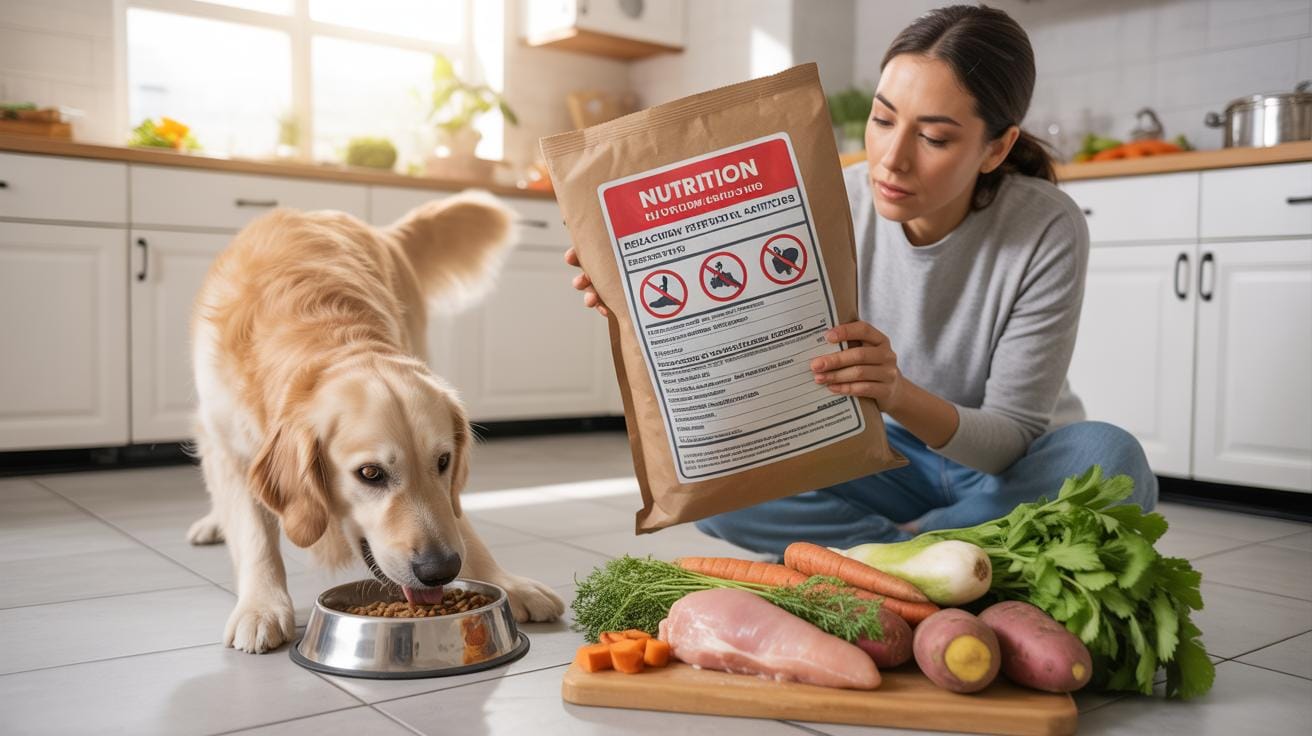
Commercial dog treats often contain low quality fillers to reduce production costs. Manufacturers use corn, soy, and wheat to bulk up products. These ingredients provide little nutritional value for your pet. Many brands also include chemical preservatives like BHA and BHT to extend shelf life on retail racks. These additives can cause allergic reactions or long term health issues in sensitive animals.
Large scale production requires stabilizing agents and artificial dyes. These chemicals make the product look consistent but do nothing for health. High heat processing can also destroy the natural nutrients found in raw ingredients. You pay a premium price for colorful packaging and marketing rather than high quality protein. Understanding these manufacturing shortcuts is the first step toward choosing better nutrition for your dog.
How Homemade Treats Give You Full Control Over Your Dogs Nutrition
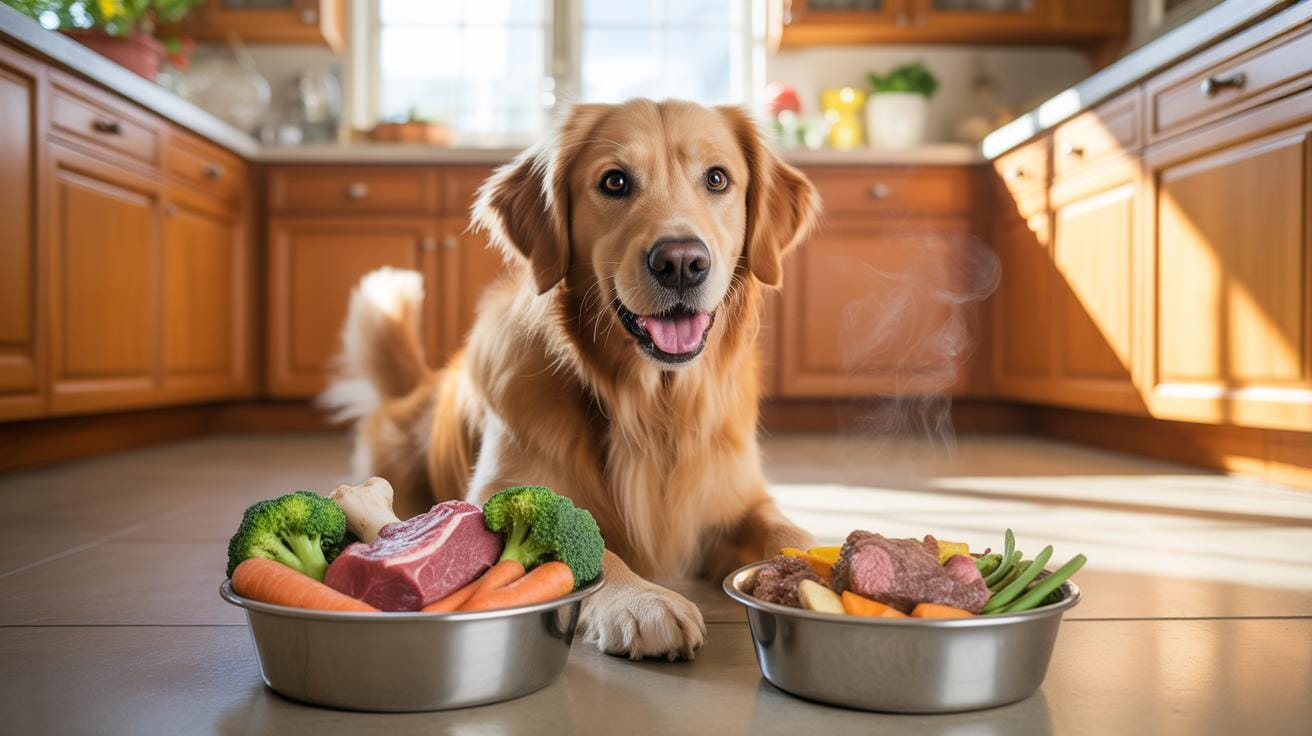
Baking at home allows you to select human grade ingredients. You decide the exact source of protein and fiber. This control is vital for dogs with specific food allergies or medical conditions like pancreatitis. You can eliminate inflammatory grains and hidden sugars entirely. Fresh treats lack the industrial stabilizers found in bags at the store. You prioritize the health of your dog over profit margins.
You can adjust caloric density based on your dog’s activity level. Small dogs require tiny, low calorie bites to prevent obesity. High energy working dogs benefit from added healthy fats like coconut oil. You manage the sodium levels to protect heart and kidney health. Using your own kitchen ensures no cross contamination with harmful additives. Tactical baking turns simple pantry staples into functional fuel for your pet.

Essential Kitchen Tools You Need Before Trying Any Dog Treat Recipes
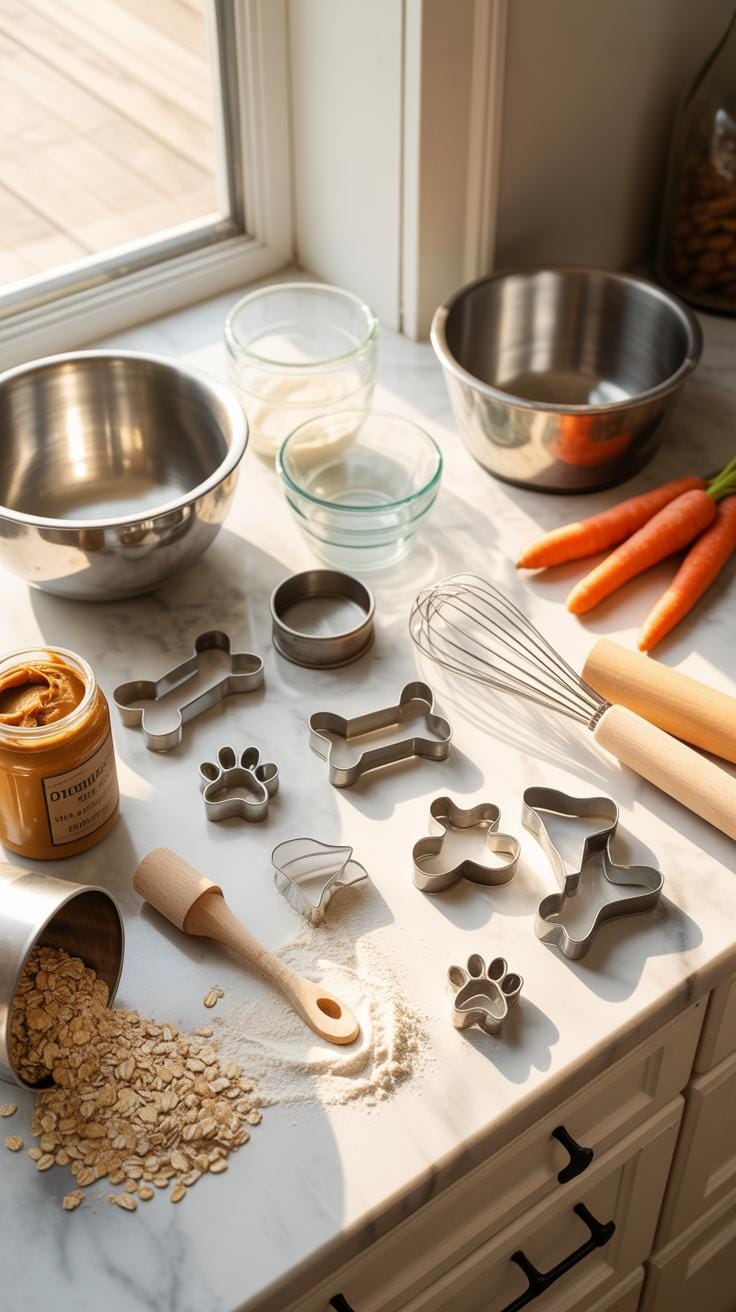
Must Have Baking Equipment For First Time Dog Treat Bakers
Beginners must secure a basic set of reliable tools to ensure consistency and safety. Standard kitchen equipment works well for most canine recipes. You need items that handle thick dough and high heat without warping. Success depends on accurate measurements and efficient mixing. These specific tools allow you to control the density and texture of the treats effectively.
- Digital Kitchen Scale: This tool ensures precise measurements of flour and proteins. Weight-based measurements outperform volume cups in consistency. Accurate ratios prevent the dough from becoming too crumbly or sticky for the dog to digest safely.
- Stainless Steel Mixing Bowls: Metal bowls provide a hygienic surface that does not absorb fats or odors from previous cooking. They are durable enough to handle heavy kneading. You can sanitize them easily to prevent bacteria growth in your pet treats.
- Rolling Pin: A sturdy rolling pin creates an even thickness across the entire batch. Consistent depth ensures every treat bakes at the same rate. This prevents some pieces from burning while others remain raw and soft in the middle.
- Silicone Spatulas: These tools allow you to scrape every bit of dough from the bowl sides. The flexible head reaches tight corners better than wooden spoons. Silicone resists high temperatures and cleans up quickly after mixing sticky ingredients like peanut butter.
- Measuring Spoons: Small increments matter when adding baking powder or spices. Sets should include precise fraction measurements to avoid over-seasoning. Correct proportions keep the nutritional balance of the treat intact for your dog’s specific dietary needs.
Organization of these tools streamlines the baking process and reduces mess. Keep your equipment separate from tools used for toxic human foods like onions or chocolate. Dedicated pet baking supplies minimize the risk of cross-contamination. Investing in quality basics now prevents equipment failure during the mixing stage. Proper tools make the transition from novice to confident baker much faster.
Choosing The Right Baking Pans And Cookie Cutters For Dog Treats
Metal baking sheets are the standard choice for crispy dog biscuits. Select heavy-gauge aluminum pans to ensure even heat distribution across the surface. This prevents hot spots that burn the bottom of the treats. Rimmed baking sheets catch any drips from meat-based ingredients. High-quality pans remain flat under high heat and provide a stable base for consistent dehydration during the cooling process.
Cookie cutters serve both aesthetic and functional purposes for your dog. Small cutters are best for training rewards and portion control. Avoid intricate shapes with thin edges because they break easily during the baking process. Simple geometric shapes like circles or bones offer the most durability. These designs ensure the treat stays intact when stored in a container or carried in your pocket during walks.
Safe And Unsafe Ingredients What Every DIY Dog Treats Baker Must Know
Common Human Foods That Are Toxic To Dogs And Must Be Avoided
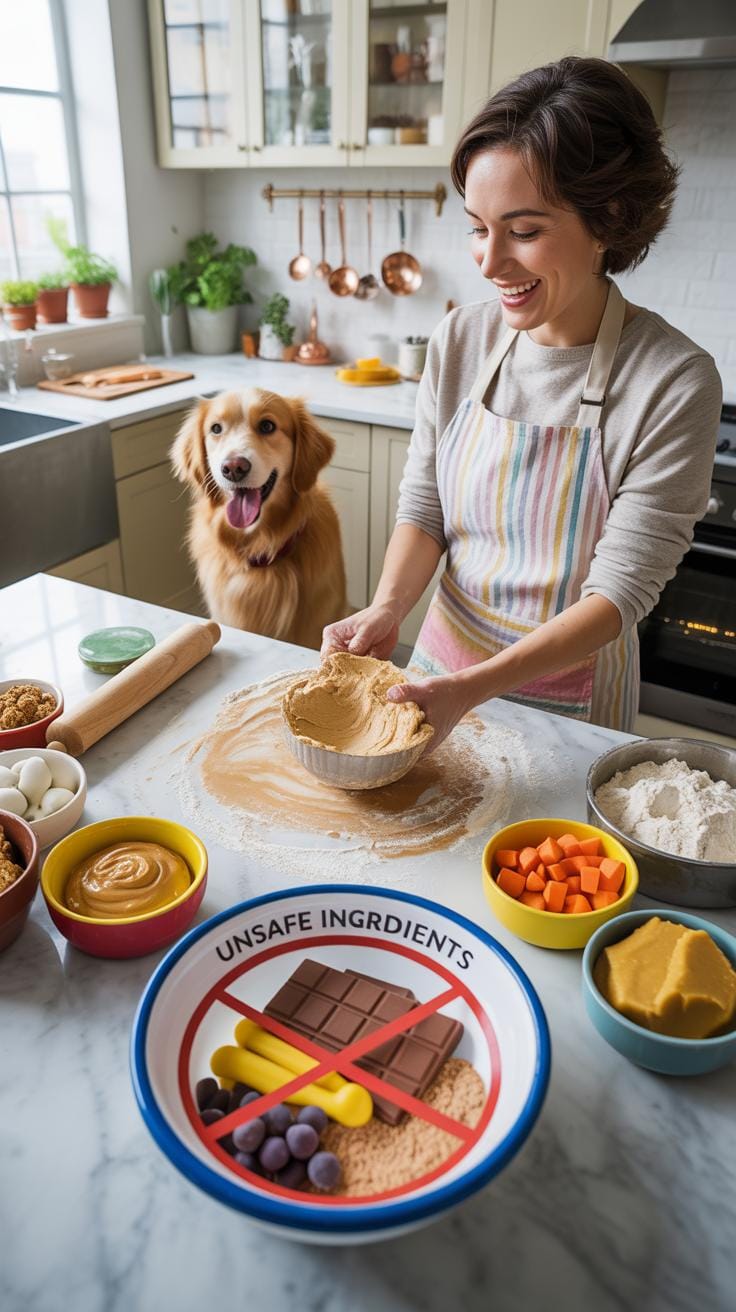
Bakers must recognize that canine biology differs significantly from human biology. Certain compounds found in common pantry staples trigger rapid organ failure or neurological distress in dogs. You cannot estimate safety based on human consumption patterns. Even small quantities of specific toxins cause permanent damage. Check every single label for hidden additives like xylitol. This sweetener appears in many nut butters and proves fatal to dogs.
- Xylitol: This artificial sweetener causes a rapid insulin release in dogs. It leads to hypoglycemia and acute liver failure within hours. Check all peanut butter labels for this ingredient before adding it to your dough.
- Chocolate and Cocoa: These contain theobromine and caffeine which dogs cannot metabolize effectively. Darker chocolate contains higher concentrations of these stimulants. Exposure causes heart arrhythmias, tremors, seizures, and potential death in most dog breeds.
- Grapes and Raisins: These fruits cause sudden kidney failure in dogs even in small amounts. Scientists have not yet identified the specific toxin responsible for this reaction. Avoid using these in any baked goods intended for canine consumption.
- Onions and Garlic: These ingredients contain N-propyl disulfide which damages canine red blood cells. Regular consumption leads to hemolytic anemia. Concentrated powders are more dangerous than fresh pieces. Eliminate these from all savory treat recipes entirely.
- Macadamia Nuts: Ingesting these nuts causes weakness, vomiting, and hyperthermia in dogs. The exact mechanism of toxicity remains unknown but the clinical signs are consistent. Keep these away from the mixing bowl to prevent temporary paralysis or distress.
Eliminate any ingredient if you have doubts about its chemical profile. Professional bakers rely on verified veterinary data rather than cooking blogs. Keep a list of prohibited items on your refrigerator for quick reference during prep. Cross contamination poses a real risk in busy kitchens. Wash all bowls and utensils thoroughly if you previously prepared human food with toxic ingredients. Constant vigilance prevents medical emergencies.
Dog Friendly Ingredients That Are Safe To Bake With
Safe baking starts with base flours that provide structure without causing inflammation. Oat flour and brown rice flour serve as excellent gluten free options for sensitive stomachs. These grains provide fiber and essential minerals while maintaining a firm texture after baking. You can also use whole wheat flour if your dog does not have a grain allergy. These staples act as the reliable foundation for any beginner recipe.

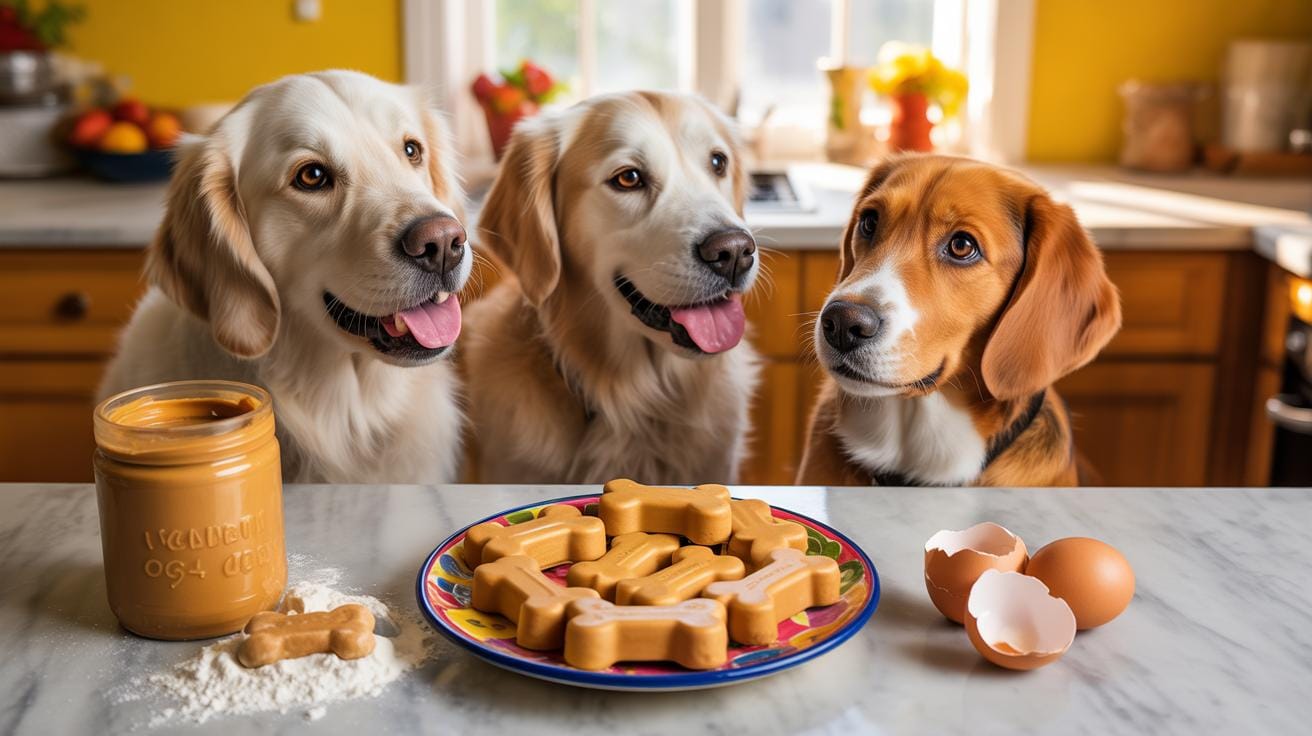
Binding agents and flavor enhancers should come from whole food sources. Pureed pumpkin and unsweetened applesauce add moisture and vitamins without processed sugars. Plain cooked eggs provide protein and help the dough hold its shape during the baking process. Natural peanut butter without salt or xylitol offers healthy fats and high palatability. Always prioritize single ingredient additives to keep the treats healthy and easy to digest for your pet.
How To Follow Easy Dog Treat Recipes Without Making Common Mistakes
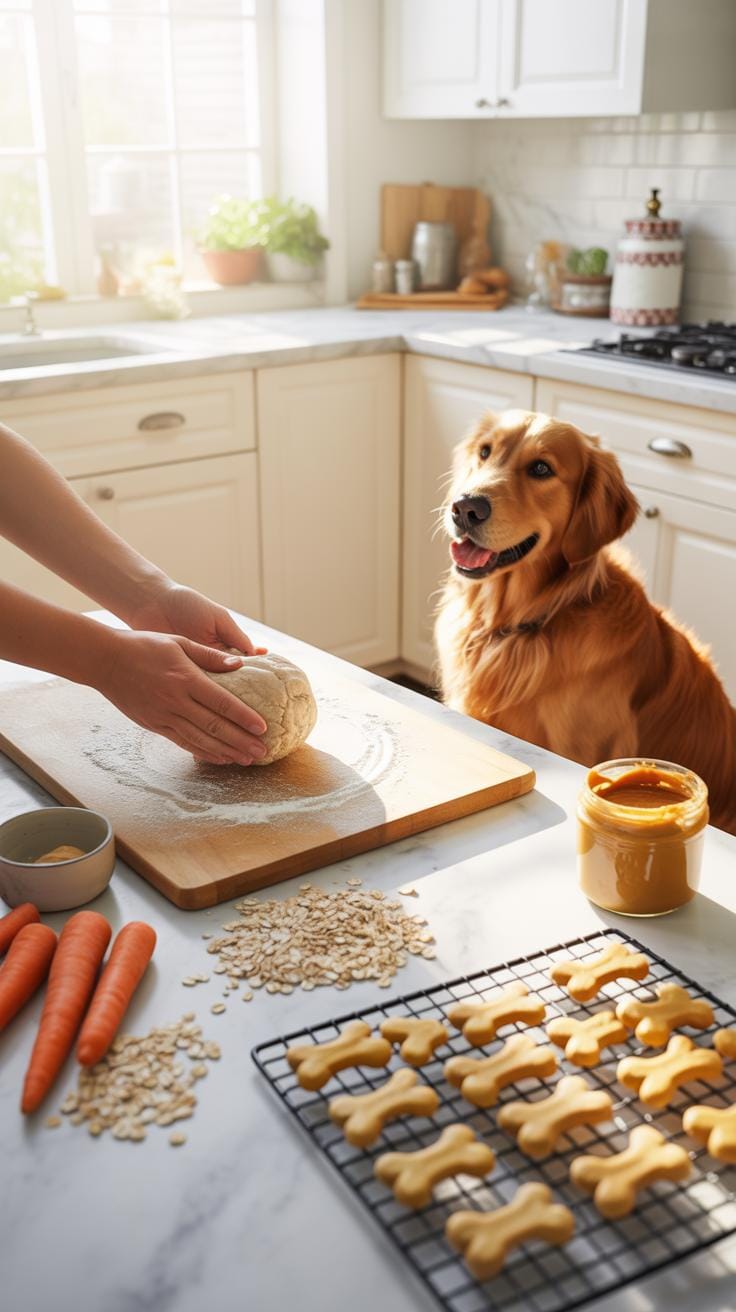
Understanding Dough Consistency And Why It Matters For Dog Biscuits
Dog treat dough differs significantly from human pastry dough because it lacks high fat content. Most recipes use whole wheat or oat flour combined with binders like pumpkin or peanut butter. If your dough is too sticky, your cookie cutters will fail. If it is too dry, the treats will crumble during the baking process. Aim for a firm and pliable texture that resembles modeling clay.
Achieving the right consistency ensures even baking across the entire tray. You must add moisture or flour in small increments to correct flaws. Hand kneading allows you to feel the hydration levels more accurately than a machine. Proper dough density prevents the treats from rising excessively or distorting their shape. Consistency is the primary factor in determining the final shelf life and structural integrity of the biscuit.
Baking Temperatures And Timing Tips For Perfectly Baked Dog Treats
Most dog treats bake at temperatures between 325 and 350 degrees Fahrenheit. Lower temperatures are ideal for dehydrating the biscuit without burning the edges. High heat often browns the exterior while leaving the center raw and moist. This moisture leads to mold growth within days. Standardize your oven temperature using a thermometer to ensure accuracy because internal dials often report incorrect heat levels.
Baking time depends entirely on the desired hardness of the treat. Crunchy treats require a longer bake or a cooling period inside a turned off oven. This process removes residual moisture and hardens the proteins. Soft treats need shorter times and immediate removal from the hot pan. Always rotate your baking sheets halfway through the timer to account for hot spots within your oven chamber.
Healthy Dog Treats How To Bake Nutritious Snacks Tailored To Your Dog
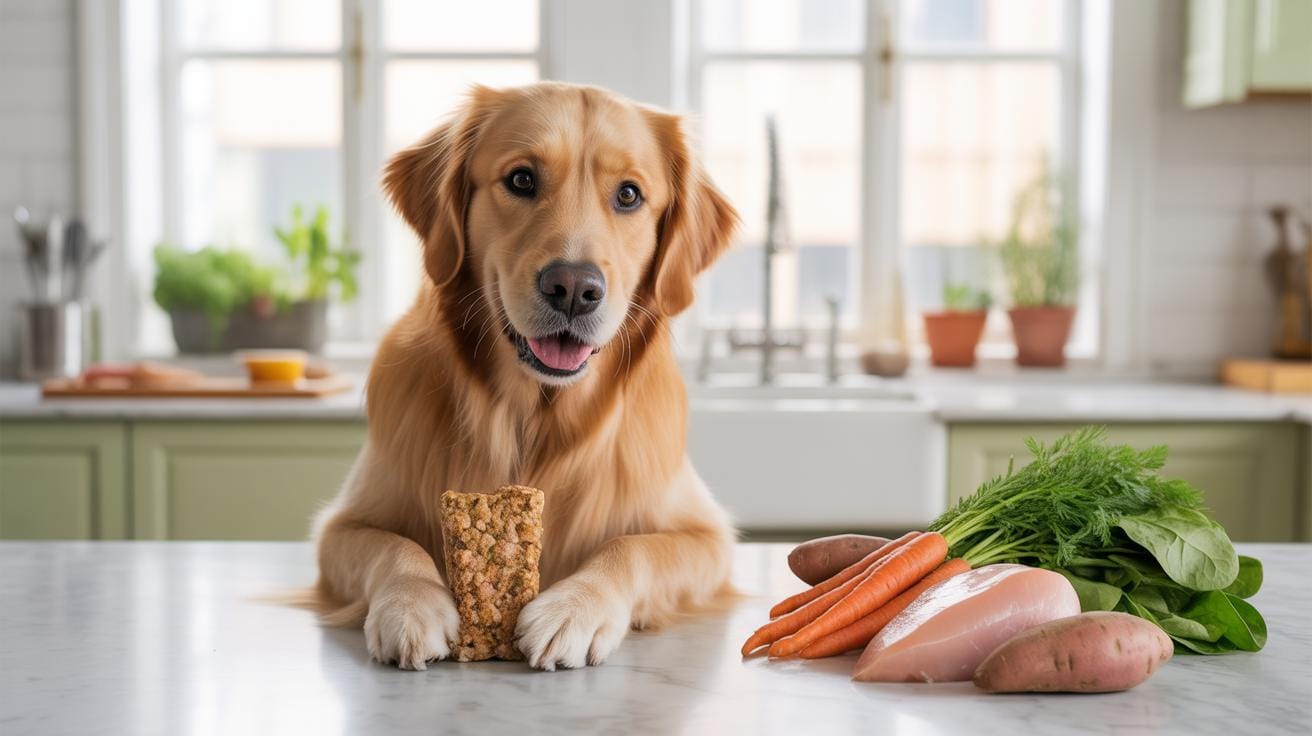
Choosing Ingredients That Support Your Dog’S Specific Health Needs
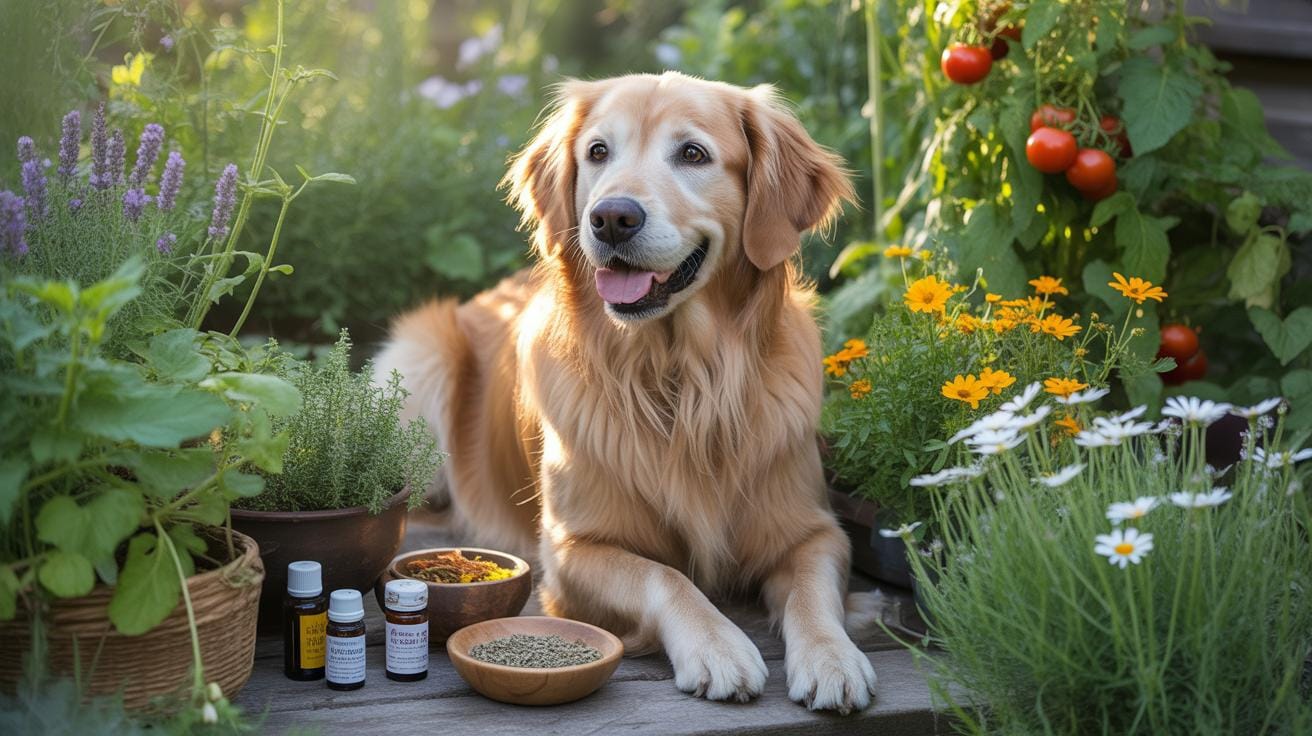
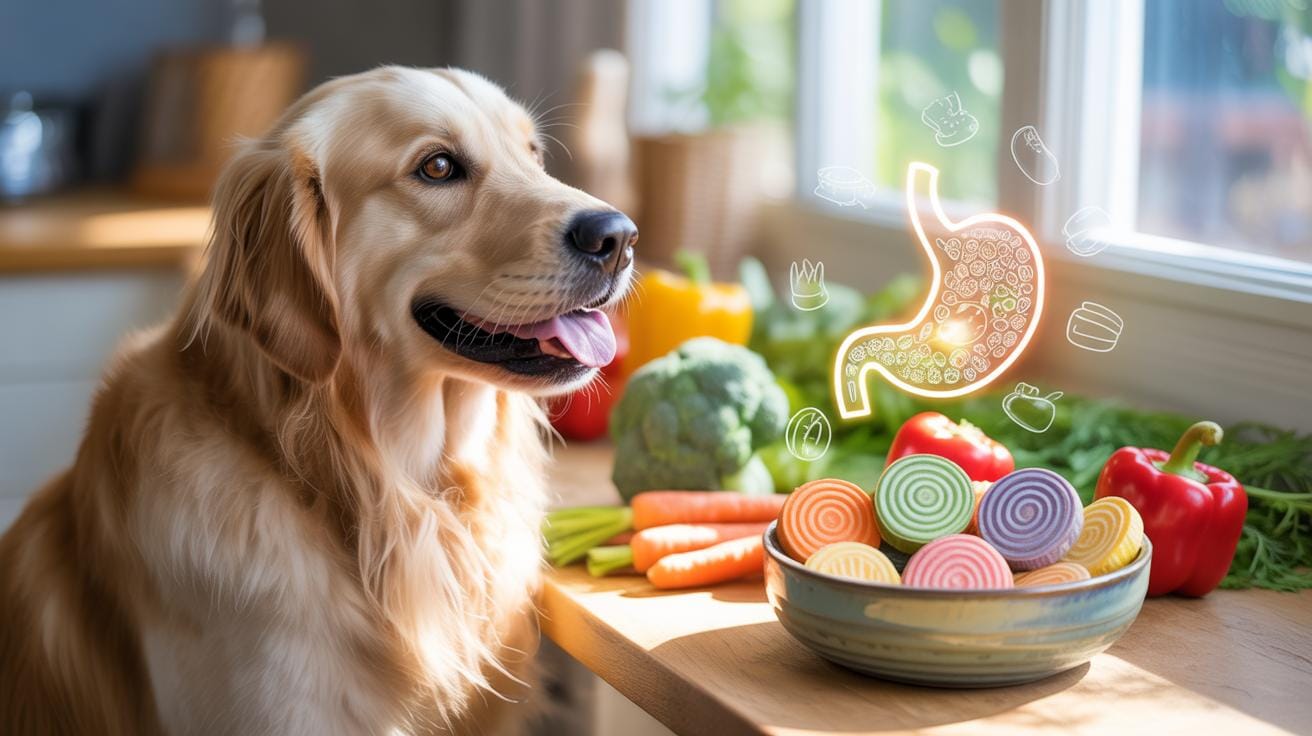
Select ingredients based on biological utility rather than human preference. Use pumpkin puree to support digestive health through high fiber content. Incorporate ground flaxseeds or salmon oil to provide essential omega fatty acids for skin and coat maintenance. Blueberries offer antioxidants that protect cells from oxidative stress. Always verify that every base flour or binder aligns with your specific dog’s known food sensitivities.
Avoid toxic ingredients such as xylitol, chocolate, grapes, and onions. These substances cause immediate physiological harm or long-term organ damage. Stick to whole food sources like lean proteins and complex carbohydrates. Old fashioned oats provide a steady energy source without spiking blood glucose levels. Use eggs as a high biological value protein binder to ensure your dog receives necessary amino acids during muscle repair cycles.
Even the simplest handmade biscuit is a love letter written in flour and water. Every beginner starts with a single bowl and a heart full of devotion for their best friend.
— Martha Stewart
How To Reduce Sugar Fat And Empty Calories In Homemade Dog Snacks
Eliminate processed sugars and artificial sweeteners entirely. Dogs do not need refined sugar for energy and it leads to obesity and dental decay. Replace honey or molasses with unsweetened applesauce to provide natural moisture and flavor without the heavy calorie load. Use plain water or low sodium vegetable broth as a liquid base instead of high fat oils to bind your dry ingredients together.
Substitute white flour with high fiber alternatives like chickpea flour or oat flour. These options provide more nutrients per gram and keep your dog full for longer periods. Trim all visible fat from meats before dehydrating or baking them into treats. Use silicone baking molds to control portion sizes precisely. This habit prevents accidental overfeeding and helps maintain a healthy weight for your pet through caloric restriction.
Easy Dog Treats Three Simple Beginner Recipes To Bake This Weekend
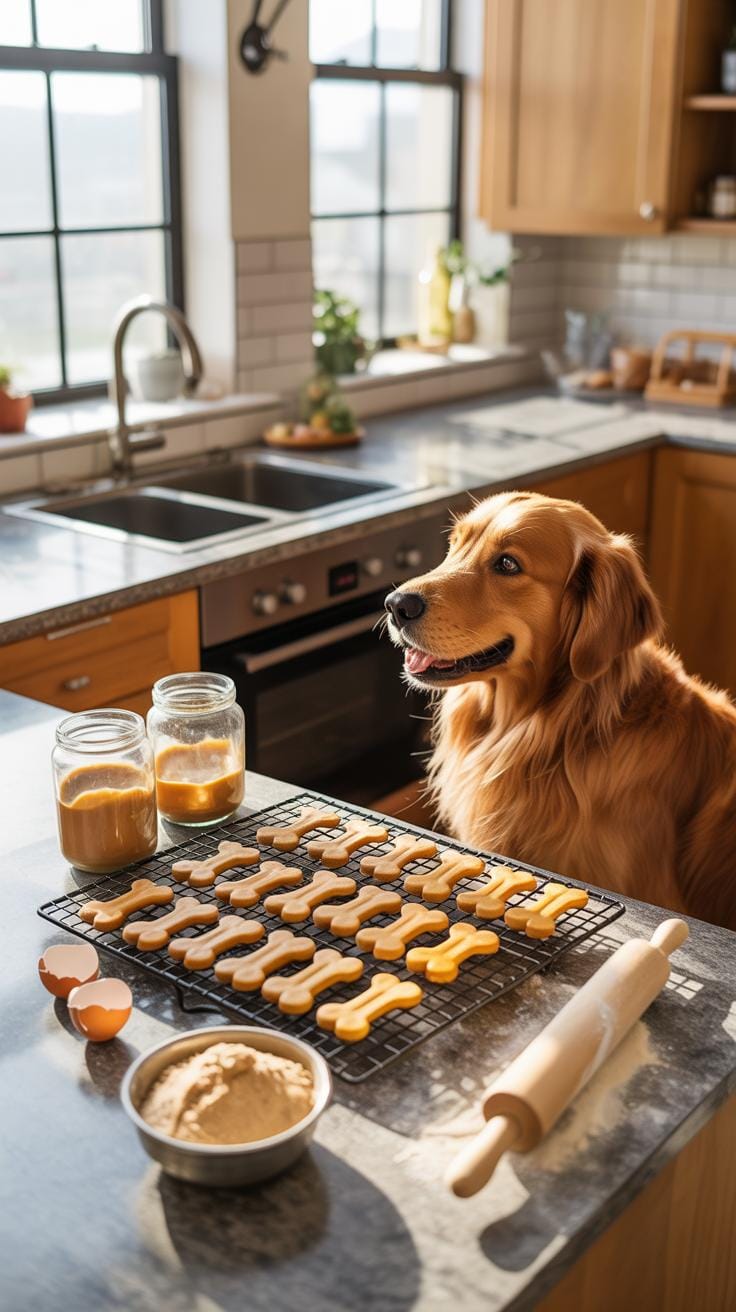
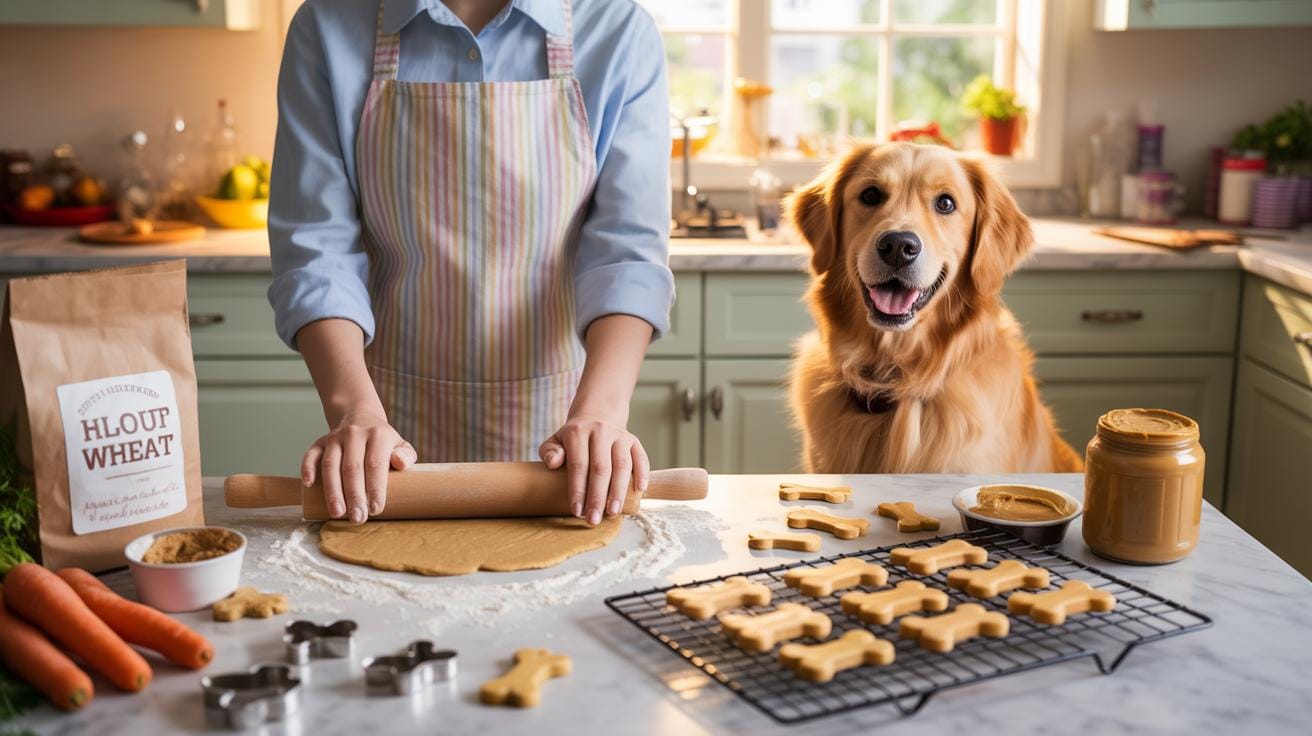
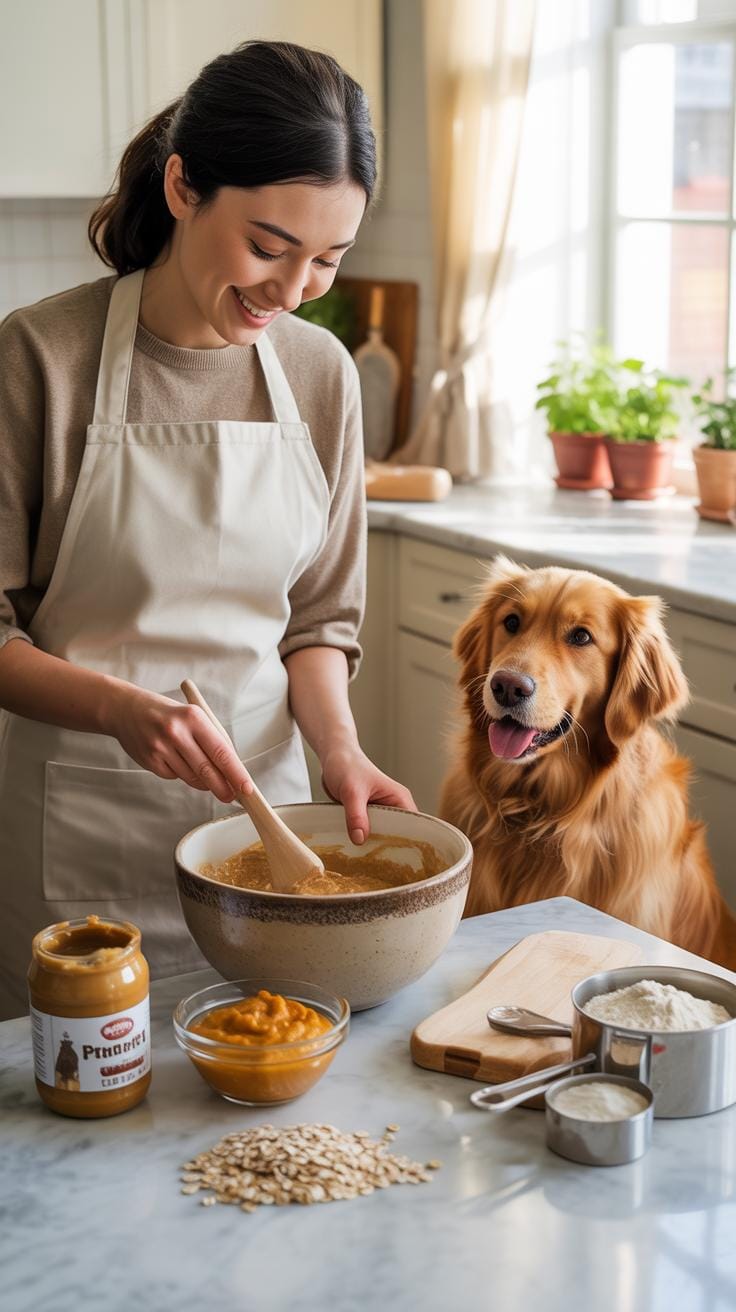
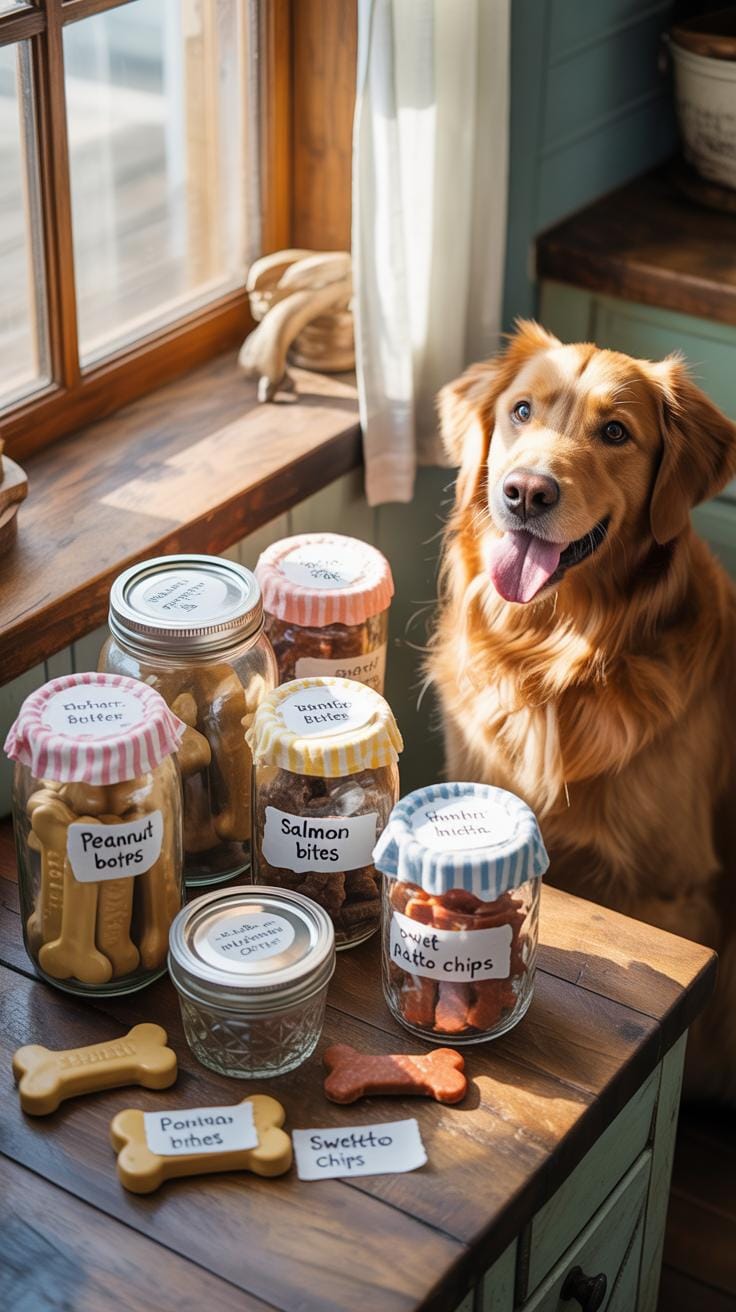
A Classic Peanut Butter And Oat Dog Biscuit Recipe For Beginners
Peanut butter provides a reliable base for amateur dog treat bakers. You must use peanut butter without xylitol to ensure safety. Xylitol is a sweetener that is highly toxic to dogs. Mix two cups of whole wheat flour with one cup of rolled oats. Add one half cup of creamy peanut butter and one cup of water. Stir the mixture until a stiff dough forms on your counter.
Roll the dough to a thickness of one quarter inch. Use a cookie cutter or a simple knife to create uniform shapes. Uniformity ensures all pieces bake at the same rate in the oven. Bake these biscuits at 350 degrees Fahrenheit for approximately 20 minutes. The treats should feel firm to the touch when finished. Cool them completely before sealing them in an airtight container for storage.
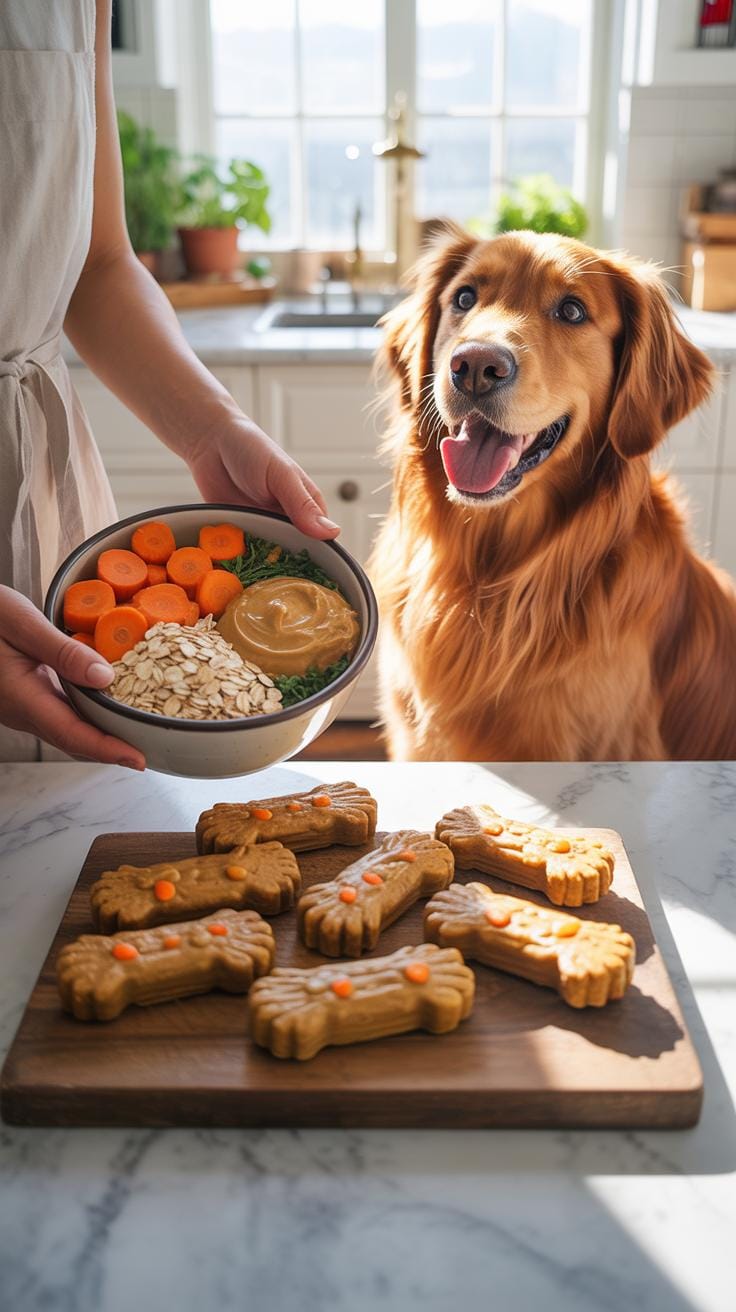
A Simple Pumpkin And Whole Wheat Dog Treat Recipe Worth Trying
Canned pumpkin puree serves as a high-fiber binder for this secondary recipe. Ensure the label reads pure pumpkin and not pumpkin pie filling. Pie filling contains spices and sugar that harm canine digestion. Combine two eggs with one half cup of pumpkin puree and two cups of whole wheat flour. Add a splash of water if the dough feels too dry or crumbly for rolling.
Knead the dough briefly to distribute the moisture evenly. Press the dough flat and cut it into small squares for easy portion control. Place the pieces on a parchment lined baking sheet to prevent sticking. Bake the treats at 350 degrees Fahrenheit for 25 minutes. Harder treats last longer and help clean teeth during consumption. Store these in the refrigerator to maintain freshness because they contain no artificial preservatives.
Frozen Dog Treats A Cool No Bake Option Perfect For Warm Weather
Why Frozen Treats Are A Great Alternative To Traditional Baked Dog Snacks
Frozen treats solve the problem of nutrient degradation. High oven temperatures often destroy heat-sensitive vitamins found in raw fruits and vegetables. By skipping the baking process, you preserve the natural enzymes and antioxidants in the ingredients. These snacks also serve a dual purpose as hydration tools. They help your dog maintain a safe core temperature during high activity or extreme summer heat.
Preparation speed is the primary tactical advantage for the owner. Baking requires precise measurements, preheating, and cooling times. Frozen options only require blending and pouring. This method eliminates the risk of scorched edges or doughy centers. You also avoid the mess of flour and sticky dough on your counters. Frozen treats provide a hard texture that encourages slow licking, which can calm anxious dogs effectively.
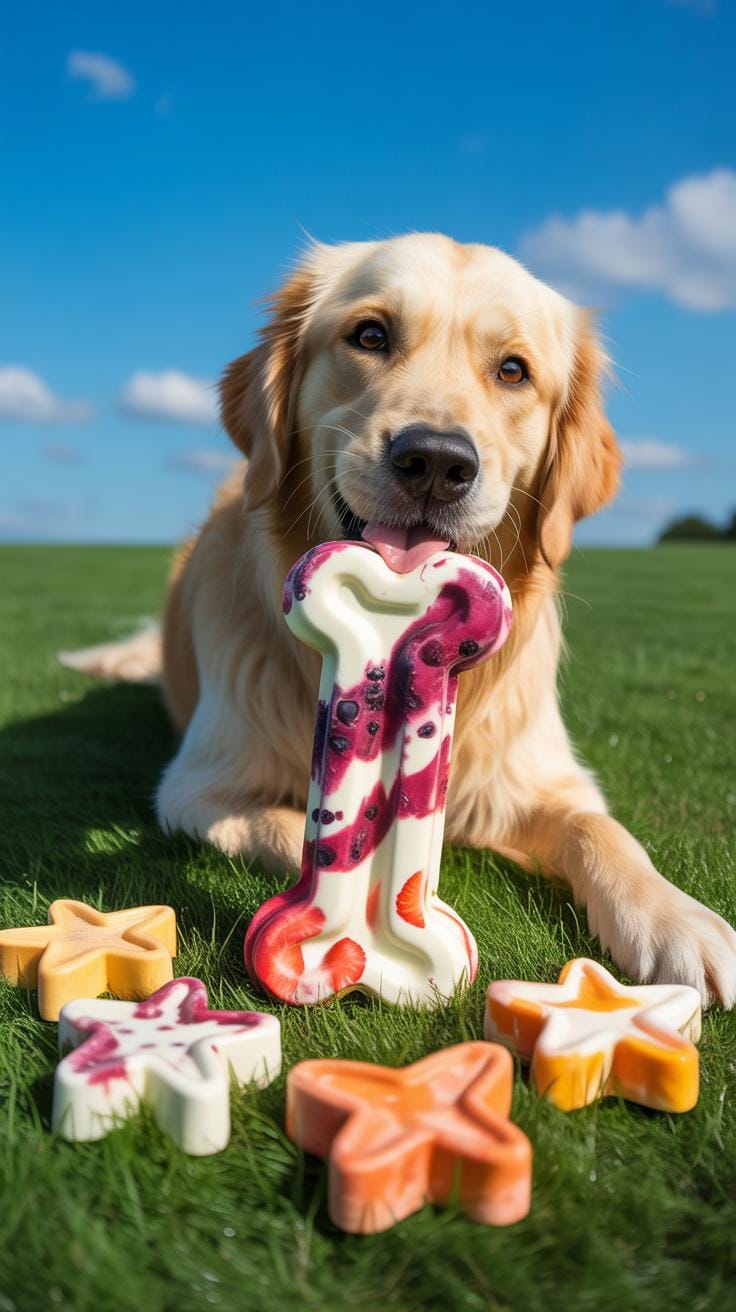
How To Make Easy Frozen Dog Treats Using Simple Molds And Safe Ingredients
Start with a high-quality liquid base like unsalted bone broth or plain non-fat Greek yogurt. Avoid any products containing xylitol as it is toxic to dogs. Mix your base with pureed pumpkin or mashed bananas for consistency. Pour the mixture into silicone molds for easy removal. Silicone allows you to pop the treats out without breaking them. Hardware choice matters because plastic trays often crack under pressure.
Freeze the treats for at least four hours to ensure a solid core. Transfer the finished snacks to an airtight container or freezer bag to prevent freezer burn. Label the bag with the date and ingredients used. Use these treats within two months for maximum flavor and nutritional value. Smaller molds work best for training rewards. Larger molds provide a longer-lasting distraction for your dog during meal times.
Storing And Serving Your Pet Treats Recipes Keeping Homemade Treats Fresh
How Long Homemade Dog Treats Last And The Best Ways To Store Them
Homemade treats lack the chemical preservatives found in commercial bags. They spoil faster because moisture invites mold. Dry, crunchy biscuits last about two weeks in an airtight container at room temperature. Softer treats containing meat or fresh vegetables require immediate refrigeration. These moist snacks usually stay safe for five to seven days before they begin to degrade or grow bacteria.
Maximize shelf life by using the freezer for long term storage. Frozen treats remain viable for up to six months without losing nutritional value. Always let treats cool completely on a wire rack before sealing them. Trapped heat creates steam and condensation which leads to rapid spoilage. Use glass jars or BPA free plastic bins to maintain a consistent environment and keep pests away from the food.
Portion Sizes And Serving Frequency: Treating Your Dog Responsibly
Treats must supplement a balanced diet rather than replace it. Most veterinarians recommend the ten percent rule for daily caloric intake. This means treats should never exceed one tenth of the total calories your dog eats each day. Overfeeding leads to obesity and joint stress. Beginners often underestimate the calorie density of peanut butter or cheese used in baking. Monitor your dog closely for weight gain.
Adjust portion sizes based on the activity level and age of your pet. A small training session might require tiny pea sized bits instead of whole biscuits. Break larger treats into smaller pieces to extend the reward process without adding extra calories. Always provide fresh water alongside snacks to aid digestion. Consistency in serving sizes helps maintain a healthy metabolism and prevents digestive upset from sudden dietary shifts.
Frequently Asked Questions

What are the most important dog treat baking tips for beginners to keep in mind?
When starting out, the most vital dog treat baking tips for beginners involve prioritizing ingredient safety. Always double-check that your additions, like peanut butter, are free from xylitol, which is toxic to pets. Keep your recipes simple by using whole-food bases like pumpkin puree or oats. Consistency is key; ensuring your treats are uniform in size will help them bake evenly, preventing any soft centers that might spoil quickly in storage.
How do I know when my homemade dog treats are fully finished baking?
Unlike human cookies that we prefer soft, dog treats are generally better when they are crunchy and dry. To achieve this, leave your biscuits in the oven after turning off the heat to let them dehydrate. Following these dog treat baking tips for beginners ensures a longer shelf life. Your treats should feel firm to the touch and sound hollow when tapped, which indicates most of the moisture has been successfully removed.
Do I need to buy expensive equipment to start baking for my pet?
Not at all! You can easily begin your baking journey using basic kitchen tools you likely already own. A simple cookie sheet, a rolling pin, and a common drinking glass to cut out circular shapes work perfectly. If you want to get fancy later, you can invest in bone-shaped cutters, but starting with minimal gear is a great way to explore this fun hobby without significant upfront costs or specialized kitchen gadgets.