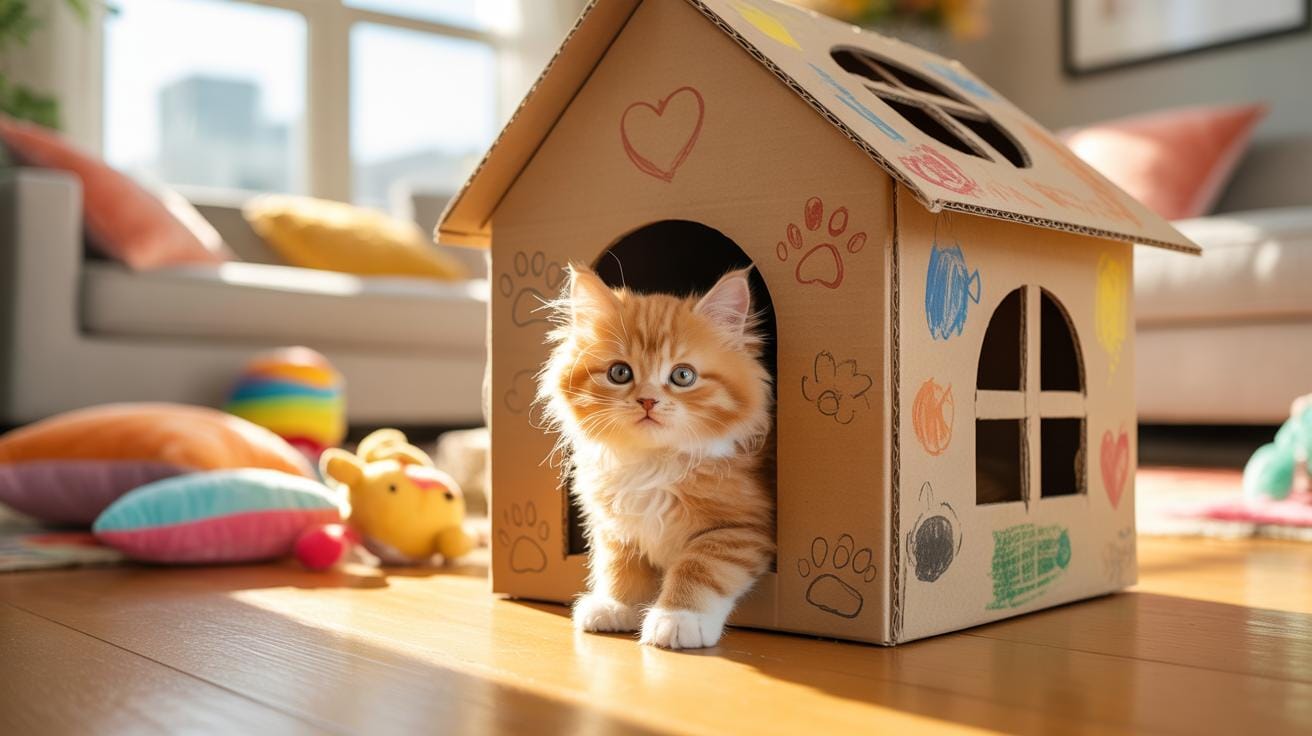
What Makes A Cardboard Cat House The Ideal Shelter For Your Kitten
Why Cats Are Naturally Drawn To Small Enclosed Spaces
Domestic cats retain the biological instincts of their wild ancestors. These small predators face constant threats from larger hunters in the wild. Small spaces provide a physical barrier that restricts access from the sides and rear. This setup allows the cat to monitor its environment from a single point of entry. It reduces the animal’s vigilance requirements and lowers its mental stress.
Confined spaces also trigger a tactile response in felines. Pressure against the body releases endorphins that promote relaxation. This behavior begins at birth when kittens huddle together for security and warmth. A cardboard box mimics this localized pressure. It creates a safe zone where the cat can rest without fear of ambush. This preference is a hardwired survival tactic used for both hunting and protection.
The Safety And Comfort Benefits Of A Cardboard Enclosure For Kittens
Cardboard serves as a superior thermal insulator for developing kittens. Young cats struggle to regulate their body temperature effectively compared to adults. Corrugated cardboard contains trapped air pockets within its fluting that retain body heat. This material creates a microclimate that keeps the kitten warm with minimal energy expenditure. It is a cost-effective way to provide a high-heat environment for growth.
Kittens explore their world through chewing and scratching. Cardboard is a non-toxic material that yields to small teeth and claws without causing injury. It provides a constructive outlet for marking territory through scent glands in the paws. Unlike plastic, cardboard is breathable and does not trap moisture or odors. This breathability prevents the buildup of bacteria and maintains a hygienic living space for the growing animal.

Gathering Your Materials For A Cat House DIY Cardboard Build
Choosing The Right Type And Thickness Of Cardboard For Durability
Structure dictates lifespan in cardboard construction. Use double wall corrugated cardboard for the base and main load-bearing walls. This material features two layers of fluting between three liners. It resists buckling under the weight of an active cat. Avoid single face board or thin cereal boxes. They lack the vertical strength needed to support a roof or multiple levels.
Choose clean shipping containers with tight fluting. Check the edge crush test stamp on the bottom of the box. A higher rating means the cardboard handles pressure better. Ensure the material is dry and free of oil or chemical spills. Moisture weakens the structural integrity of cellulose fibers. Use rigid sheets to prevent the house from sagging over time during daily use.
Essential Tools And Supplies You Will Need Before You Start
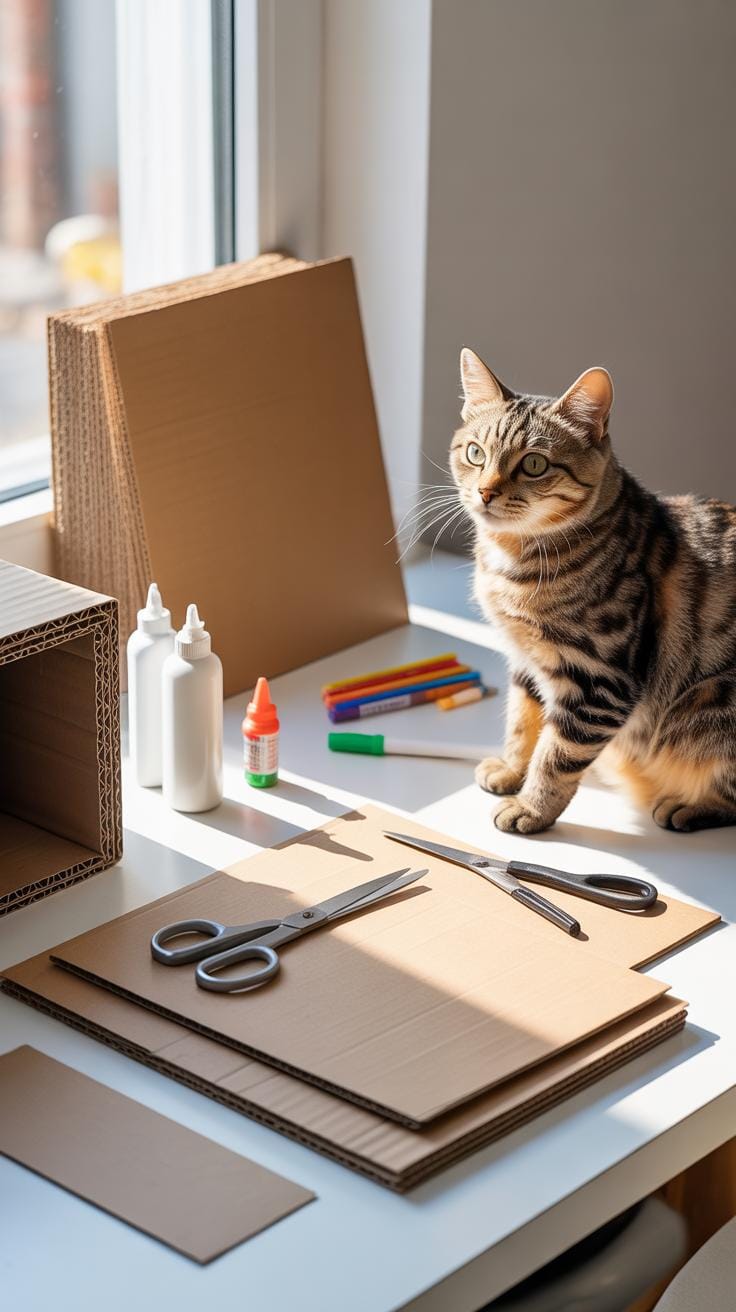
Preparation prevents mistakes during the assembly phase. You must gather precision cutting tools and high strength bonding agents before making the first cut. Dull blades tear the outer liner and create ragged edges. Use metal rulers to guide your knife for perfectly straight lines. This ensures all corners meet at ninety degree angles for a stable and professional finish.
- Utility Knife: Use a sharp utility knife or box cutter with retractable blades. Change the blade frequently to ensure clean cuts through thick corrugated layers. Clean edges improve the overall stability of the joints.
- Metal Straightedge: A heavy steel ruler provides a guide that will not nick or shave. It ensures your lines stay straight over long distances. Accuracy here prevents gaps between the walls and the floor panels.
- Non-Toxic Glue: Select a high tack white glue or a hot glue gun for assembly. Ensure the adhesive is labeled non-toxic to protect your cat. Strong bonds are critical for maintaining the shape of the structure.
- Measuring Tape: Accurate dimensions are vital for a proper fit. Measure your cat first to determine the minimum entry size and interior height. Consistent measurements allow you to scale the design to fit your available space.
- Packing Tape: Heavy duty clear tape reinforces the stress points and corners. Apply it to the interior seams to add extra rigidity without affecting the exterior look. This prevents the house from pulling apart during rough play.

Mark your cut lines with a carpenter pencil or a fine tip marker. Clear markings reduce material waste and save time. Keep a cutting mat or extra scrap cardboard underneath your work surface. This protects your floors and keeps your blade sharp for longer periods. Organized workstations lead to faster builds and superior structural results for your pet project.
Planning Your DIY Cardboard Cat House Ideas Before You Cut A Single Piece
Sketching A Simple Blueprint That Matches Your Cats Size
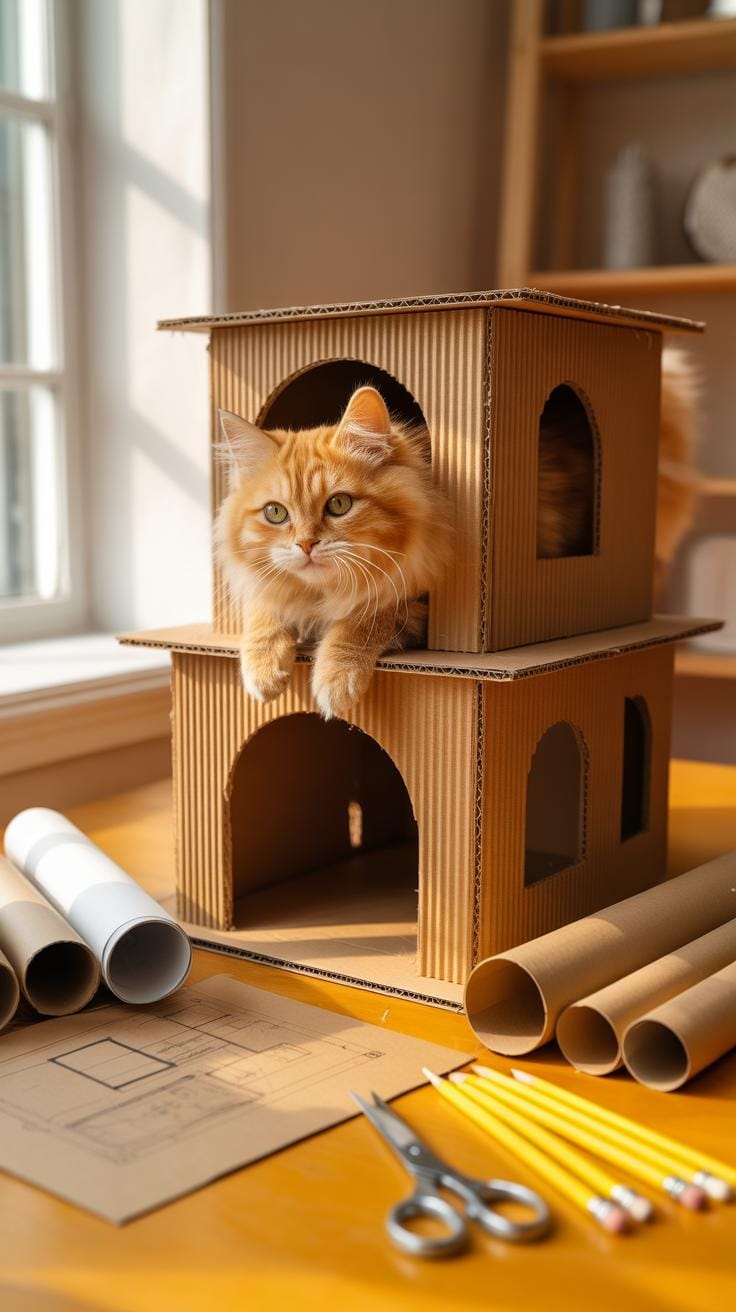
Measure your cat from nose to tail base. Add four inches to this length for the internal floor plan. Measure your cat from paws to head while standing. Use this height to set the ceiling limit. Draw your box layout on paper before touching the cardboard. Professional designers use these basic scale drawings to avoid wasting raw materials and structural integrity during assembly.
Mark all entry and exit points on your sketch. A standard cat door requires a seven inch diameter or square. Placement matters for safety. Cats prefer one main entrance and one emergency exit. Drawing these holes on your blueprint prevents structural collapse. Ensure your sketch accounts for the thickness of the double walled cardboard. This step ensures the final build fits your cat comfortably.
The smallest craft made with love becomes a kingdom where memories are built. Transforming a simple box into a home is the gentlest way to welcome a new friend.
Understanding Proper Dimensions And Ventilation For Indoor Cat Comfort
Ventilation keeps the internal temperature stable and prevents moisture buildup. Cut small air holes near the top of the walls. These holes should be two inches wide. Ensure air flows through the unit without creating a draft. Proper airflow mimics the natural environments cats seek for resting. Without ventilation the air inside the box becomes stagnant and traps heat or odors quickly.

Stability depends on the base dimensions. A wide base prevents the house from tipping when the cat jumps. Align the grain of the cardboard vertically for maximum weight support. This engineering technique increases the load bearing capacity of the structure. Place the house away from high traffic areas to reduce stress. A well planned house provides a secure territory that serves the biological needs of your pet.
Step By Step Cardboard Cat House DIY Steps For A Basic Single Room Design
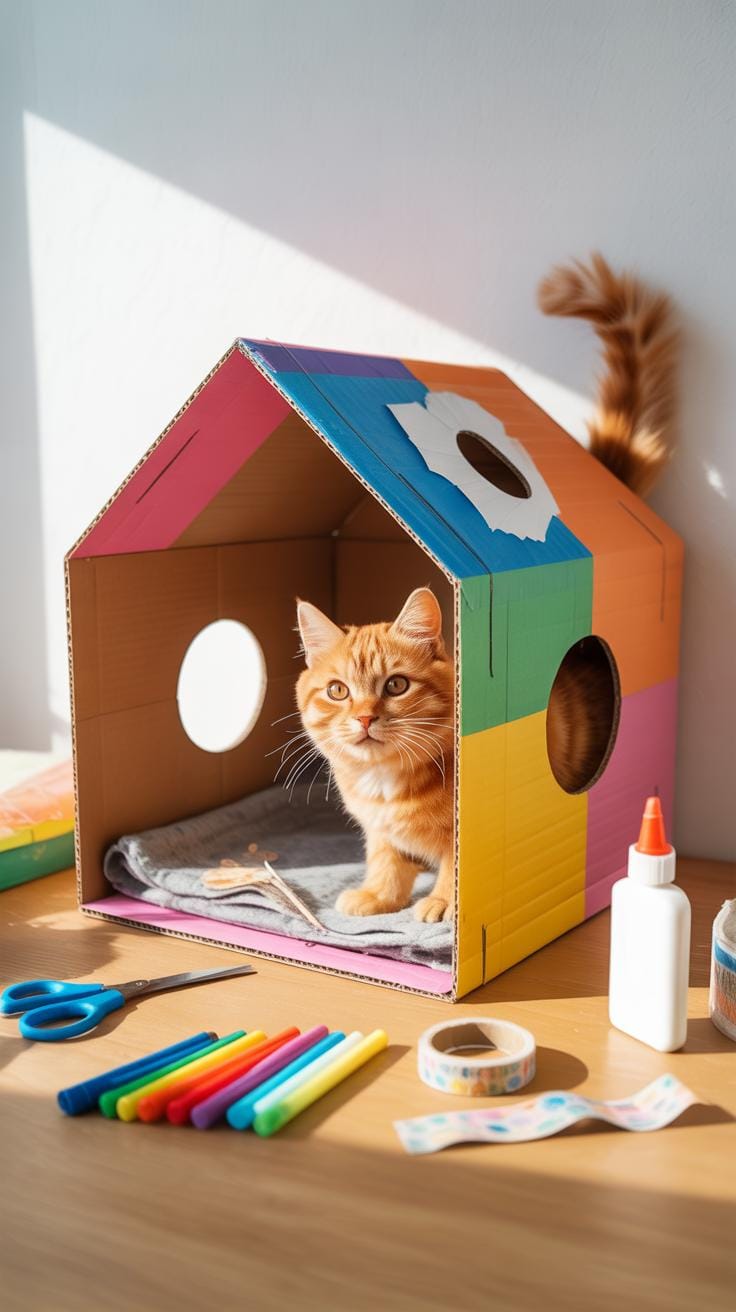
Cutting And Scoring The Cardboard Panels For Clean, Precise Edges
Precision cutting requires a sharp utility knife and a metal straightedge. Dull blades tear the corrugated fluting and weaken the structural integrity of the panel. Hold the knife at a forty-five-degree angle to the surface for the cleanest results. Always cut on a self-healing mat or a sacrificial piece of thick scrap cardboard. This protects your floor and ensures the blade penetrates the material fully without dragging or snagging.
Scoring allows you to create crisp folds without snapping the cardboard fibers. To score, press the blade lightly to cut only the top liner and half of the inner fluting. Do not cut through the bottom liner. This technique mimics industrial packaging methods used in box manufacturing. It creates a hinge that maintains the strength of the corner. Clear, straight scores lead to a professional finish and a more stable structure.
Assembling And Securing The Walls, Roof, And Entry Door Safely
Proper assembly depends on high-tack adhesives and physical reinforcement. Start by aligning the vertical wall panels at ninety-degree angles. Use the scored hinges to wrap the structure into a square or rectangle. Ensure the corrugation runs vertically to maximize load-bearing capacity. This orientation prevents the walls from buckling under the weight of the roof or a jumping cat. Secure every joint immediately to maintain the intended shape.
- Hot Glue Application: Apply professional-grade hot glue to the interior flaps for a fast permanent bond. Hold the panels firmly for thirty seconds to ensure the adhesive sets without gaps. This creates a rigid structural connection.
- Non-Toxic Packaging Tape: Use wide shipping tape to reinforce external seams and corners. Apply pressure across the entire surface of the tape to activate the adhesive. This adds a secondary layer of mechanical strength to the house.
- Corner Braces: Cut small triangular scrap pieces and glue them into the interior corners. These gussets prevent the structure from racking or leaning over time. This technique is a standard engineering practice for stabilizing lightweight boxed frames.
- Roof Alignment: Place the roof panel so it overlaps the walls by at least one inch on all sides. Secure it with glue along the top edges of the wall panels. A slight overhang protects the entrance and mimics domestic residential architecture.
- Doorway Smoothing: Cut a circular or arched opening at least eight inches wide for safe passage. Sand the cut edges with fine-grit sandpaper to remove sharp cardboard burrs. Smooth edges prevent fur snagging and ensure the kitten enters the space comfortably.

Finalize the structure by checking for exposed adhesive or sharp points. Press down on the roof to test the stability of your vertical supports. If the walls flex, add internal cardboard pillars in the corners. Use a damp cloth to remove any dust from the cutting process before allowing the cat inside. A well-assembled house provides a secure micro-environment that holds its shape during active play or rest.
Exploring Creative Cat House DIY Cardboard Designs Beyond The Basic Box
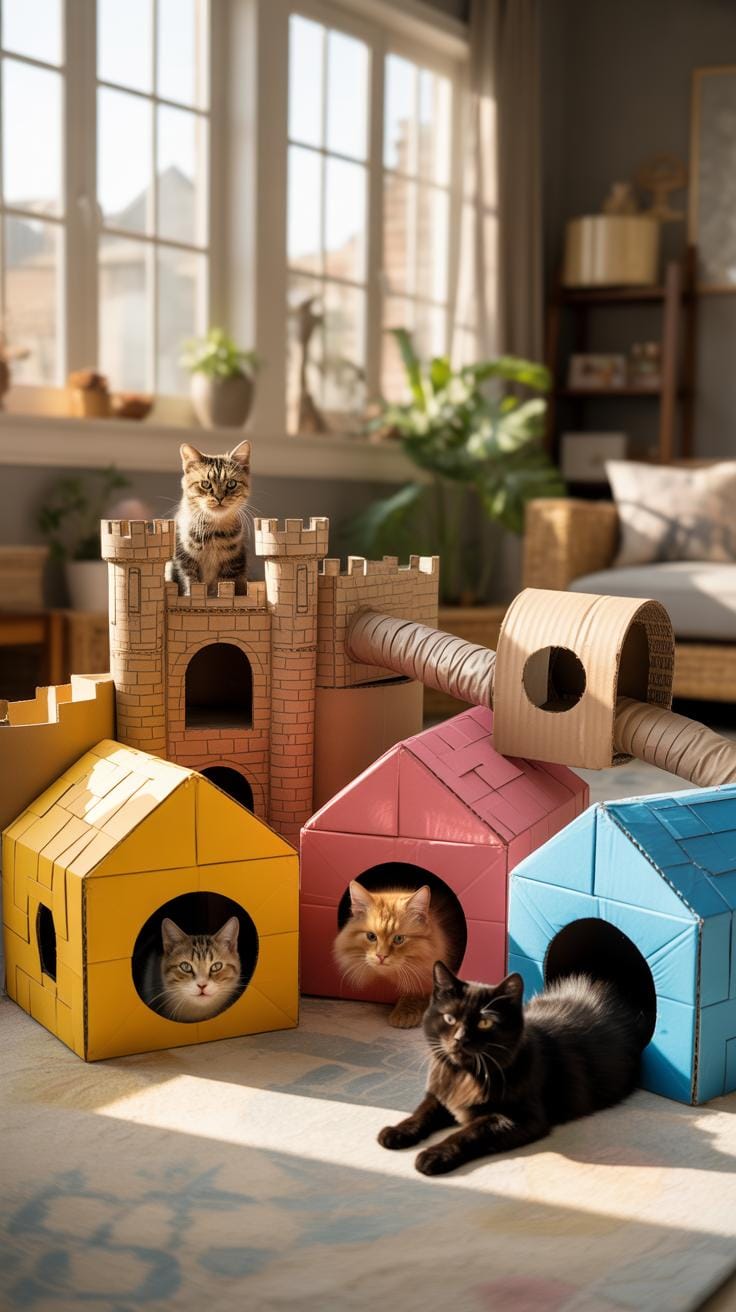
Building A Multi Room Layout Your Curious Kitten Will Explore For Hours
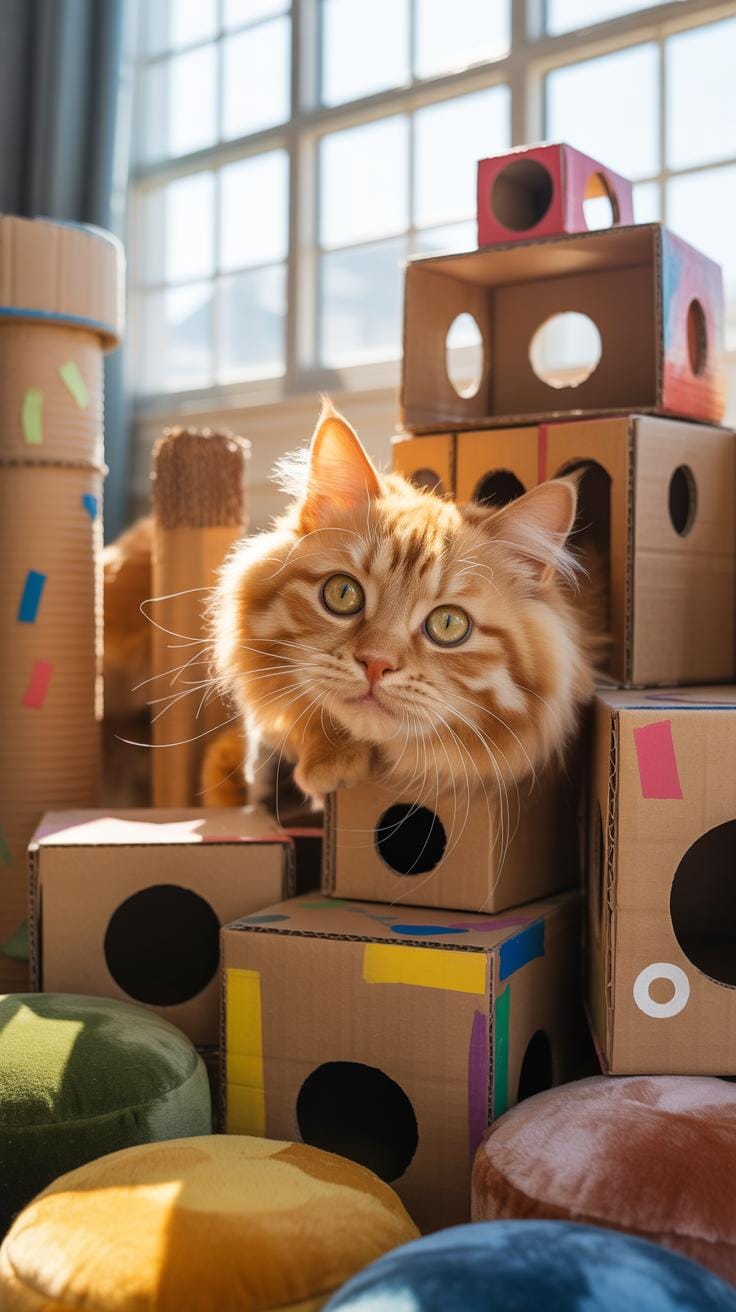
Modular floor plans turn simple boxes into complex feline territories. Connect two or more cardboard structures by cutting identical passage holes in adjacent walls. Align these openings precisely to ensure safe movement between zones. Use heavy-duty packing tape or non-toxic wood glue to fuse the units together. This mimics natural burrow systems. It gives your kitten dedicated spaces for sleeping and hunting.
Stability is the primary engineering challenge for multi-room designs. Offset the layout to create a wider base for the structure. Larger footprints prevent the house from tipping during high-speed play. Clear floor space provides better airflow and visibility. Avoid stacking units vertically without internal structural support columns. Solid foundations keep the rooms secure as the kitten grows and gains significant body weight.
Adding Windows, Tunnels, And Peek A Boo Holes For Extra Enrichment
Strategic openings satisfy a cat’s biological need for surveillance. Cut circular holes with a three-inch diameter to create peek-a-boo spots. Place these at different heights to encourage vertical movement and stretching. Small windows allow for light and air circulation without compromising structural integrity. Use a sharp utility knife to ensure clean edges. Rough edges can snag fur or cause minor skin irritation.

Tunnels create a flight path for zoomies and predatory play. Join long rectangular boxes to the main structure to serve as entry corridors. These passages should be wide enough for the cat to turn around comfortably. Secure the tunnel joints with reinforced cardboard strips for longevity. Adding these features mimics the complexity of wild environments. It keeps the kitten mentally sharp and physically active throughout the day.
How To Build A DIY Cat Tower Using Stacked Cardboard Boxes
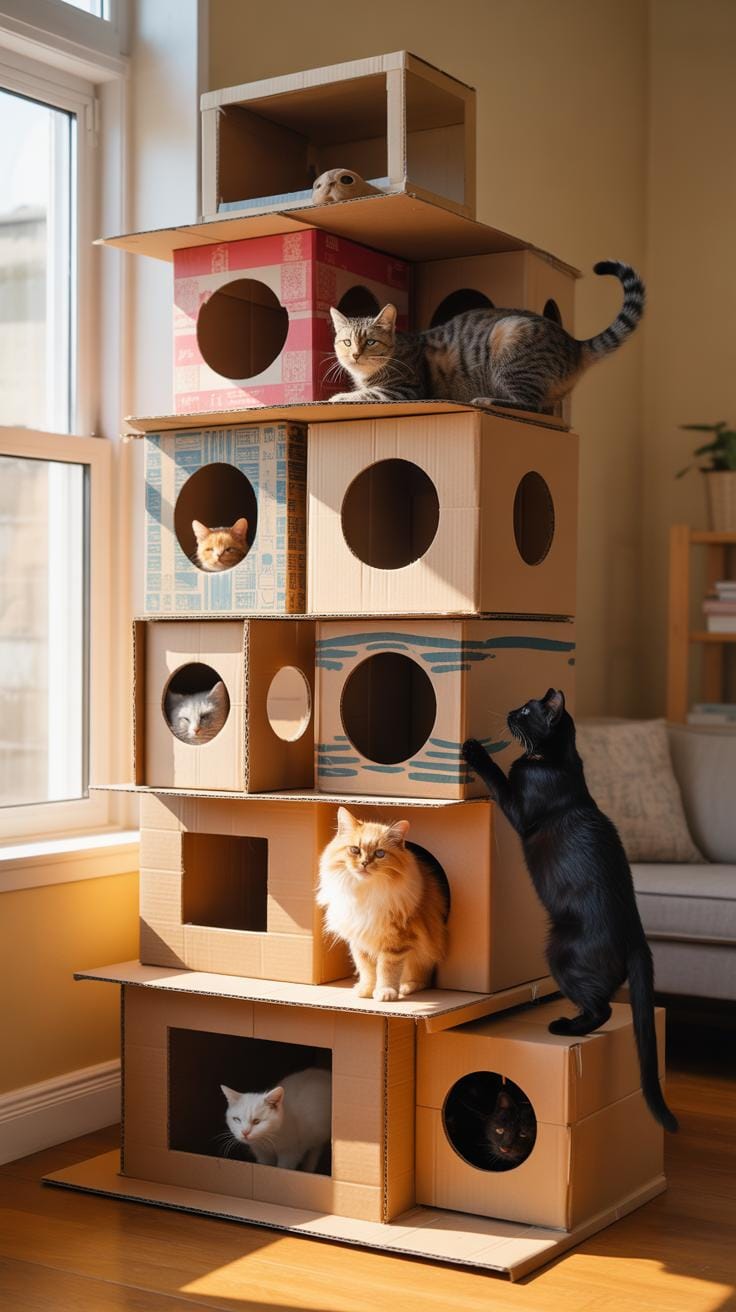
Stacking And Reinforcing Multiple Cardboard Levels For Stability And Safety
Stacking boxes requires a strong base to prevent tipping. Use a heavy, wide box for the foundation. Center the upper levels over the base to maintain a low center of gravity. Align the vertical corners of each box. These corners provide the most structural strength. Use heavy duty packing tape or hot glue on all connecting surfaces to ensure the levels stay locked together.
Internal support is critical for multi level structures. Insert vertical cardboard pillars inside the bottom boxes to prevent sagging. Cut these pillars from scrap corrugated sheets. Position them directly under the weight of the boxes above. This method mimics load bearing walls in standard construction. Reinforce all entry holes with extra cardboard layers. This prevents the cardboard from tearing or collapsing when the cat jumps through.
Incorporating Ramps And Platforms That Encourage Natural Climbing Behavior
Cats need vertical movement to satisfy their natural instincts. Design the layout with offset levels to create jumping platforms. Each platform must be large enough for the cat to land safely. Ensure these landing zones are clear of sharp edges or tape. Secure the platforms using double layered cardboard for extra stiffness. This setup mimics a tree structure and encourages healthy exercise through climbing.

Ramps bridge the gaps between levels for older or less active cats. Cut long rectangular pieces of thick cardboard for these inclines. High friction surfaces help cats grip the ramp during ascent. You can glue pieces of scrap carpet or sisal rope to the cardboard. Attach the ramp at a thirty degree angle for maximum safety. Secure both ends of the ramp with heavy duty adhesive to handle the force of movement.
Decorating Your Cat House From Cardboard To Make It Inviting And Fun
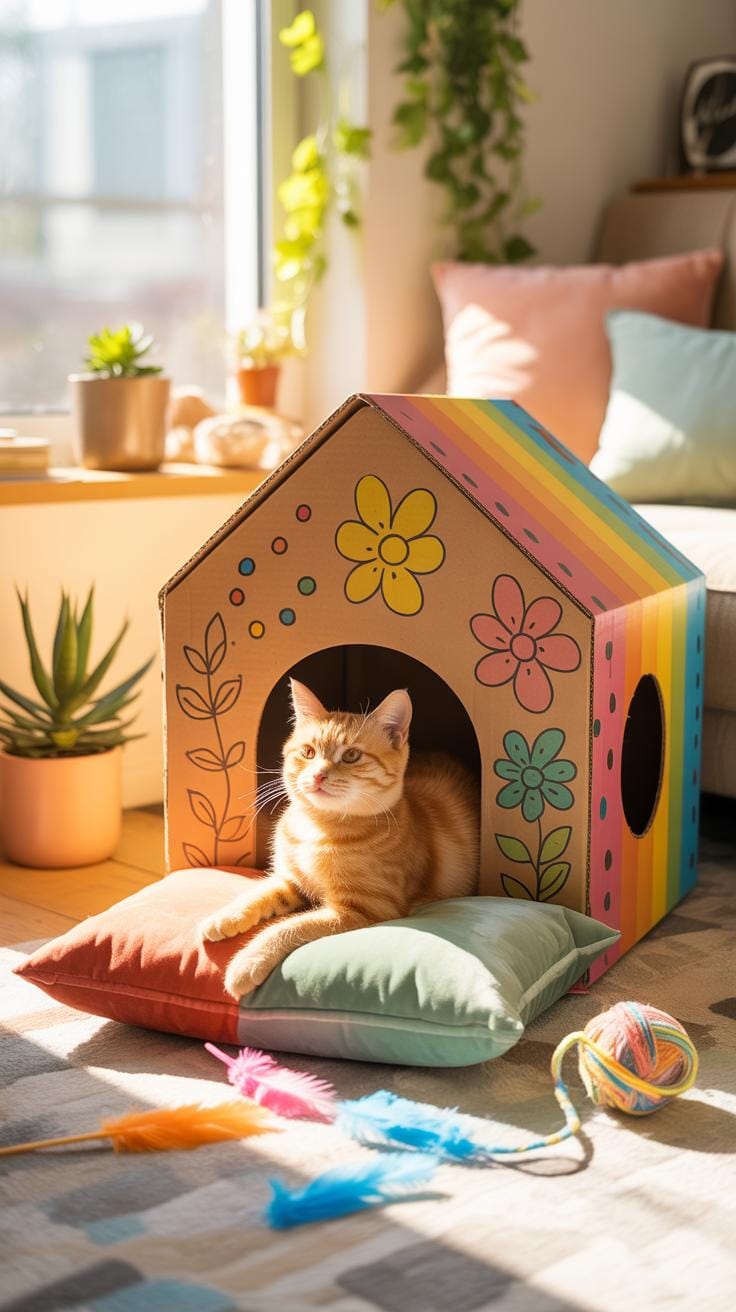
Guidance On Using Cat Safe Paints, Fabrics, And Non Toxic Glues For Interior Lining
Choose materials based on chemical safety and durability. Avoid standard oil-based paints that release volatile organic compounds. Use water-based acrylics or milk paints instead. These options prevent respiratory irritation in small spaces. Ensure any pigments are food-grade if your kitten tends to chew on edges. Safety is the primary goal when selecting your interior finishes.
Line the floor with cotton or wool fabrics. Avoid synthetic blends that shed microplastics or trap heat excessively. Use non-toxic starch-based glues or school glue for securing liners. These adhesives do not emit harmful fumes as they dry. Test all materials for loose threads before installation. A secure interior prevents choking hazards and provides a stable resting surface for the animal.
Personalizing The Exterior With Themes, Colors, And Kitten Friendly Textures
Apply the Bauhaus design principle of form following function for the exterior. Use bold geometric shapes to create visual interest without adding bulk. Select flat finishes to avoid glare that might startle a young cat. Corrugated cardboard surfaces provide natural scratching zones. Leave some areas raw to allow the cat to mark its territory through scent and claws.

Incorporate natural textures like jute or sisal twine on high-wear corners. Secure these fibers with hot glue to ensure they withstand heavy use. Use paper tape instead of plastic tape for a cleaner look and better paint adhesion. Darker colors on the base hide dirt and wear over time. Focus on high-contrast patterns as kittens often track movement and sharp visual shifts.
Cats DIY Projects Keeping Your Cardboard Cat House Clean And Long Lasting
Simple Maintenance Habits That Extend The Life Of A Cardboard Structure
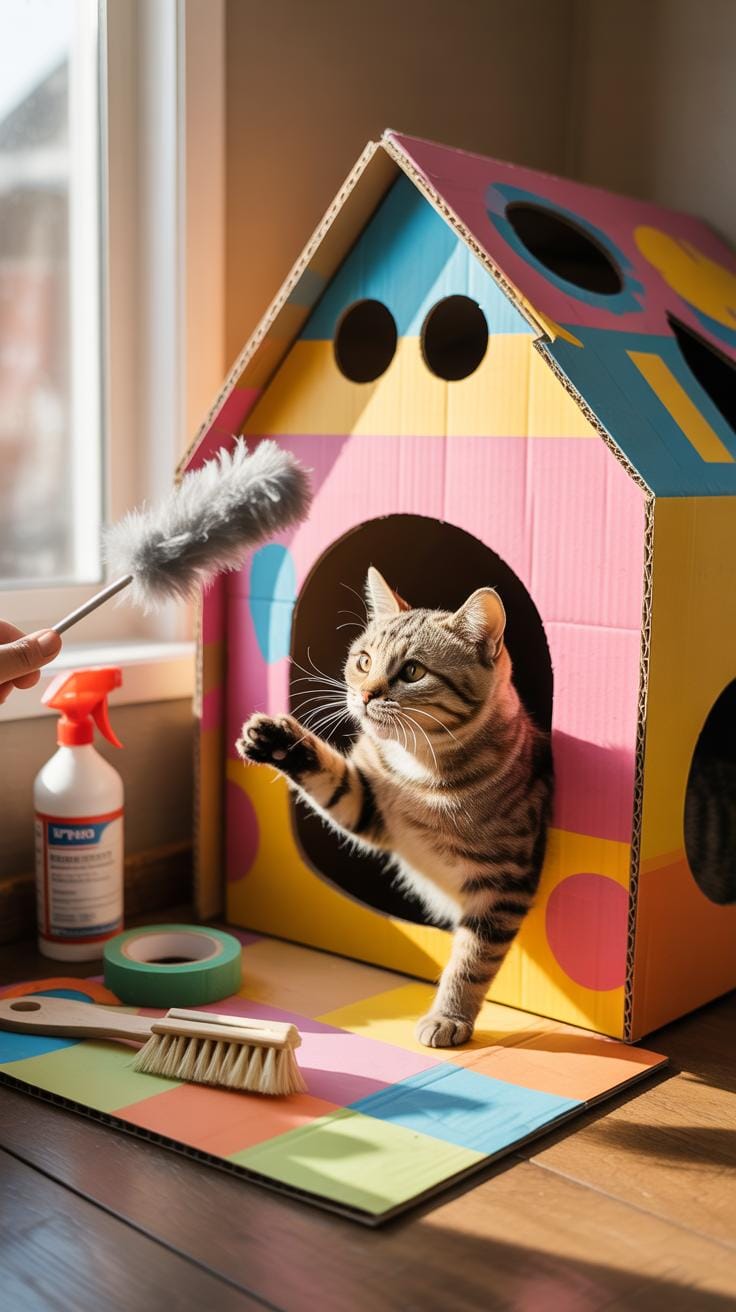
Cardboard is porous and traps allergens. Vacuum the interior weekly using a hose attachment to remove fur and dried dander. This prevents buildup that compromises air quality for your pet. Wipe the exterior with a dry microfiber cloth to remove dust. Moisture ruins structural integrity immediately. Never use wet cleaners or sprays on the surface. Cardboard fibers swell and weaken when damp.
Position the structure away from high humidity zones like bathrooms or kitchens. Direct sunlight fades the material but keeps it dry and kills bacteria. Rotate the house monthly to ensure even wear on the base. If the cat marks the cardboard with urine, discard the affected section immediately. You cannot sanitize corrugated paper without destroying the bond between the liners and the fluting layers.
When To Repair Versus Replace Sections Of Your Cat’S Cardboard Home
Structural integrity determines whether you fix or toss the unit. Repair minor surface tears using high-tack packing tape or hot glue. Inspect the load-bearing corners every month. If the vertical supports buckle or show deep creases, the house is unsafe. Do not attempt to patch structural collapses with tape. Fresh cardboard is cheap. Replacing the entire unit prevents injury from a sudden structural failure.

Hygiene is the second deciding factor for replacement. Cardboard absorbs odors over time due to its organic composition. If the house smells despite dry cleaning, discard it. Look for signs of mold or heavy grease stains from the cat’s fur. These contaminants penetrate the corrugation and cannot be removed. Build a new house every six months to ensure a sterile environment. New boxes provide better compression strength.
Cat Cardboard Box Ideas Inspiring Variations To Try After Your First Build
Seasonal Cardboard Cat House Themes That Keep Your Kitten Engaged Year Round
Seasonal rotations prevent feline boredom and maximize the utility of your cardboard scrap. During summer months, prioritize airflow by cutting large geometric ventilation holes and using low-profile designs. Use white or light-colored non-toxic paints to reflect heat if the house sits near a window. These tactical changes keep the interior temperature stable while providing a secure hiding spot during peak daylight hours.
Transition to insulated structures as temperatures drop in winter. Build double-walled cardboard houses by nesting a smaller box inside a larger one. Fill the gap with shredded paper or additional cardboard layers to create thermal resistance. Add a thick base layer to lift the structure off cold floors. These modifications cater to a cat’s biological need for warmth and create a reliable year-round sanctuary.
Eco Friendly And Upcycled Cardboard Builds That Are Good For Your Cat And The Planet
Upcycling minimizes waste and reduces the demand for new synthetic materials. Avoid cardboard with heavy plastic coatings or industrial glues that release volatile organic compounds. Select uncoated corrugated sheets and thick shipping tubes for structural support. These materials break down easily in compost bins once the cat retires the house. Sustainable building ensures your pet stays safe from common manufacturing chemicals.
Reinforce your builds using natural adhesives and mechanical fasteners. Use cornstarch-based glues or paper tapes instead of standard plastic packing tape. Apply the Bauhaus design principle of form following function to eliminate unnecessary decorative waste. Focus on rigid geometry to ensure the house lasts longer. This approach reduces the frequency of replacement and keeps more material out of local landfills over time.
Frequently Asked Questions

Why should I choose building a DIY cat house over buying a store-bought version?
Making a cardboard cat house DIY steps is an excellent way to provide your kitten with a sense of security while saving money. Cardboard is a naturally insulating material that retains heat, making it a cozy retreat. Unlike plastic versions, cardboard is biodegradable and can be easily customized to fit your home’s aesthetic, ensuring your pet feels comfortable in a space tailored specifically to their size and personality.
What are the most important cardboard cat house DIY steps for ensuring safety?
Safety is paramount when constructing your kitten’s new hideout. The most critical cardboard cat house DIY steps include using non-toxic, water-based glue and ensuring all rough edges are smoothed down. Avoid using small embellishments like beads or loose strings that could become choking hazards. Always double-check that the structure is sturdy enough to support your kitten’s weight during a case of the “zoomies” to prevent any accidental collapses.
Do I need expensive tools or professional supplies to get started?
Not at all! One of the best things about this project is that you likely already have everything you need in your recycling bin. A standard shipping box, a utility knife, some non-toxic adhesive, and a ruler are the only essentials. You can even repurpose old t-shirts or fleece scraps to create a soft interior lining, making this a zero-cost project that provides endless entertainment for your growing kitten.